How we turned our home office into a real Blockbuster Video store, using a spreadsheet, ChatGPT, and Figma
I'm getting old. Well, at least I'm 40, which seems... old enough. One of my favorite scenes in one of my favorite movies, The Wedding Singer, is a throwaway line from a radio caller in the background of the kitchen, saying "I like Old Coke better than New Coke, because it's old, and so am I."
I like Blockbuster Video because it's old and so am I. And let's go ahead and pre-empt the argument that I'm looking at Blockbuster through rose-colored glasses, that they destroyed small biz and censored movies. We also rented from Hollywood Video, and local spots, and the little front room at the grocery store, but more generally, I was like 12, and as a movie kid, a Friday night at Blockbuster was the absolute peak of my existence. Add pizza and mom saying I could pick out a snack— I was in heaven.
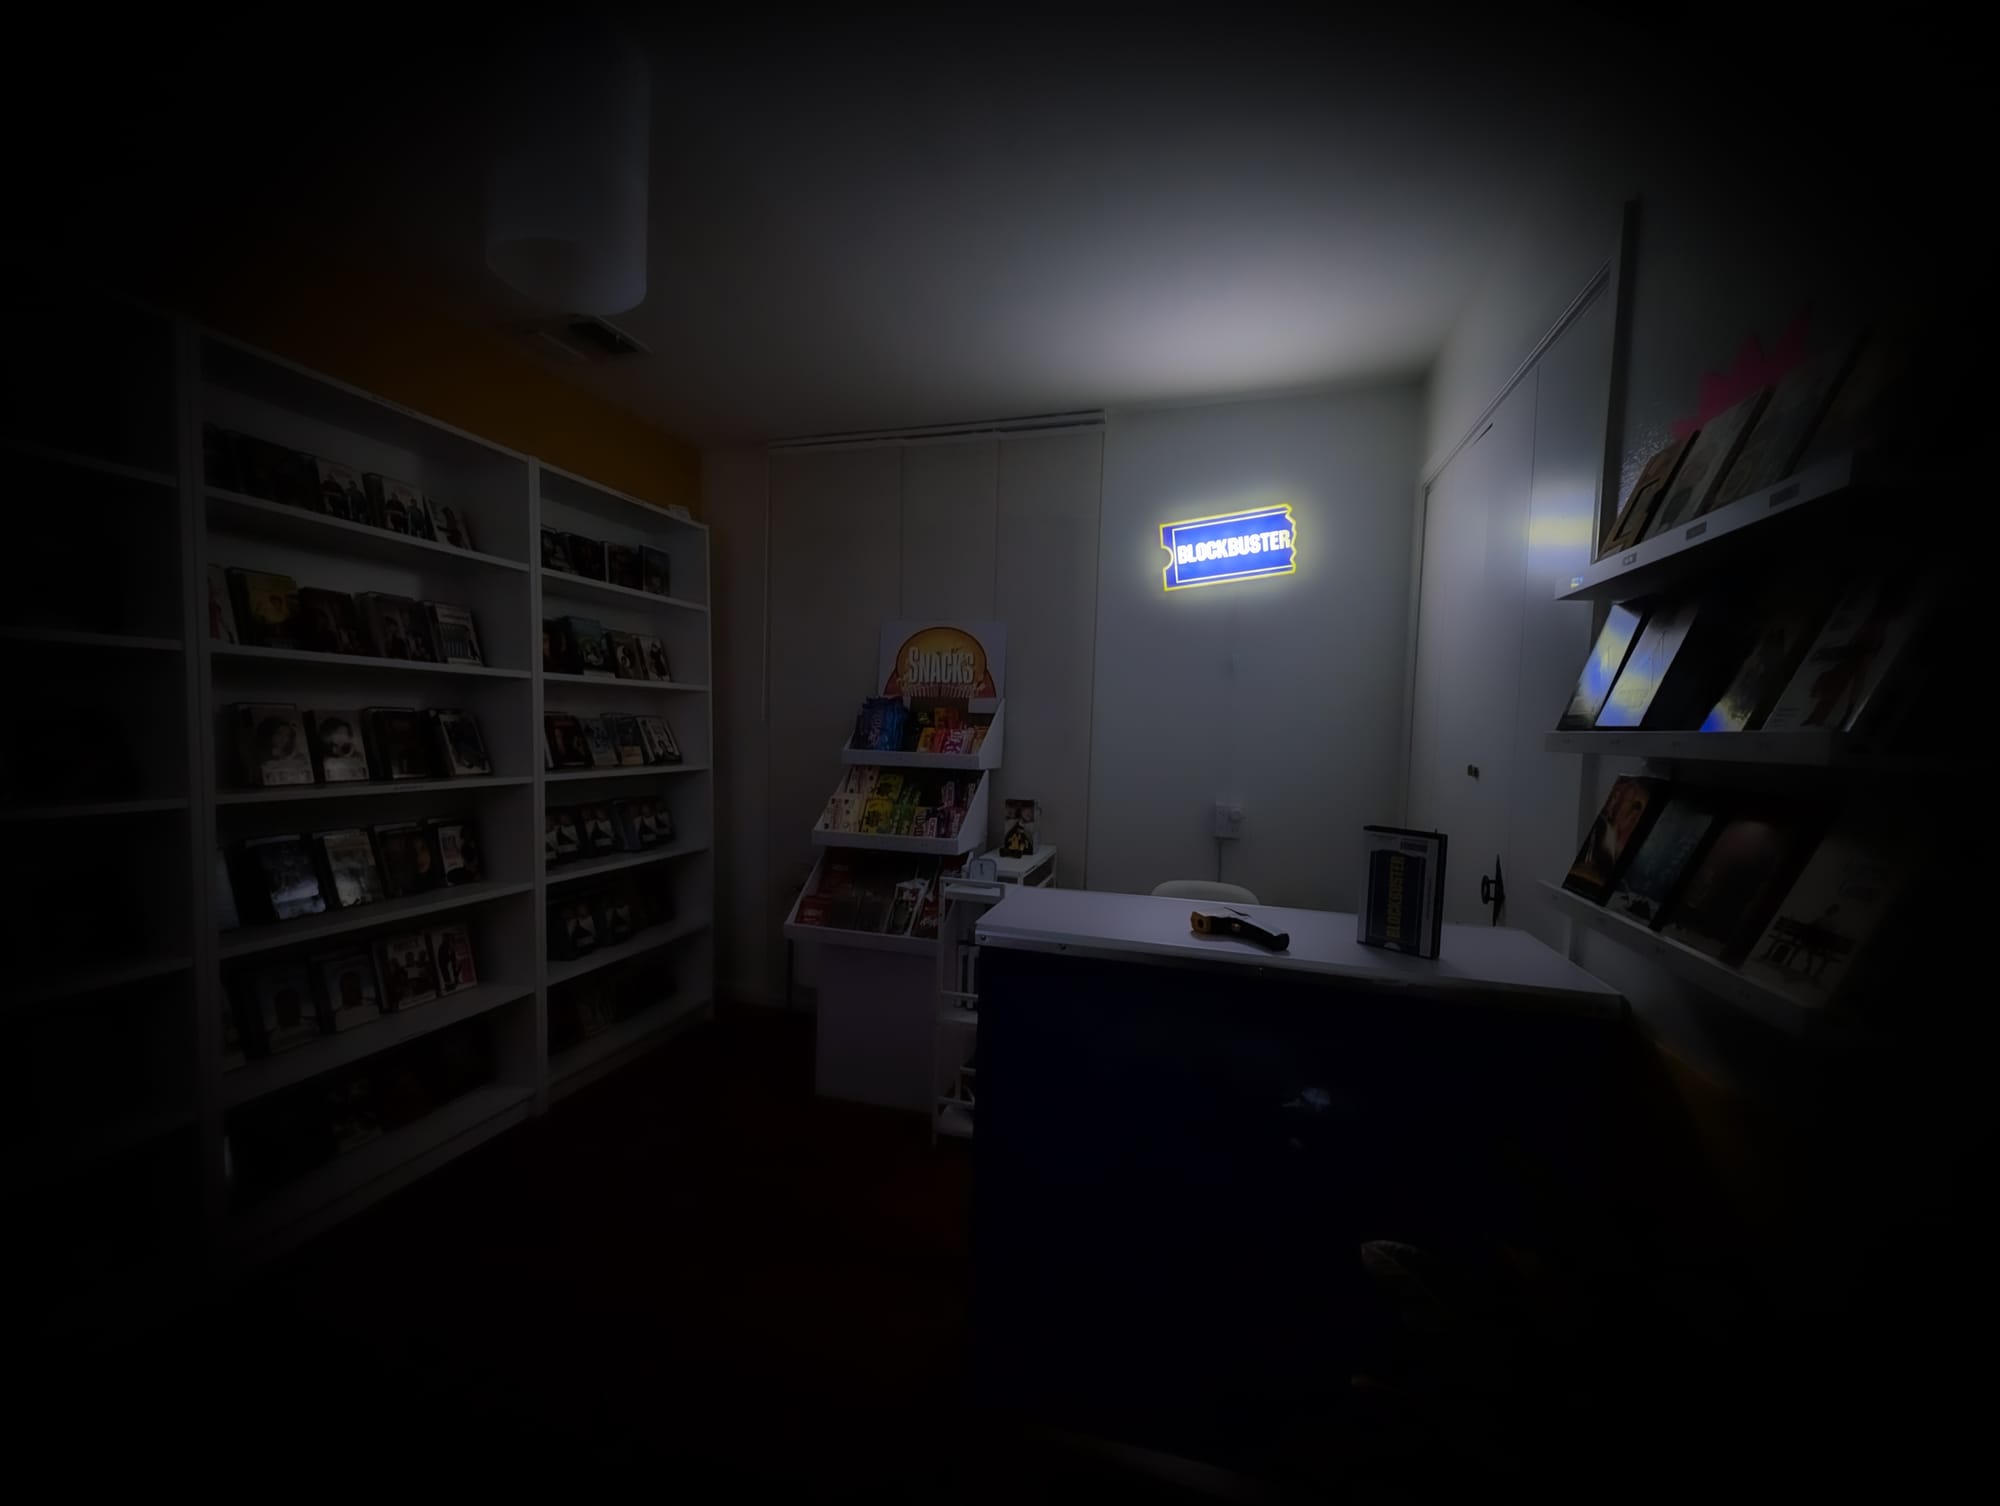
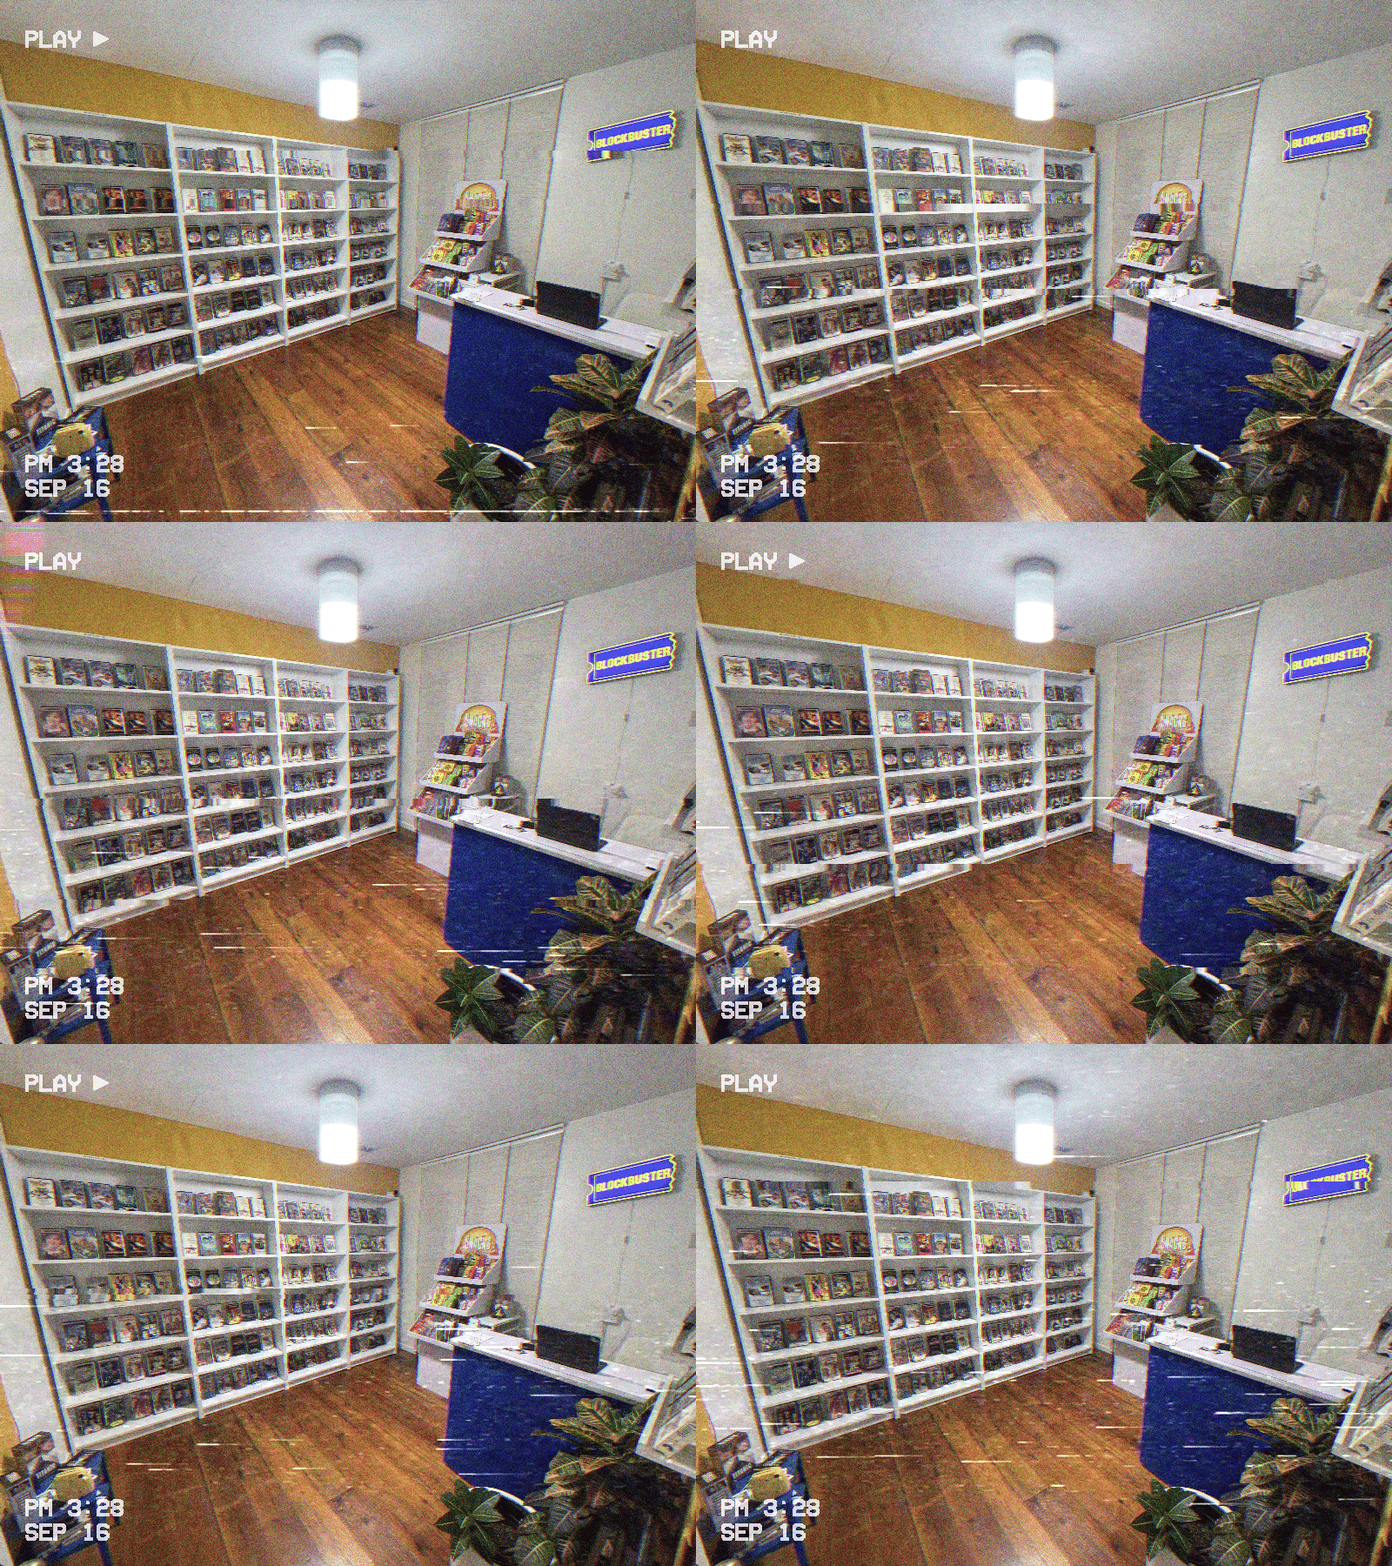
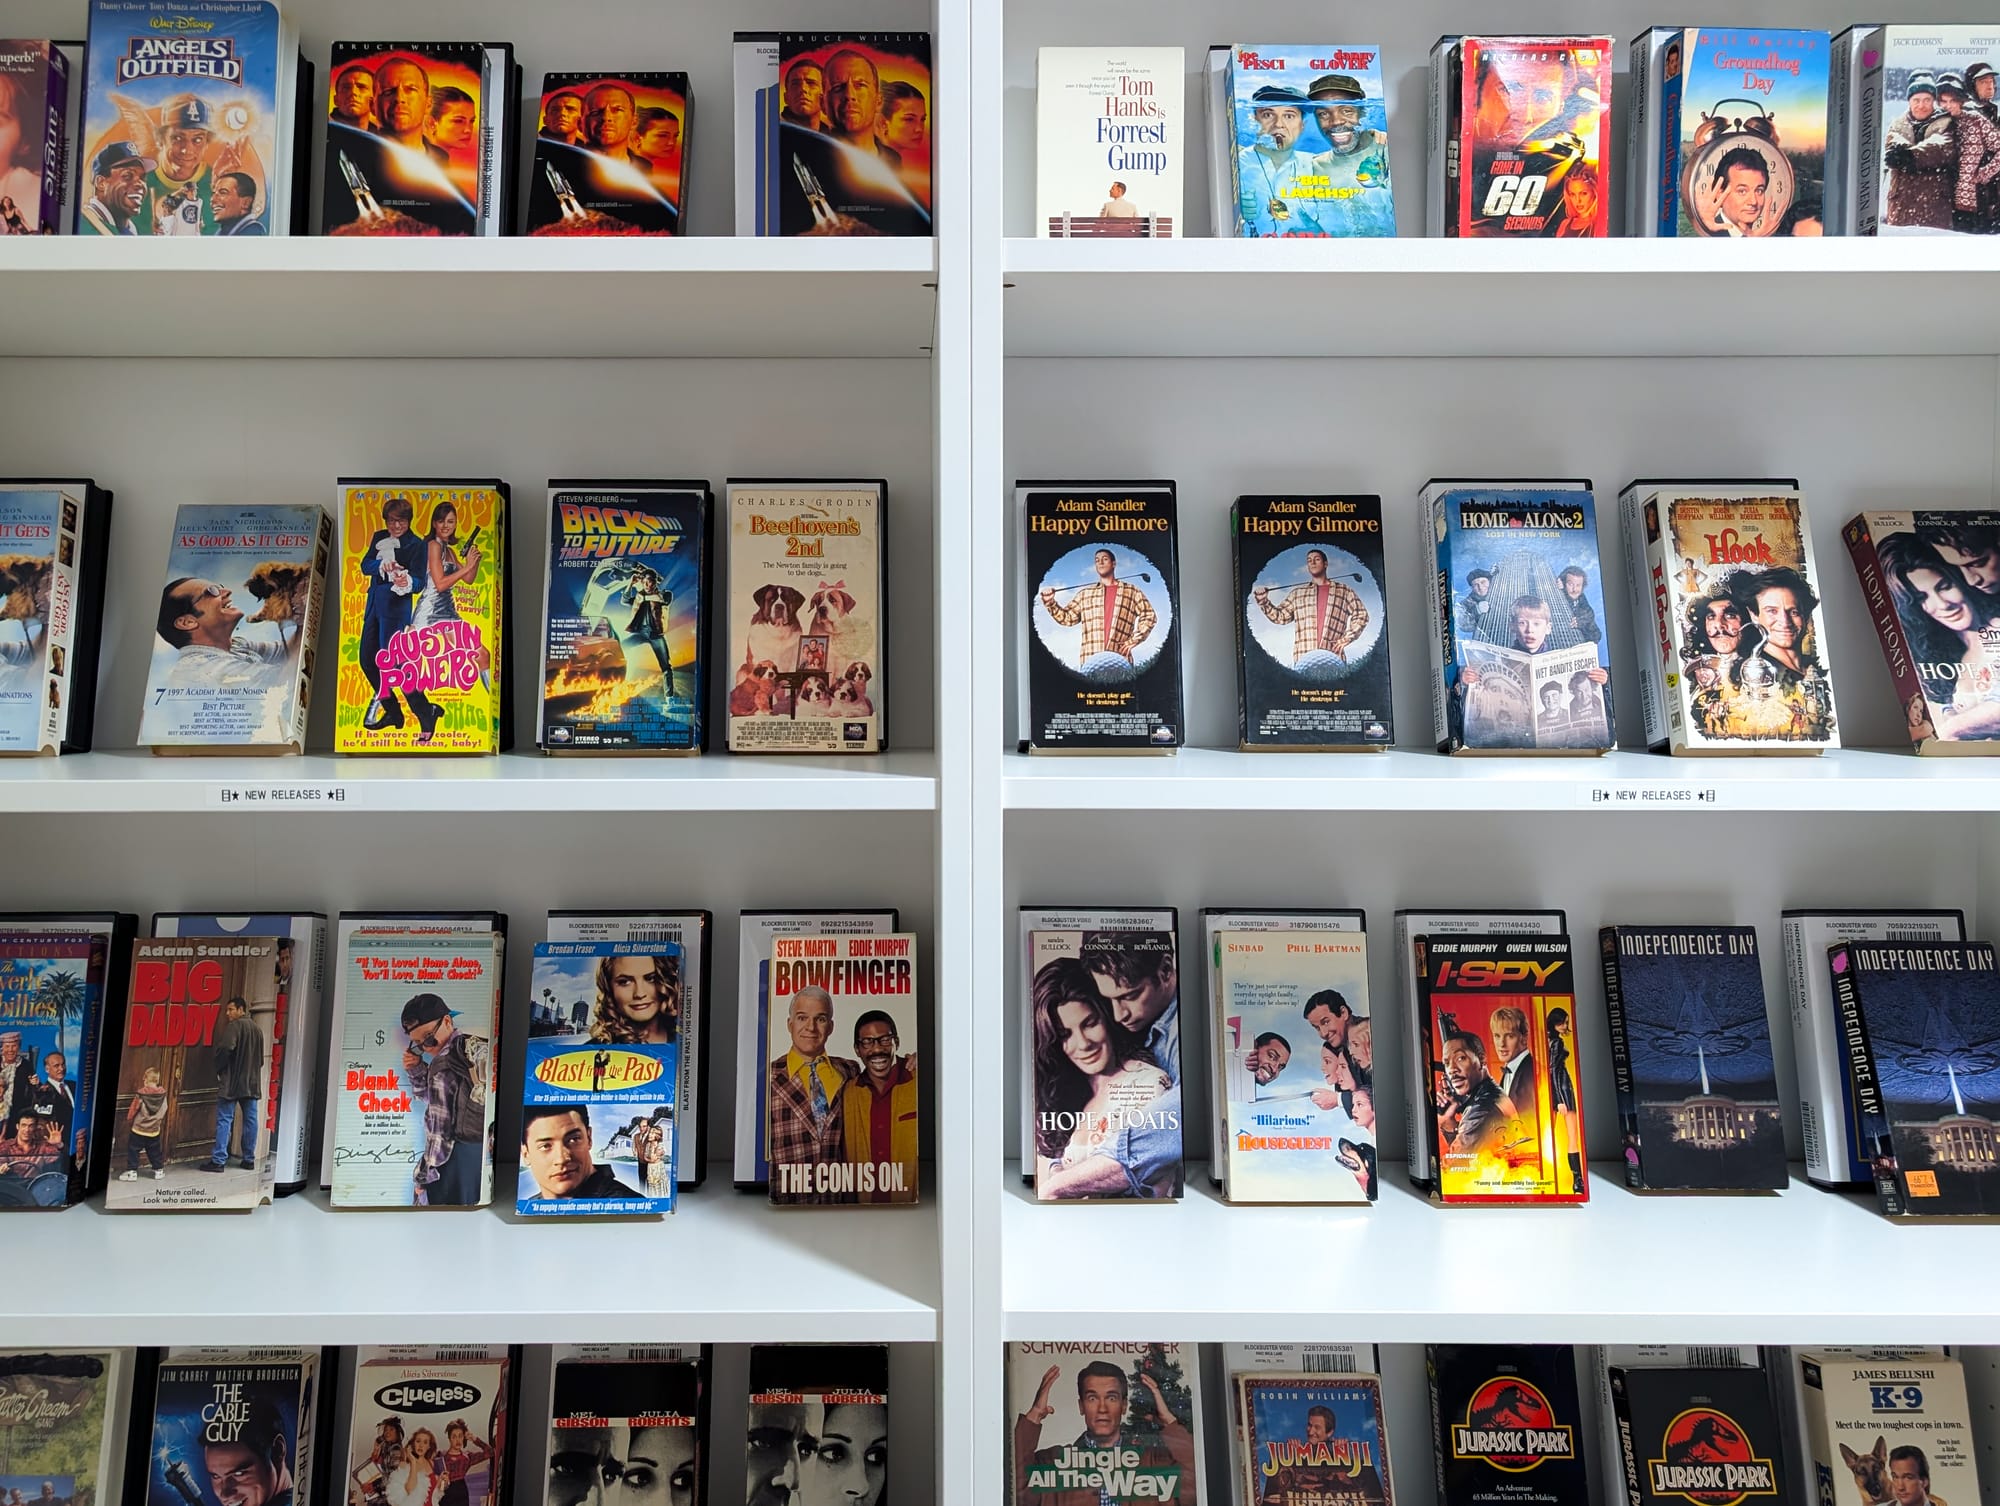
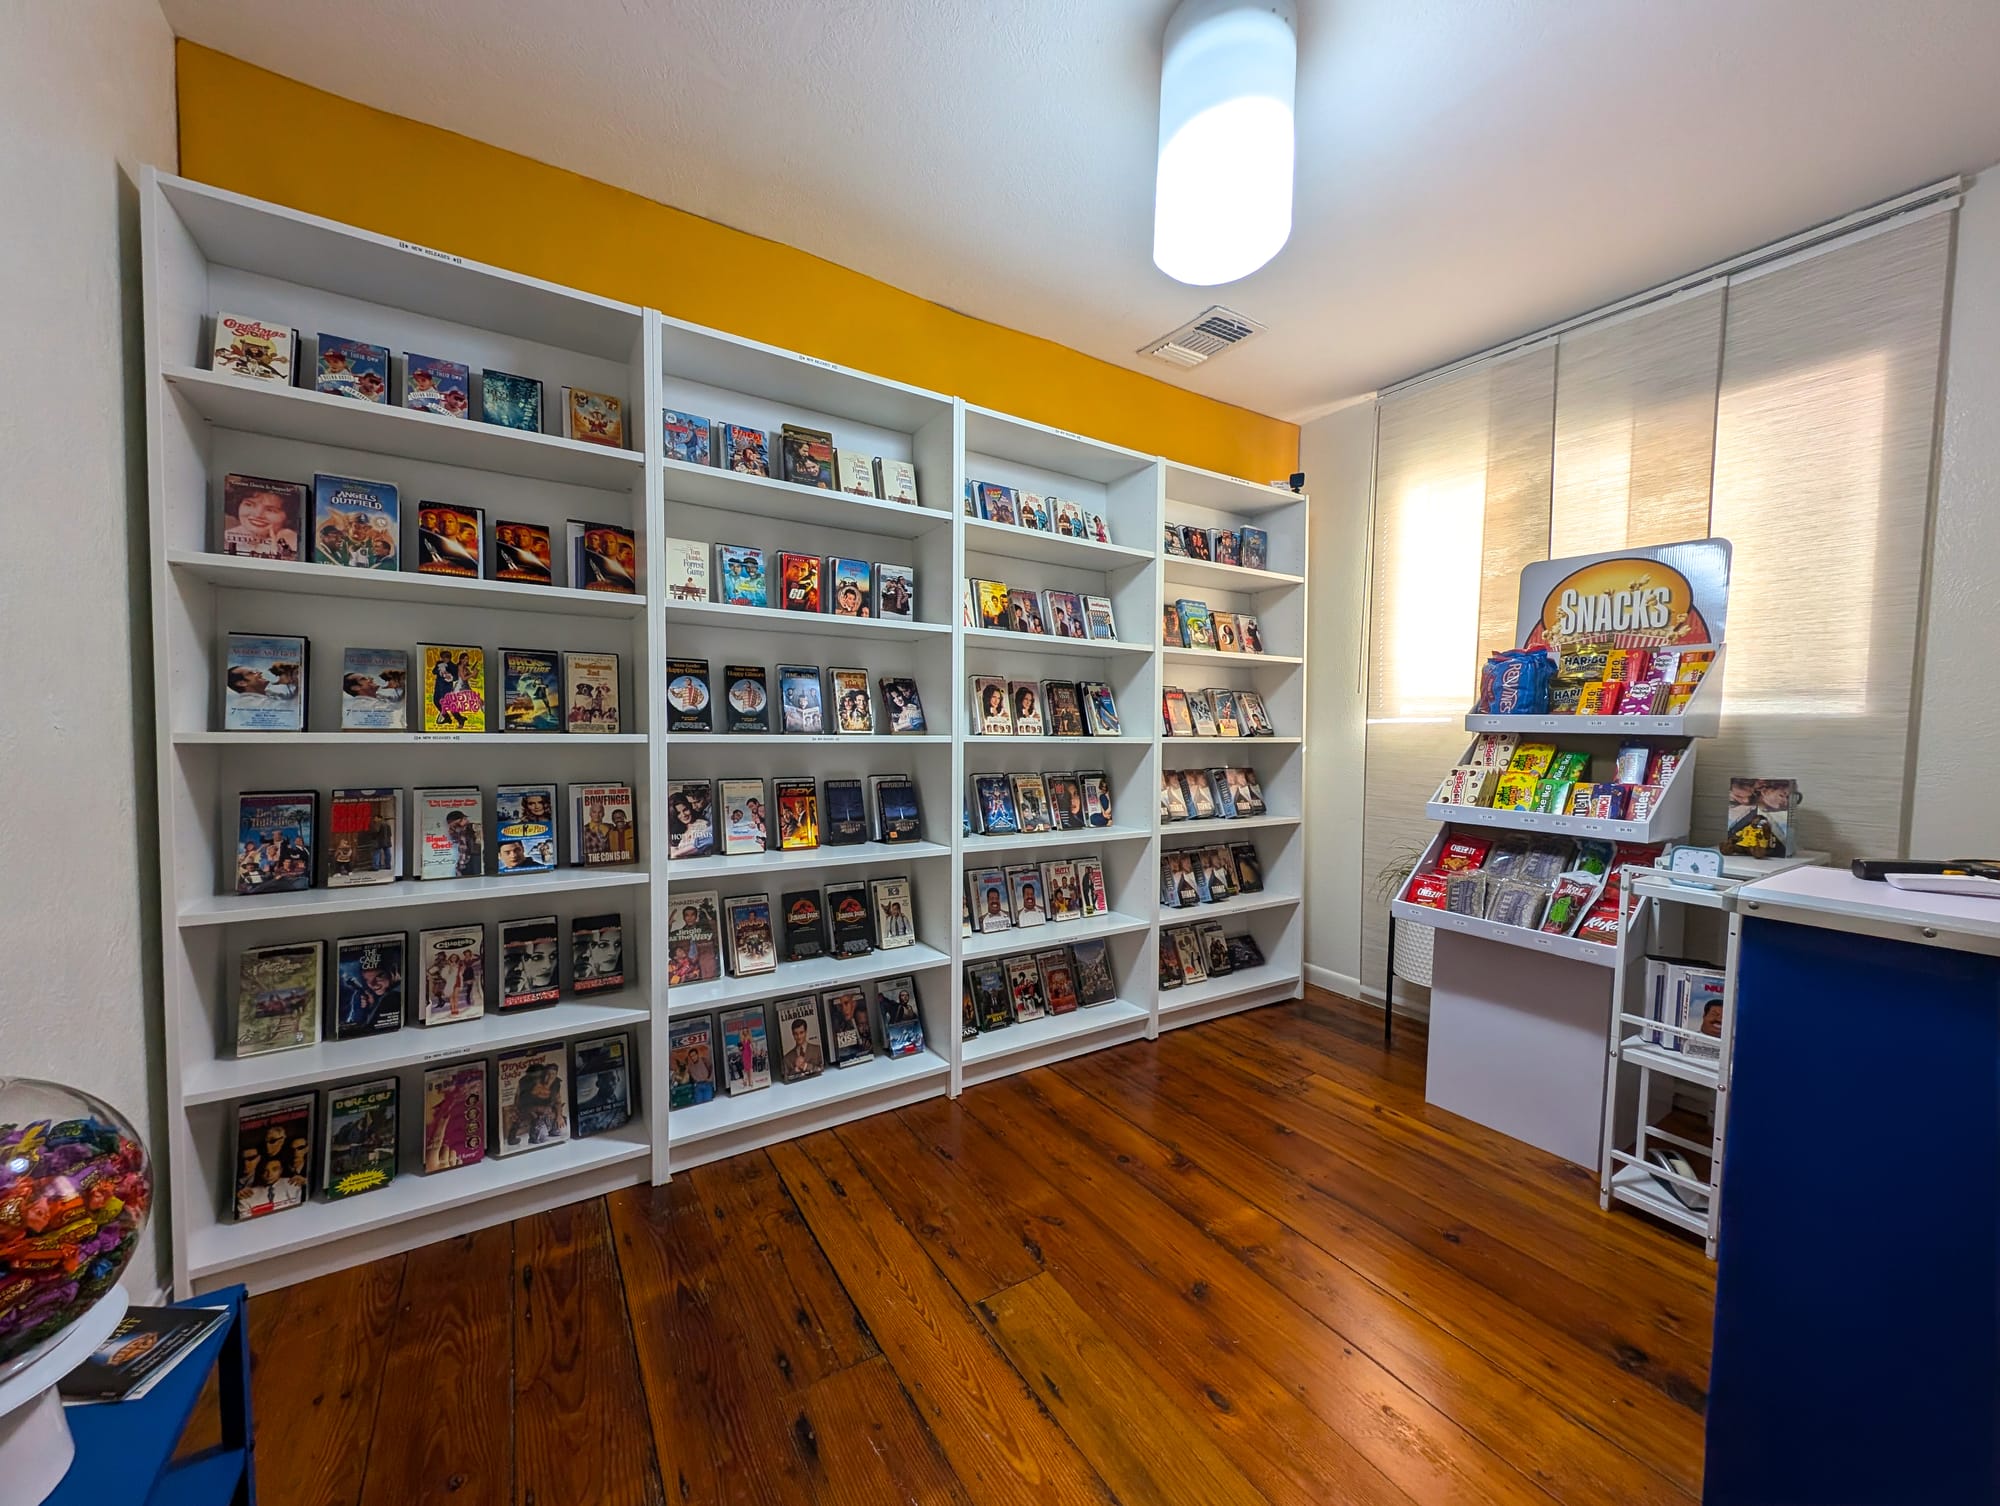
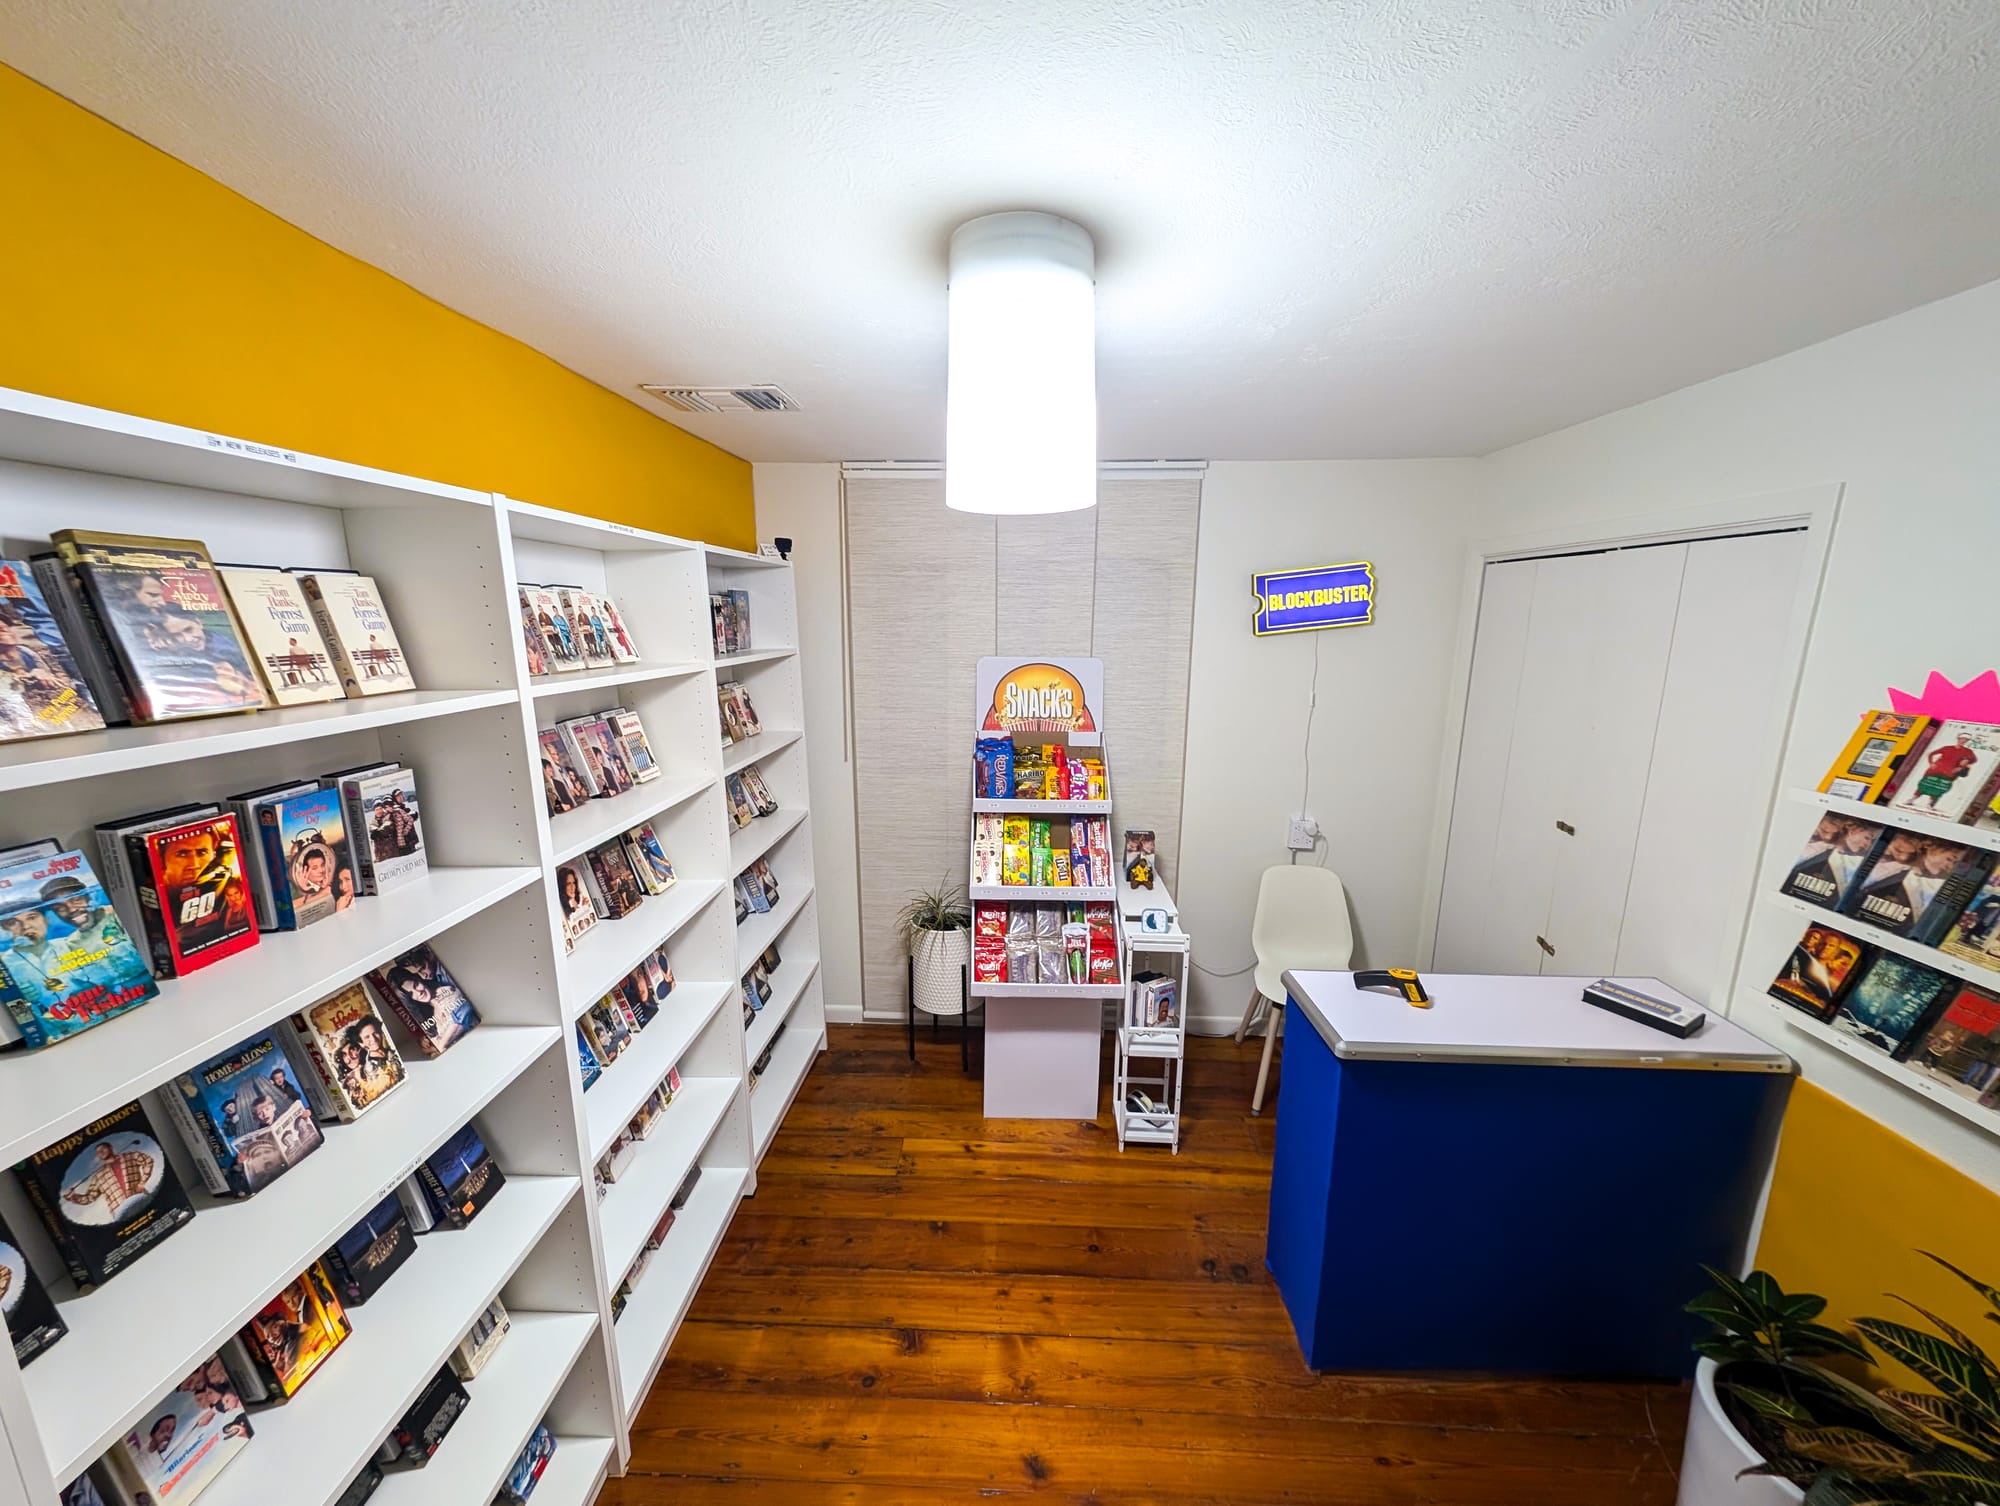
Because travel is hard, and because time travel is impossible (so far), for my 40th, my wife and I decided to build out a fully-stocked Blockbuster Video in our home office, complete with a full selection of VHS tapes, tower of snacks, sound effects and muzak, and me behind the desk as the sole, late-night employee.
The plan was to invite over some friends and surprise them with the full Blockbuster experience, where everyone gets to pick out a movie and snack, complete with me ringing them up at the "cash register." Let's go!
Part One: Acquiring my VHS collection
When I first had the idea, I wondered where I'd source all the VHS tapes. This turned out to be... surprisingly easy. Like, probably the easiest and cheapest part of this whole process.
I found a great little thrift shop in Llano, TX, less than an hour from home. It's The Bessemer Book and Resale Store, and you should go visit. Across the lot out back is a place called Rats (which stands for Records & Things Strange), and across the street is Brett's Biltong, an amazing local market with fresh jerky and a meat case. Make a day trip of it. (Secret pro tip: get a hamburger from this gas station, I mean it).
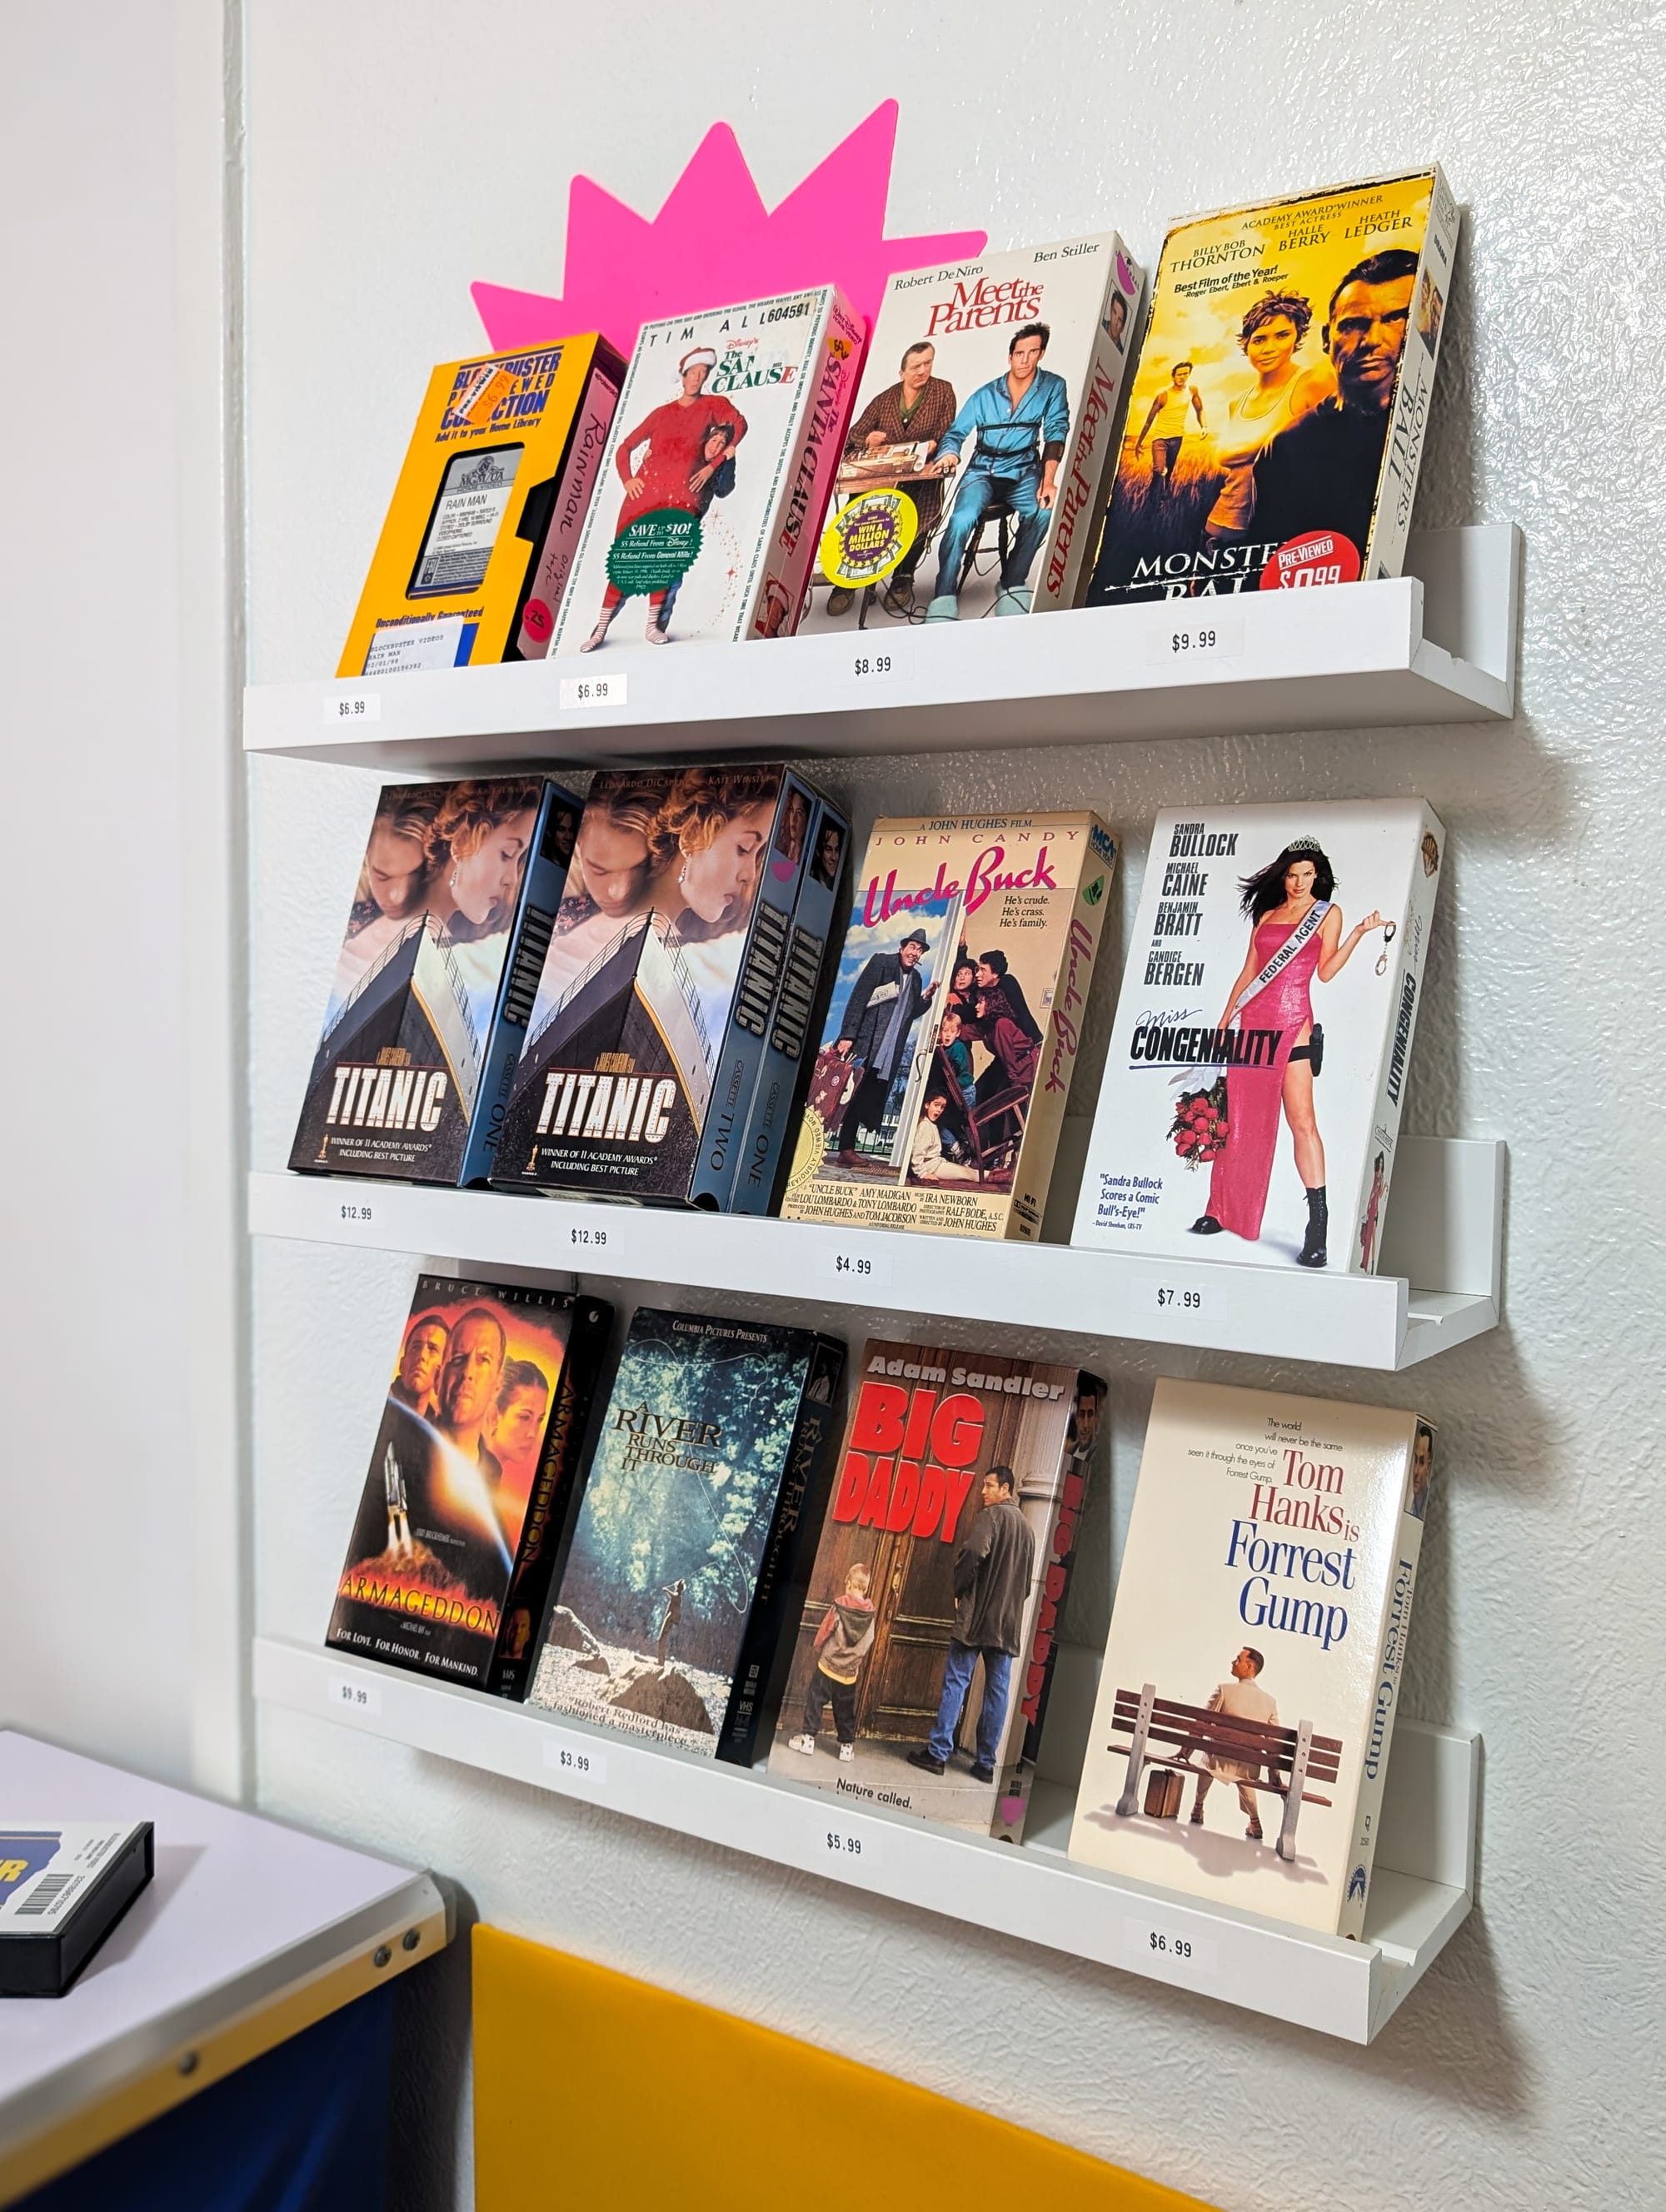
The VHS were marked from 25¢ to $1, but once I loaded up a few boxes, the guy up front told me I could have everything for 25¢ each. I bought about $30 of VHS and had the bulk of my collection on one trip.
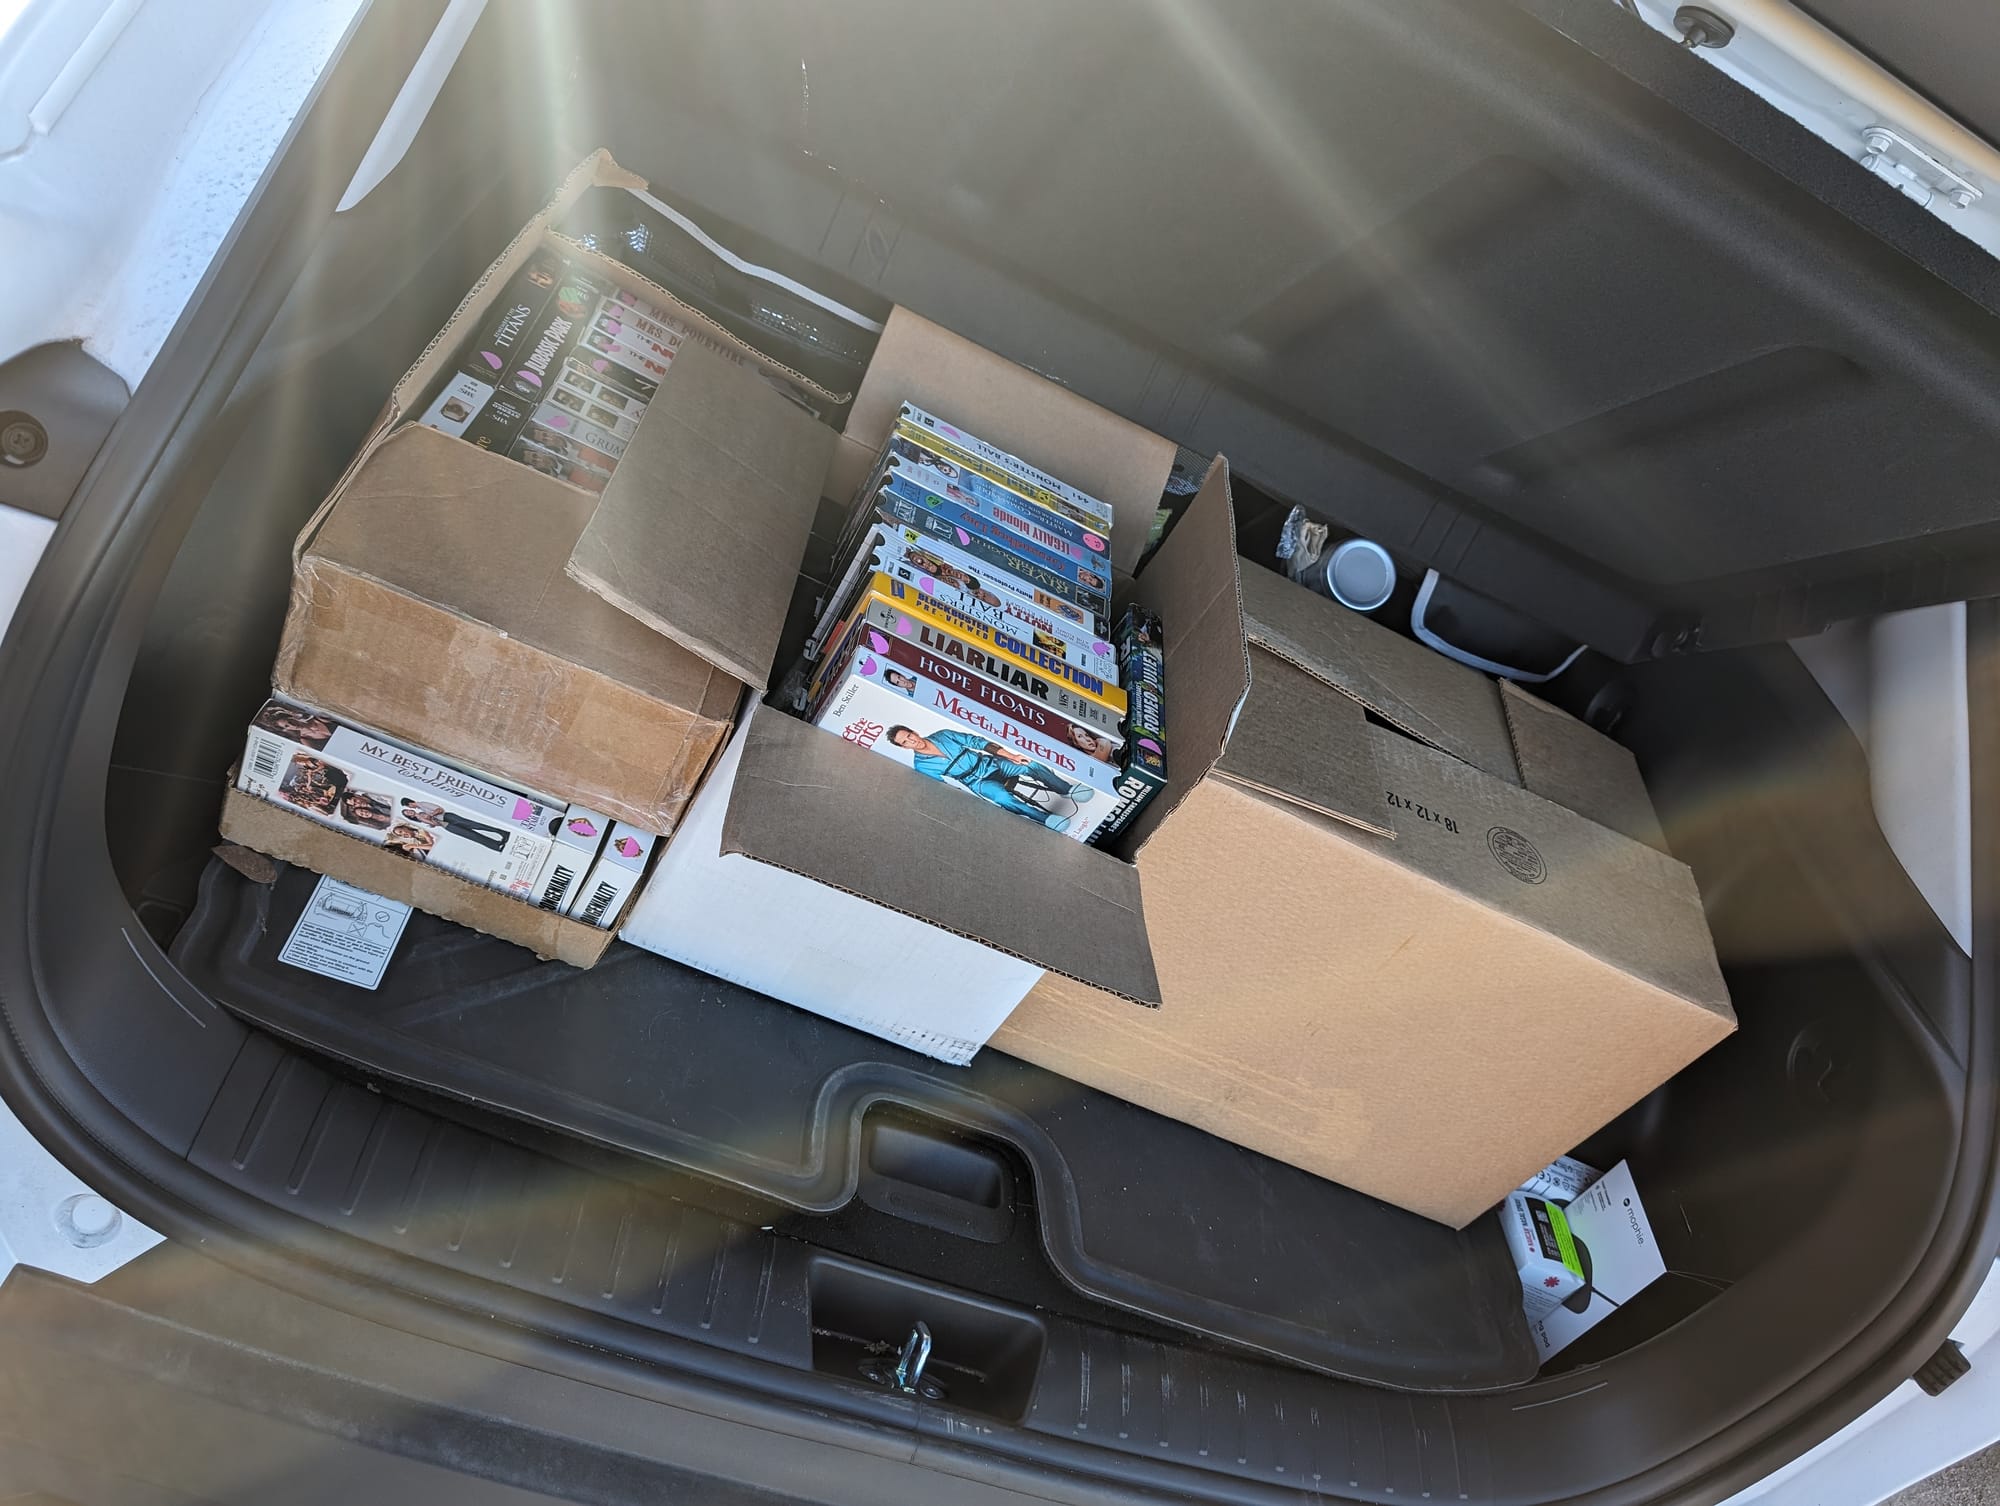
I made one more return trip (and had another gas station hamburger), and also ordered a few harder-to-find but must-have titles from eBay (Ernest movies, to name a few). The collection was complete. Now onto the sheet...
Part Two: Building out the spreadsheet
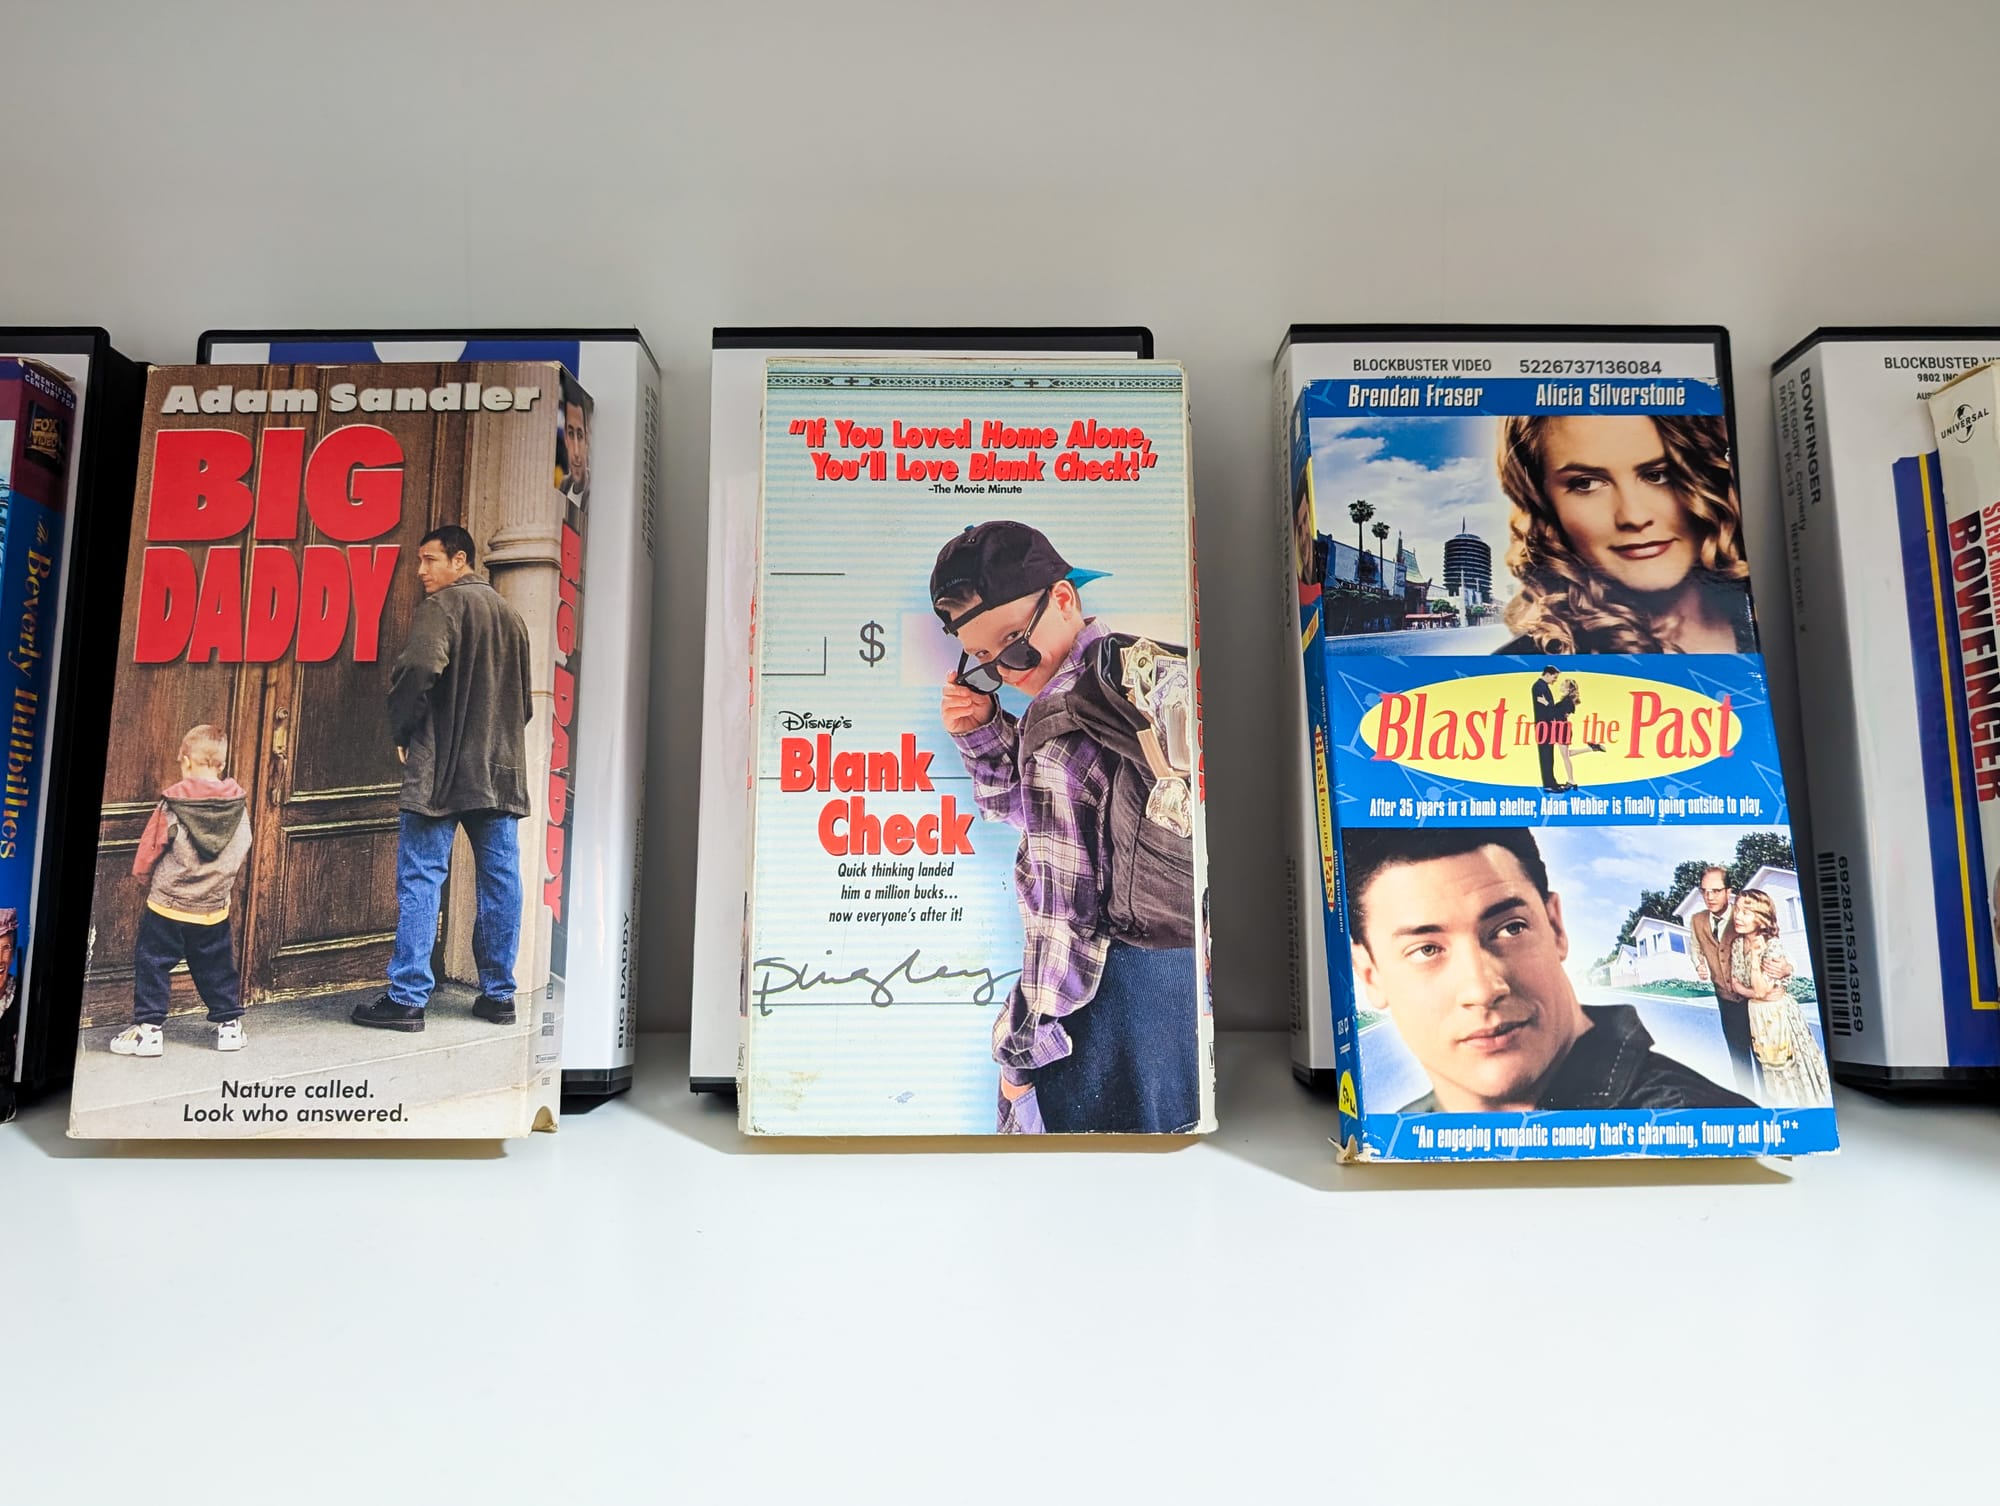
One thing I decided early (maybe foolishly), was that we wanted every Blockbuster VHS clamshell to have a correct label, info, and tape inside. Since we were looking at 100+ tapes, it wasn't something we wanted to do by hand. It was time to automate!
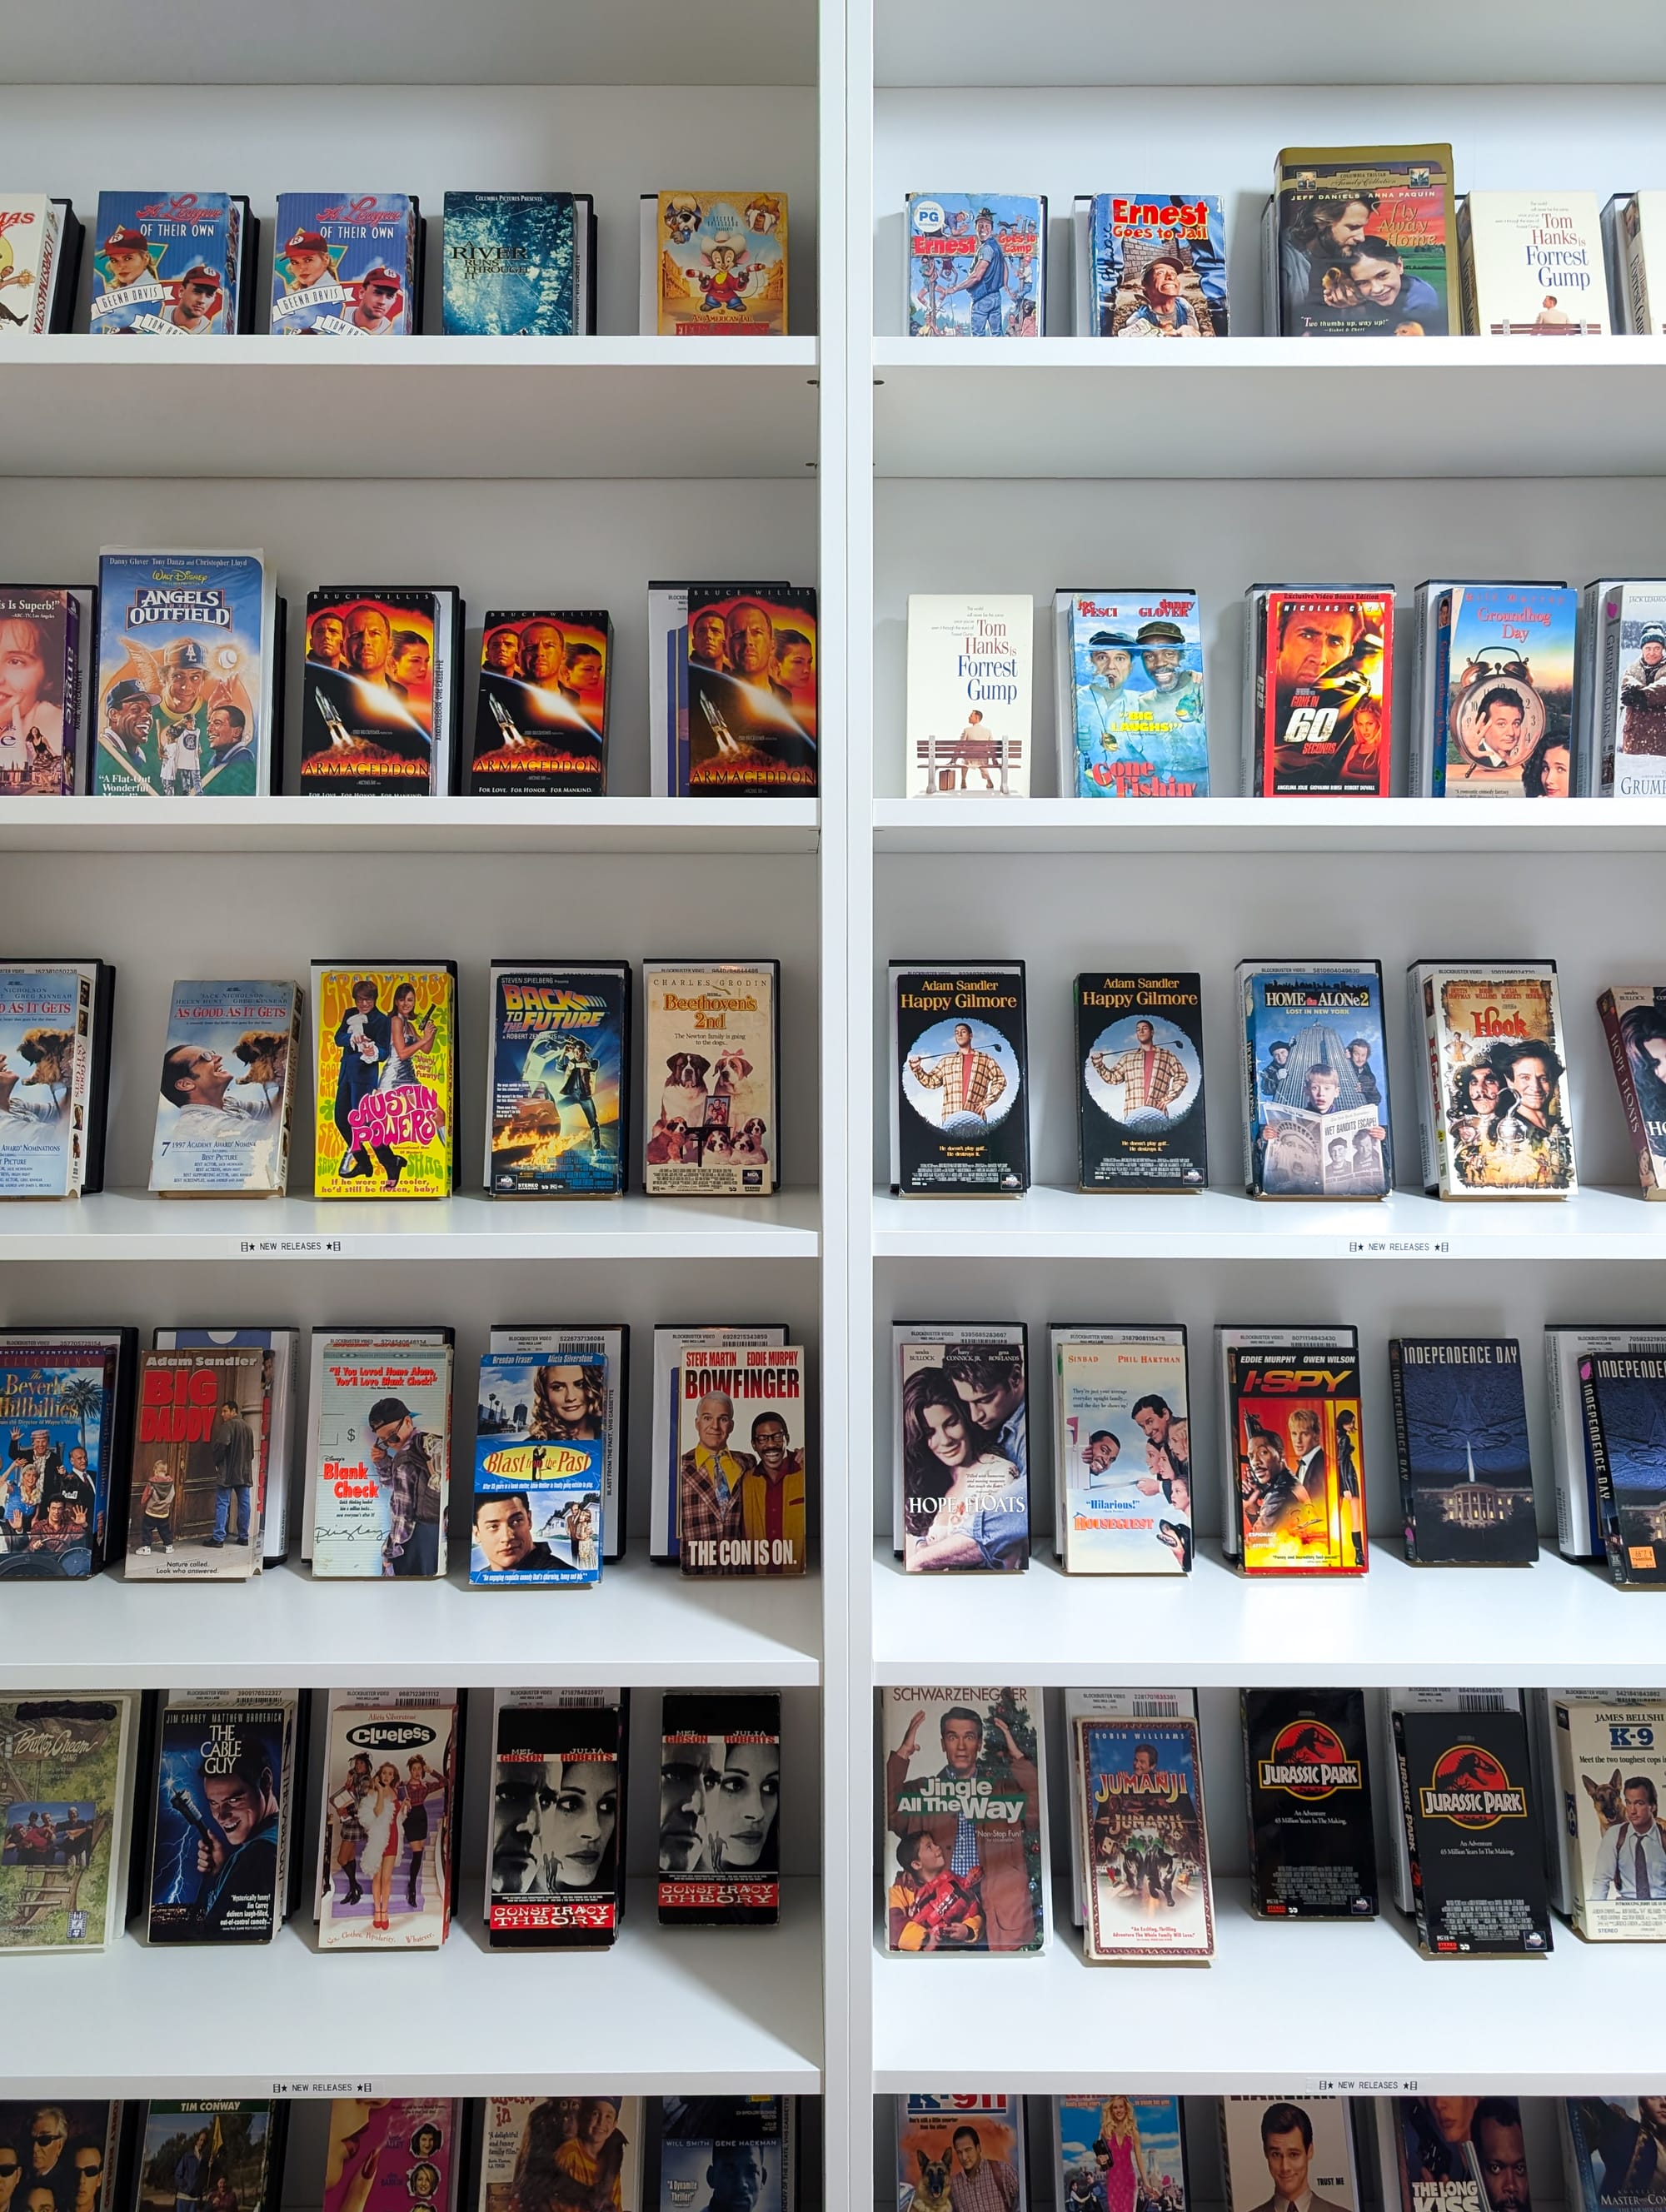
To get started, I inventoried all the tapes in a Google Sheet. Just a simple list of each title, along with the amount of copies I'd bought of each (remember that? Entire rows of the same tape? Titanic, anyone?).
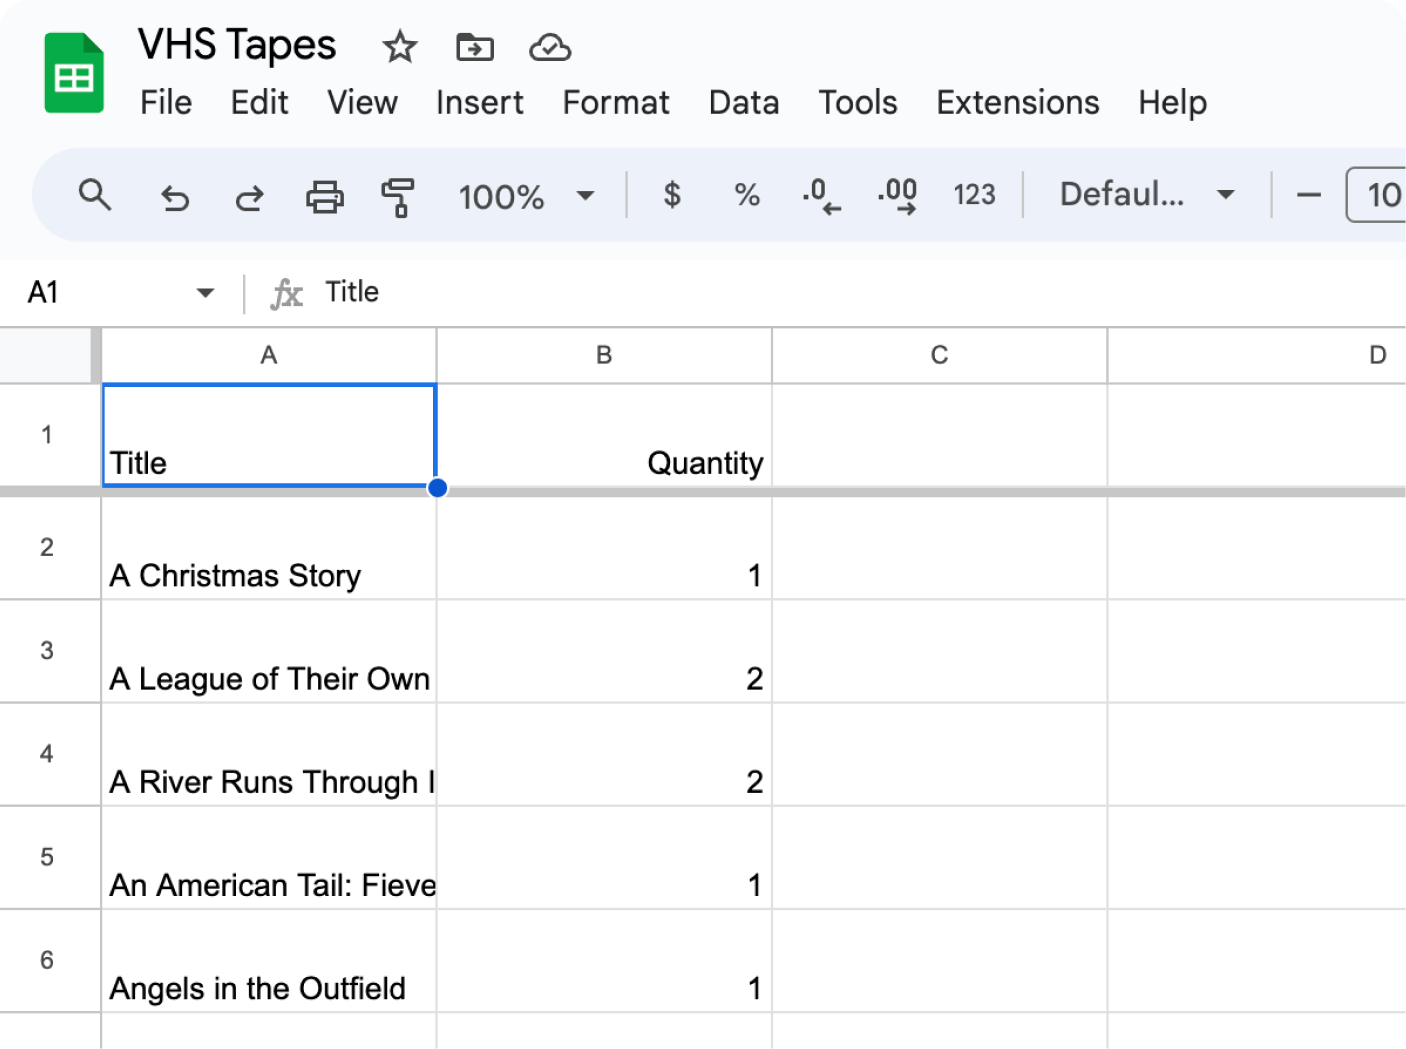
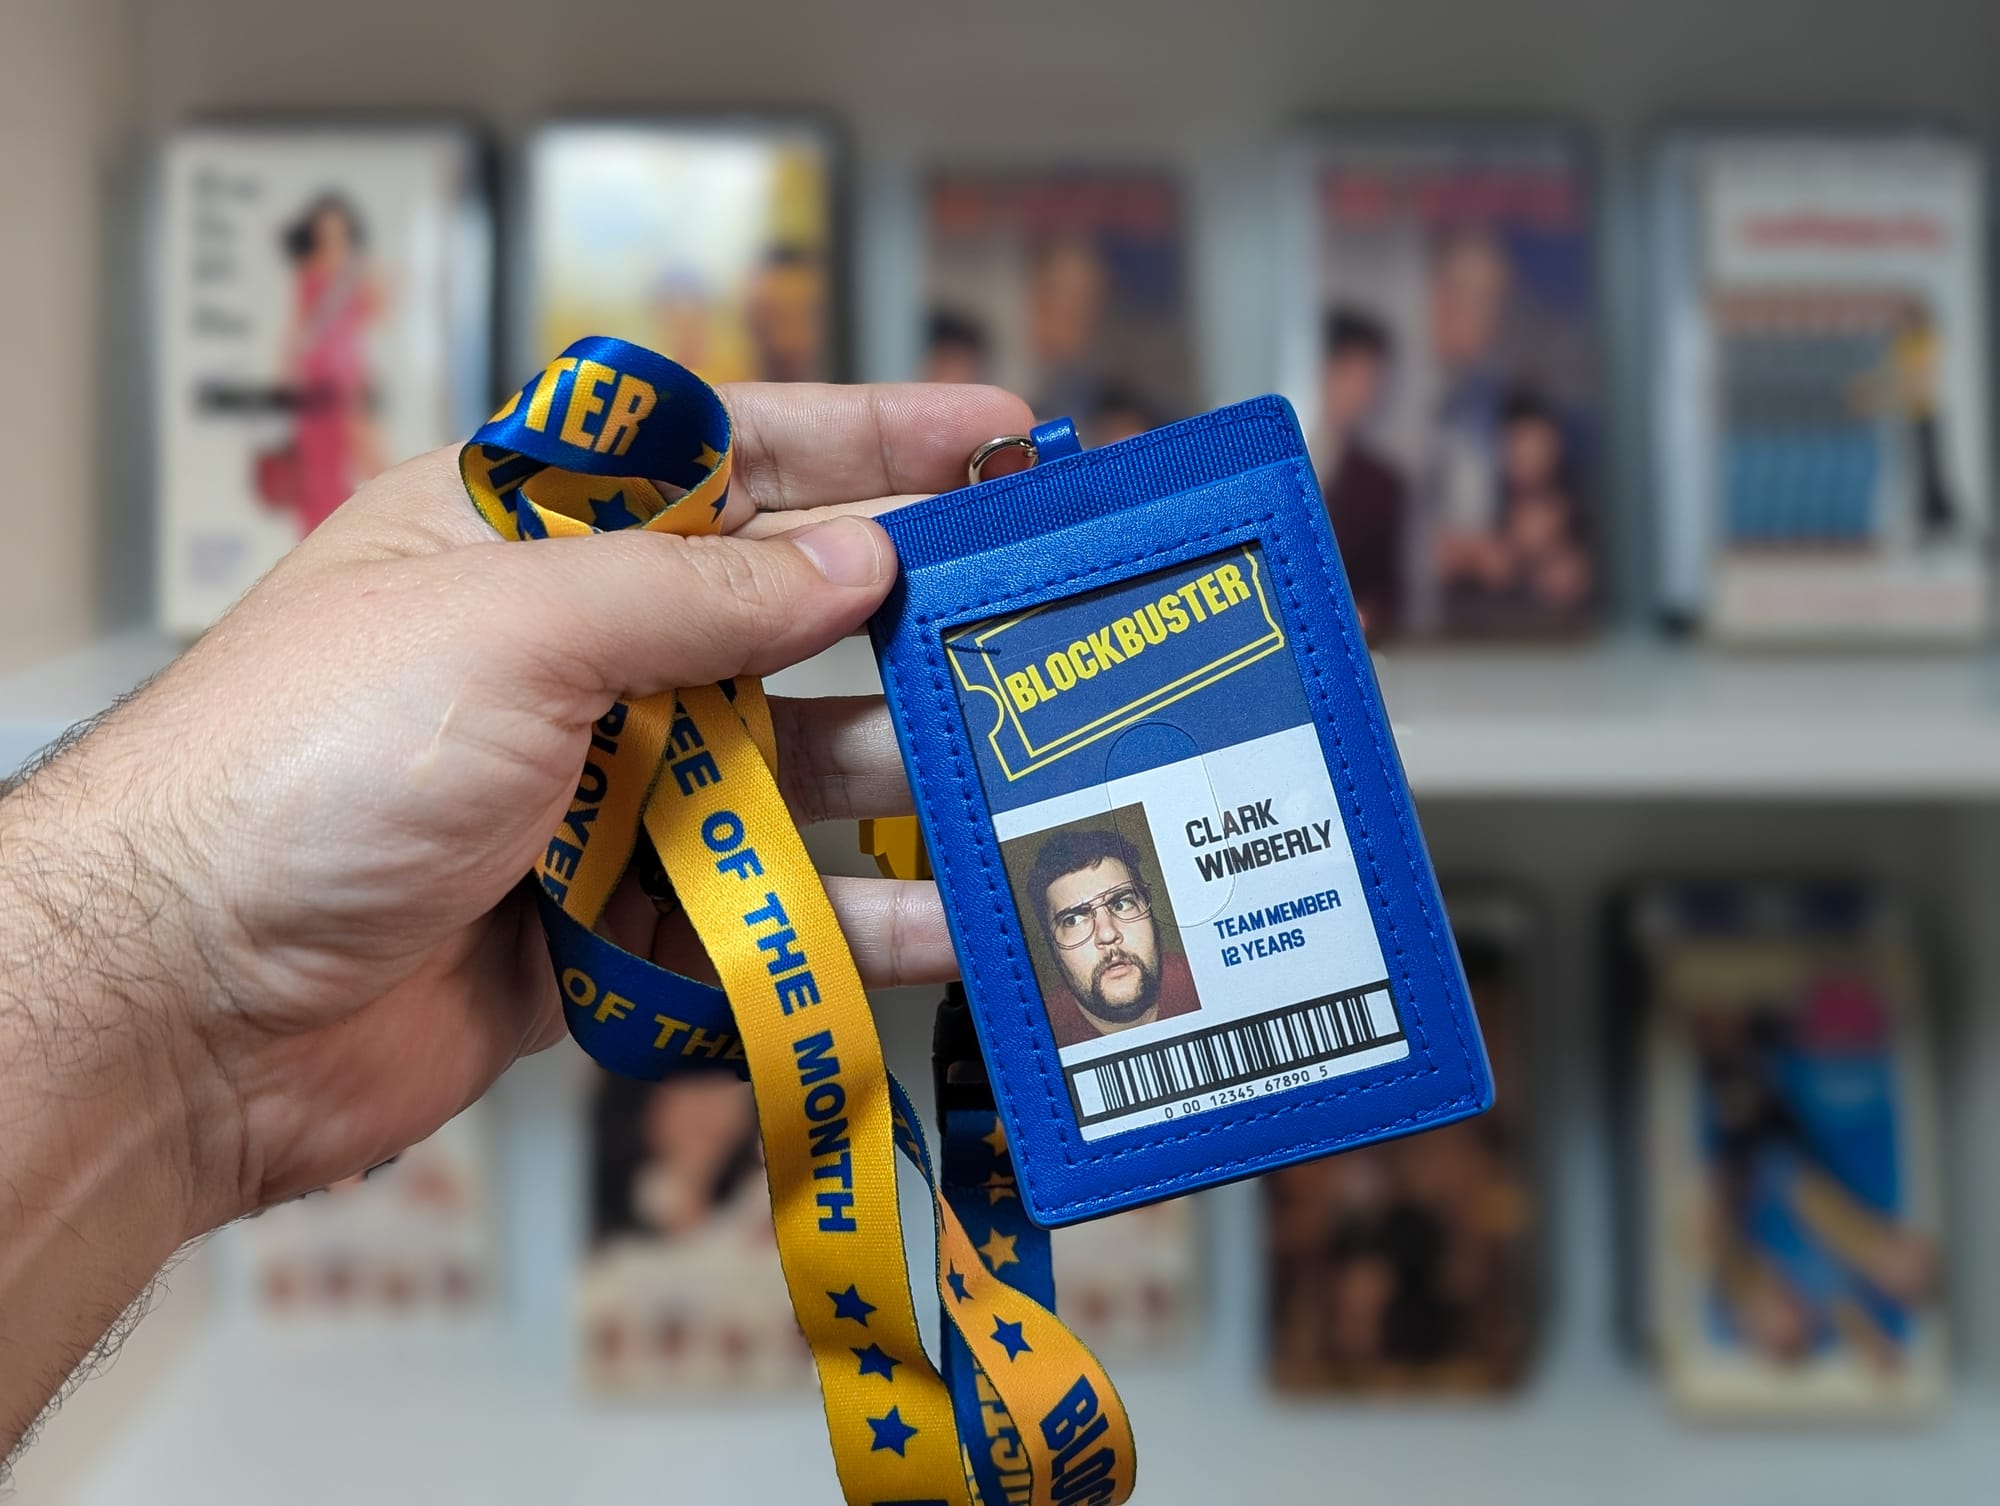
This took about an hour one evening, and was the first instance (of many) of starting to feel like an actual Blockbuster employee. Logging and tracking and stocking (and eventually, wearing a uniform and lanyard).
The goal is to run a script on each title with an API call to collect the meta data for each movie (title, genre, rating, cast, description), populate our spreadsheet, and then use the spreadsheet to populate a Figma template. Time to script!
Part Three: Making a Google Apps Script with ChatGPT
There are two main takeaways from this section, so I'll put them right up front: A) I recently learned there's a way to run scripts directly inside of a Google Sheet, with no middleware, and B) I had ChatGPT write the API call for me.
It was a huge time saver, that I'll probably use in future "real" projects, and this was a perfect test case, if you're curious to play with it yourself.
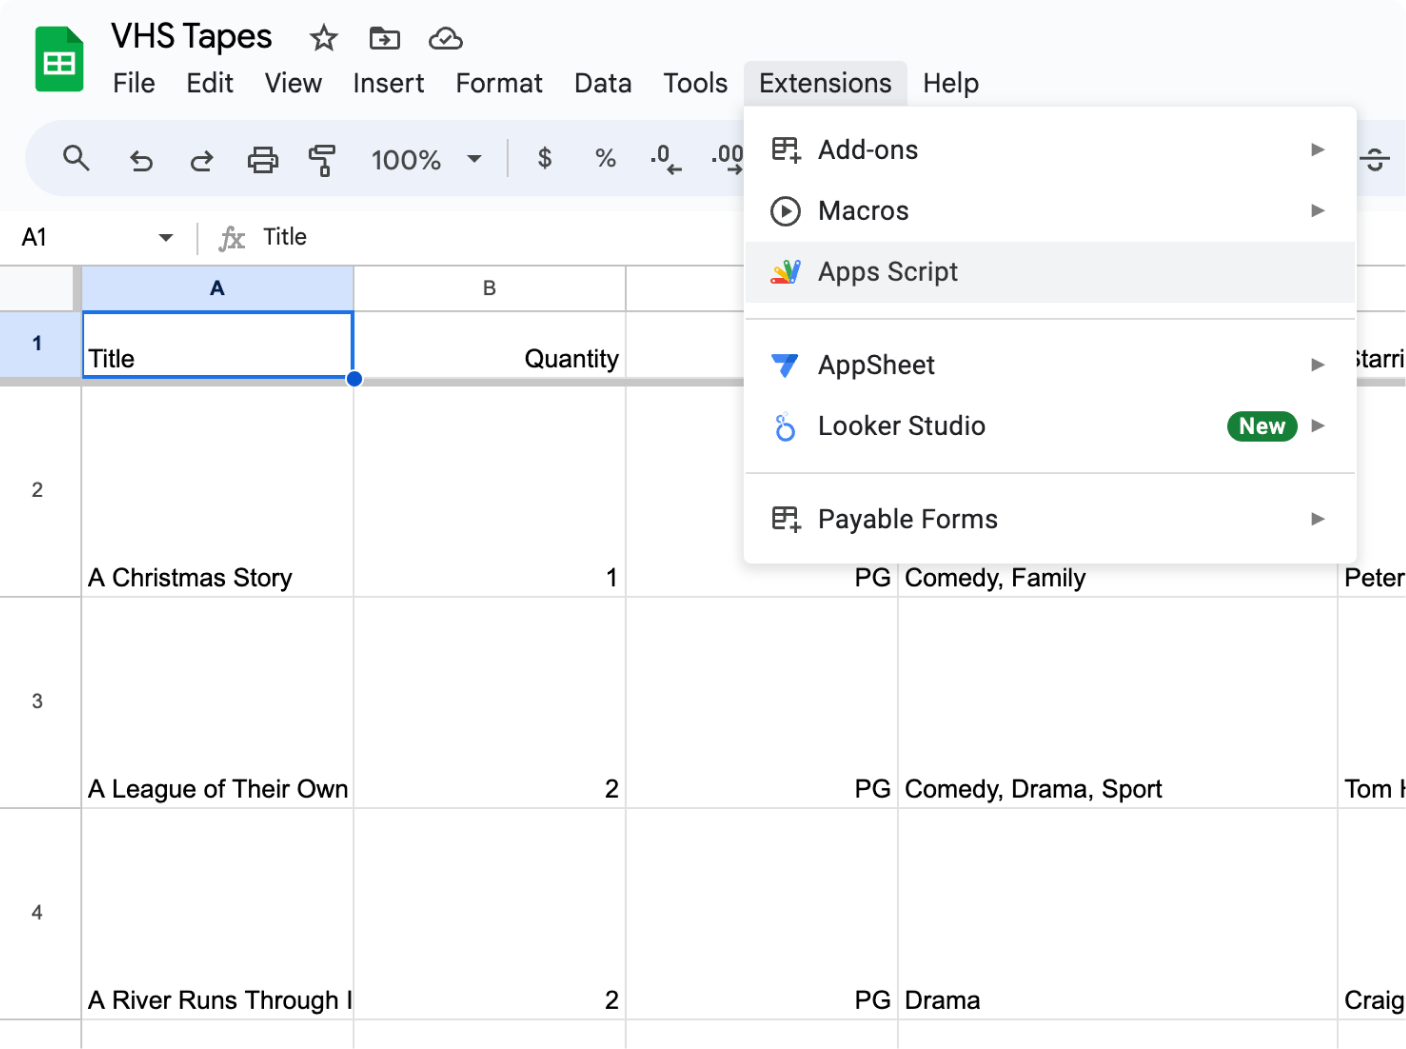
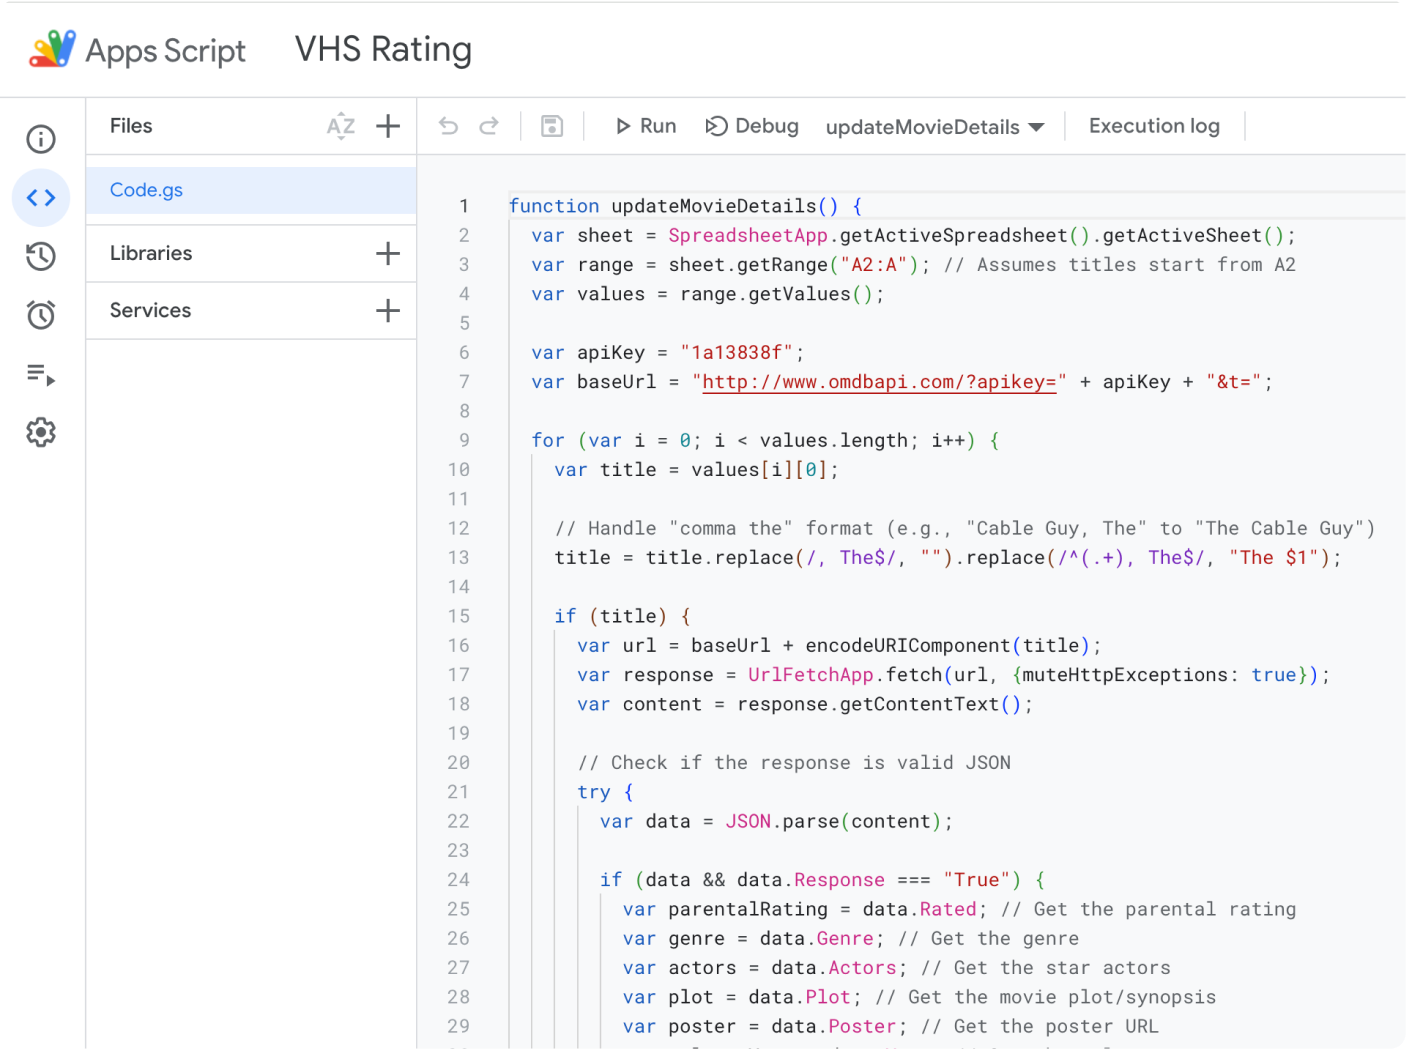
If you've never coded with ChatGPT, it's pretty simple, especially if you keep testing and replying with more specific fixes and features. In just a few minutes, we had a script that would hit the OMDB API, run thru my list of movie titles in the spreadsheet, and return the following data, each in an organized column:
- Rating
- Genre(s)
- Cast
- Synopsis
- Poster (I didn't need this to print, just wanted it for the sheet)
- UPC Code (generating a random number, per title)
- Blockbuster Rental code (from their internal system, picked at random)
- Release Year
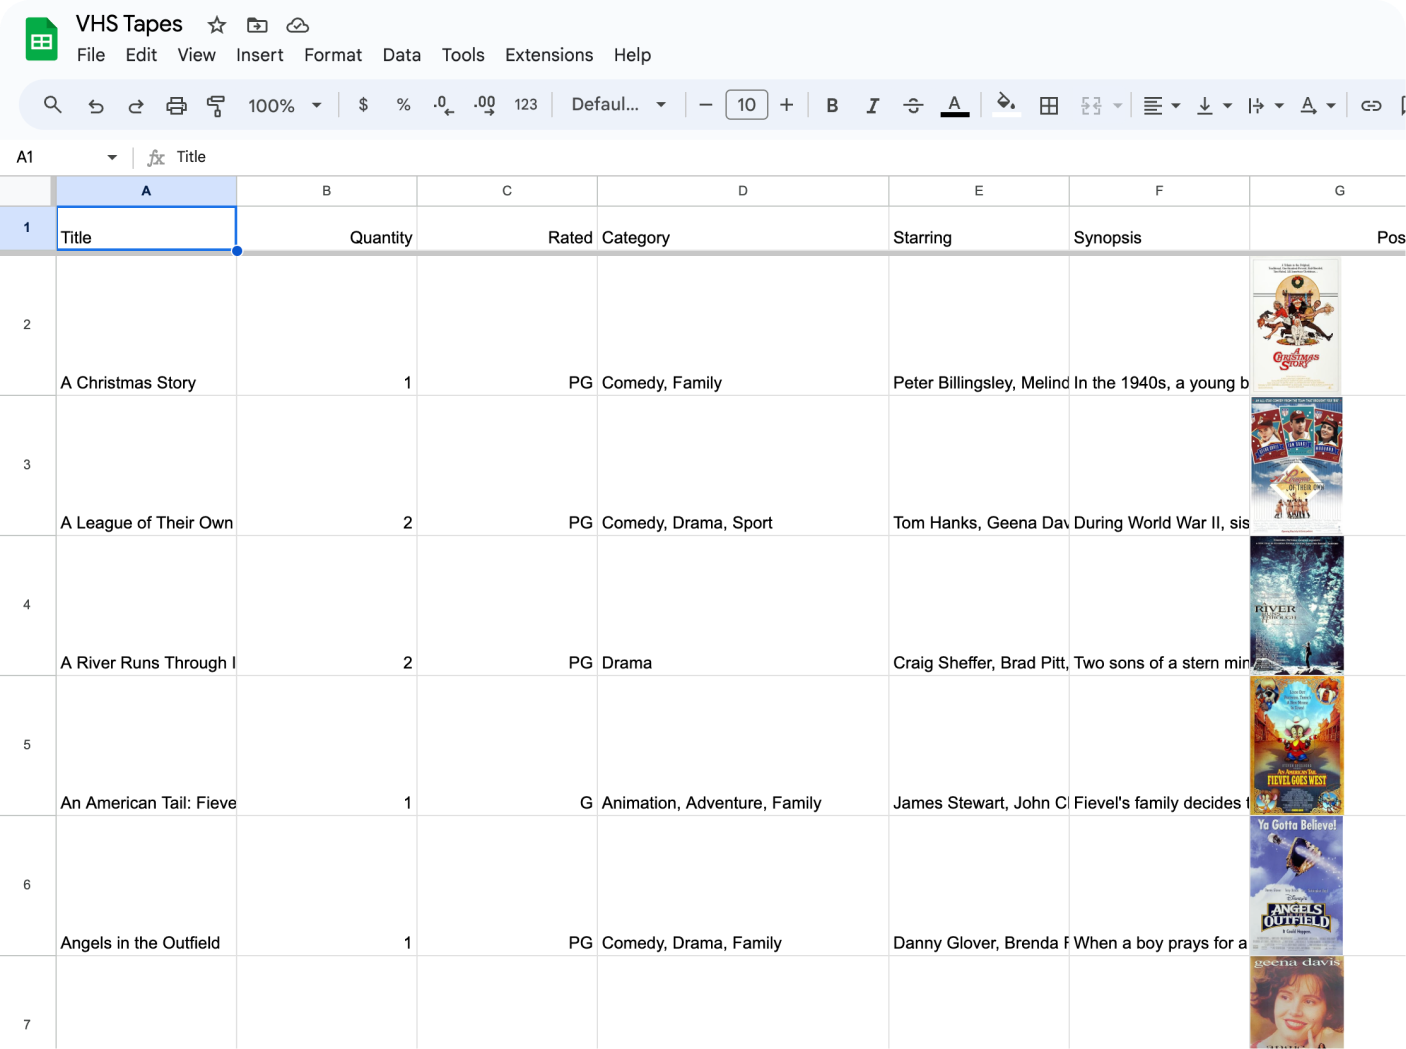
The entire API call is pretty simple, and I'll keep telling myself I could've written it by hand, but GPT sure made it quick work. Here's a link to the complete script:

If you can read JS, you can probably tell what it's doing, but, in short:
- selects our current sheet and grabs title values
- provides OMDB API with my private key
- loops thru all titles it found in the first column
- parses return JSON and checks for errors
- adds parsed data (year, cast, etc) to structured columns
The script takes about 10 seconds to run, and it was easy to repeat over and over as I added more last minute eBay VHS to the collection (and we all know that "last minute" data changes almost never happen in real life projects, so it was fun to test that flow here). Next up, we're finally ready, it's time to bake some graphic templates with Figma using our fancy new spreadsheet!
Part Four: Making Figma file, using Google Sheets Sync
With our structured data source, we're ready to make a Figma template (the actual clamshell cover) and then populate it, which is exactly what the Google Sheets Sync plugin from @Dave was built to do.
It's a pretty simple concept, but the plugin is also pretty powerful. At the most basic, it:
- takes the named data from your spreadsheet
- finds layers in Figma with the same naming convention
- fills in the Figma layers with data from spreadsheet
The plugin can also handle repeating our layers (take 1 Figma component and generating 100+ filled-in covers), so we don't even need to count/number anything. Again, imagine a "real world" project with X or Y numbers of contacts or locations, this would be perfect! Here's how our Figma component looks before we fill it in:
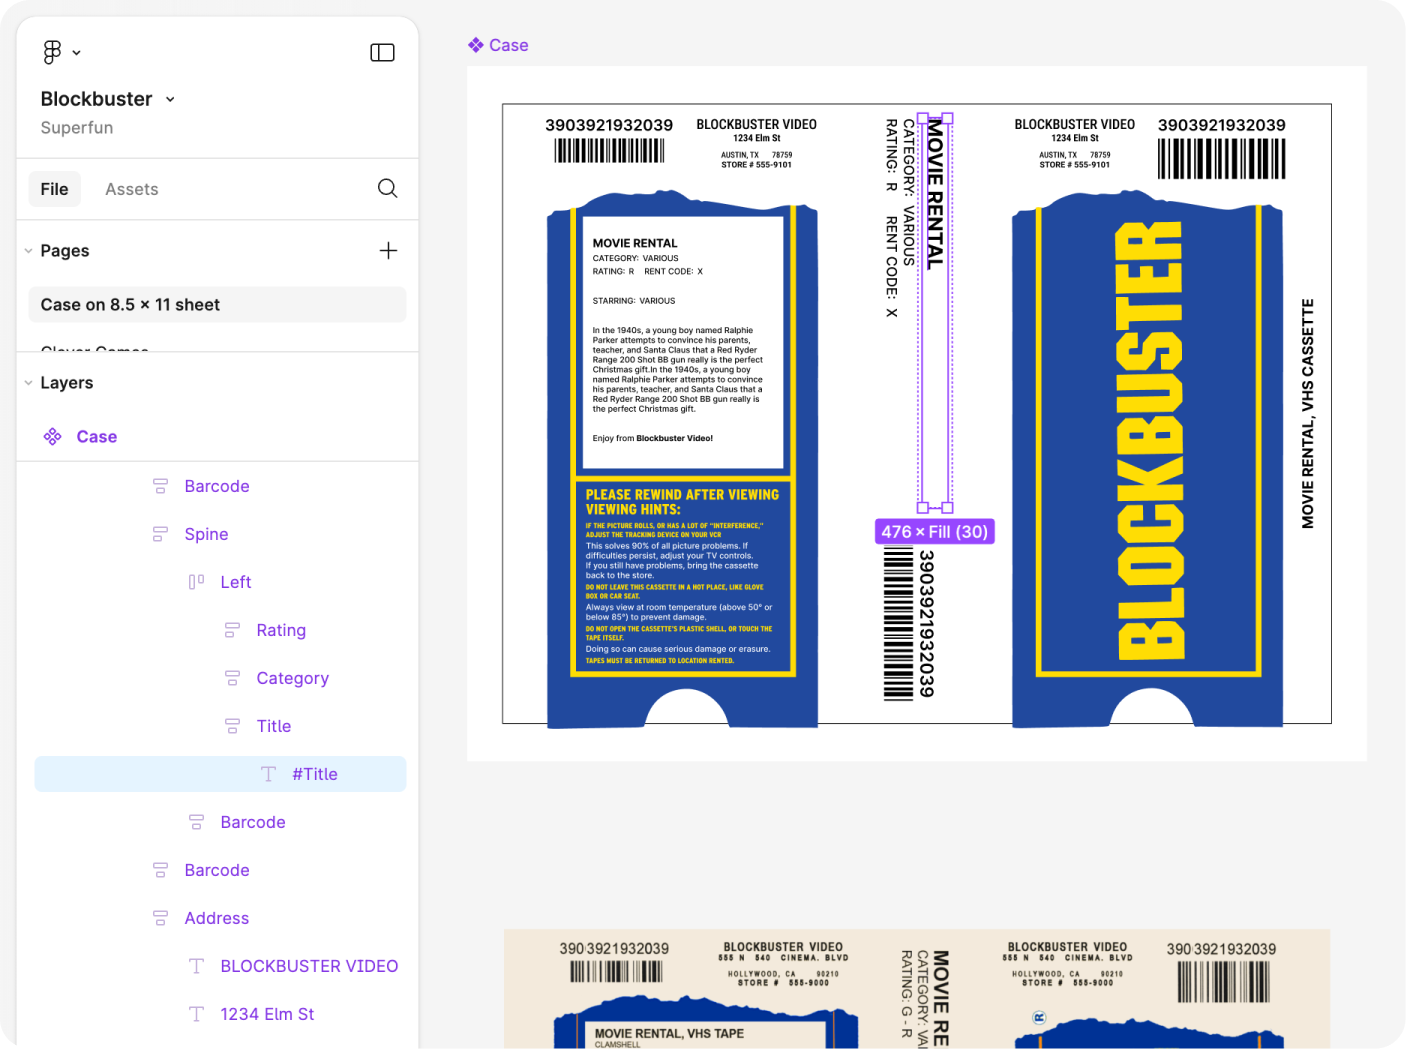
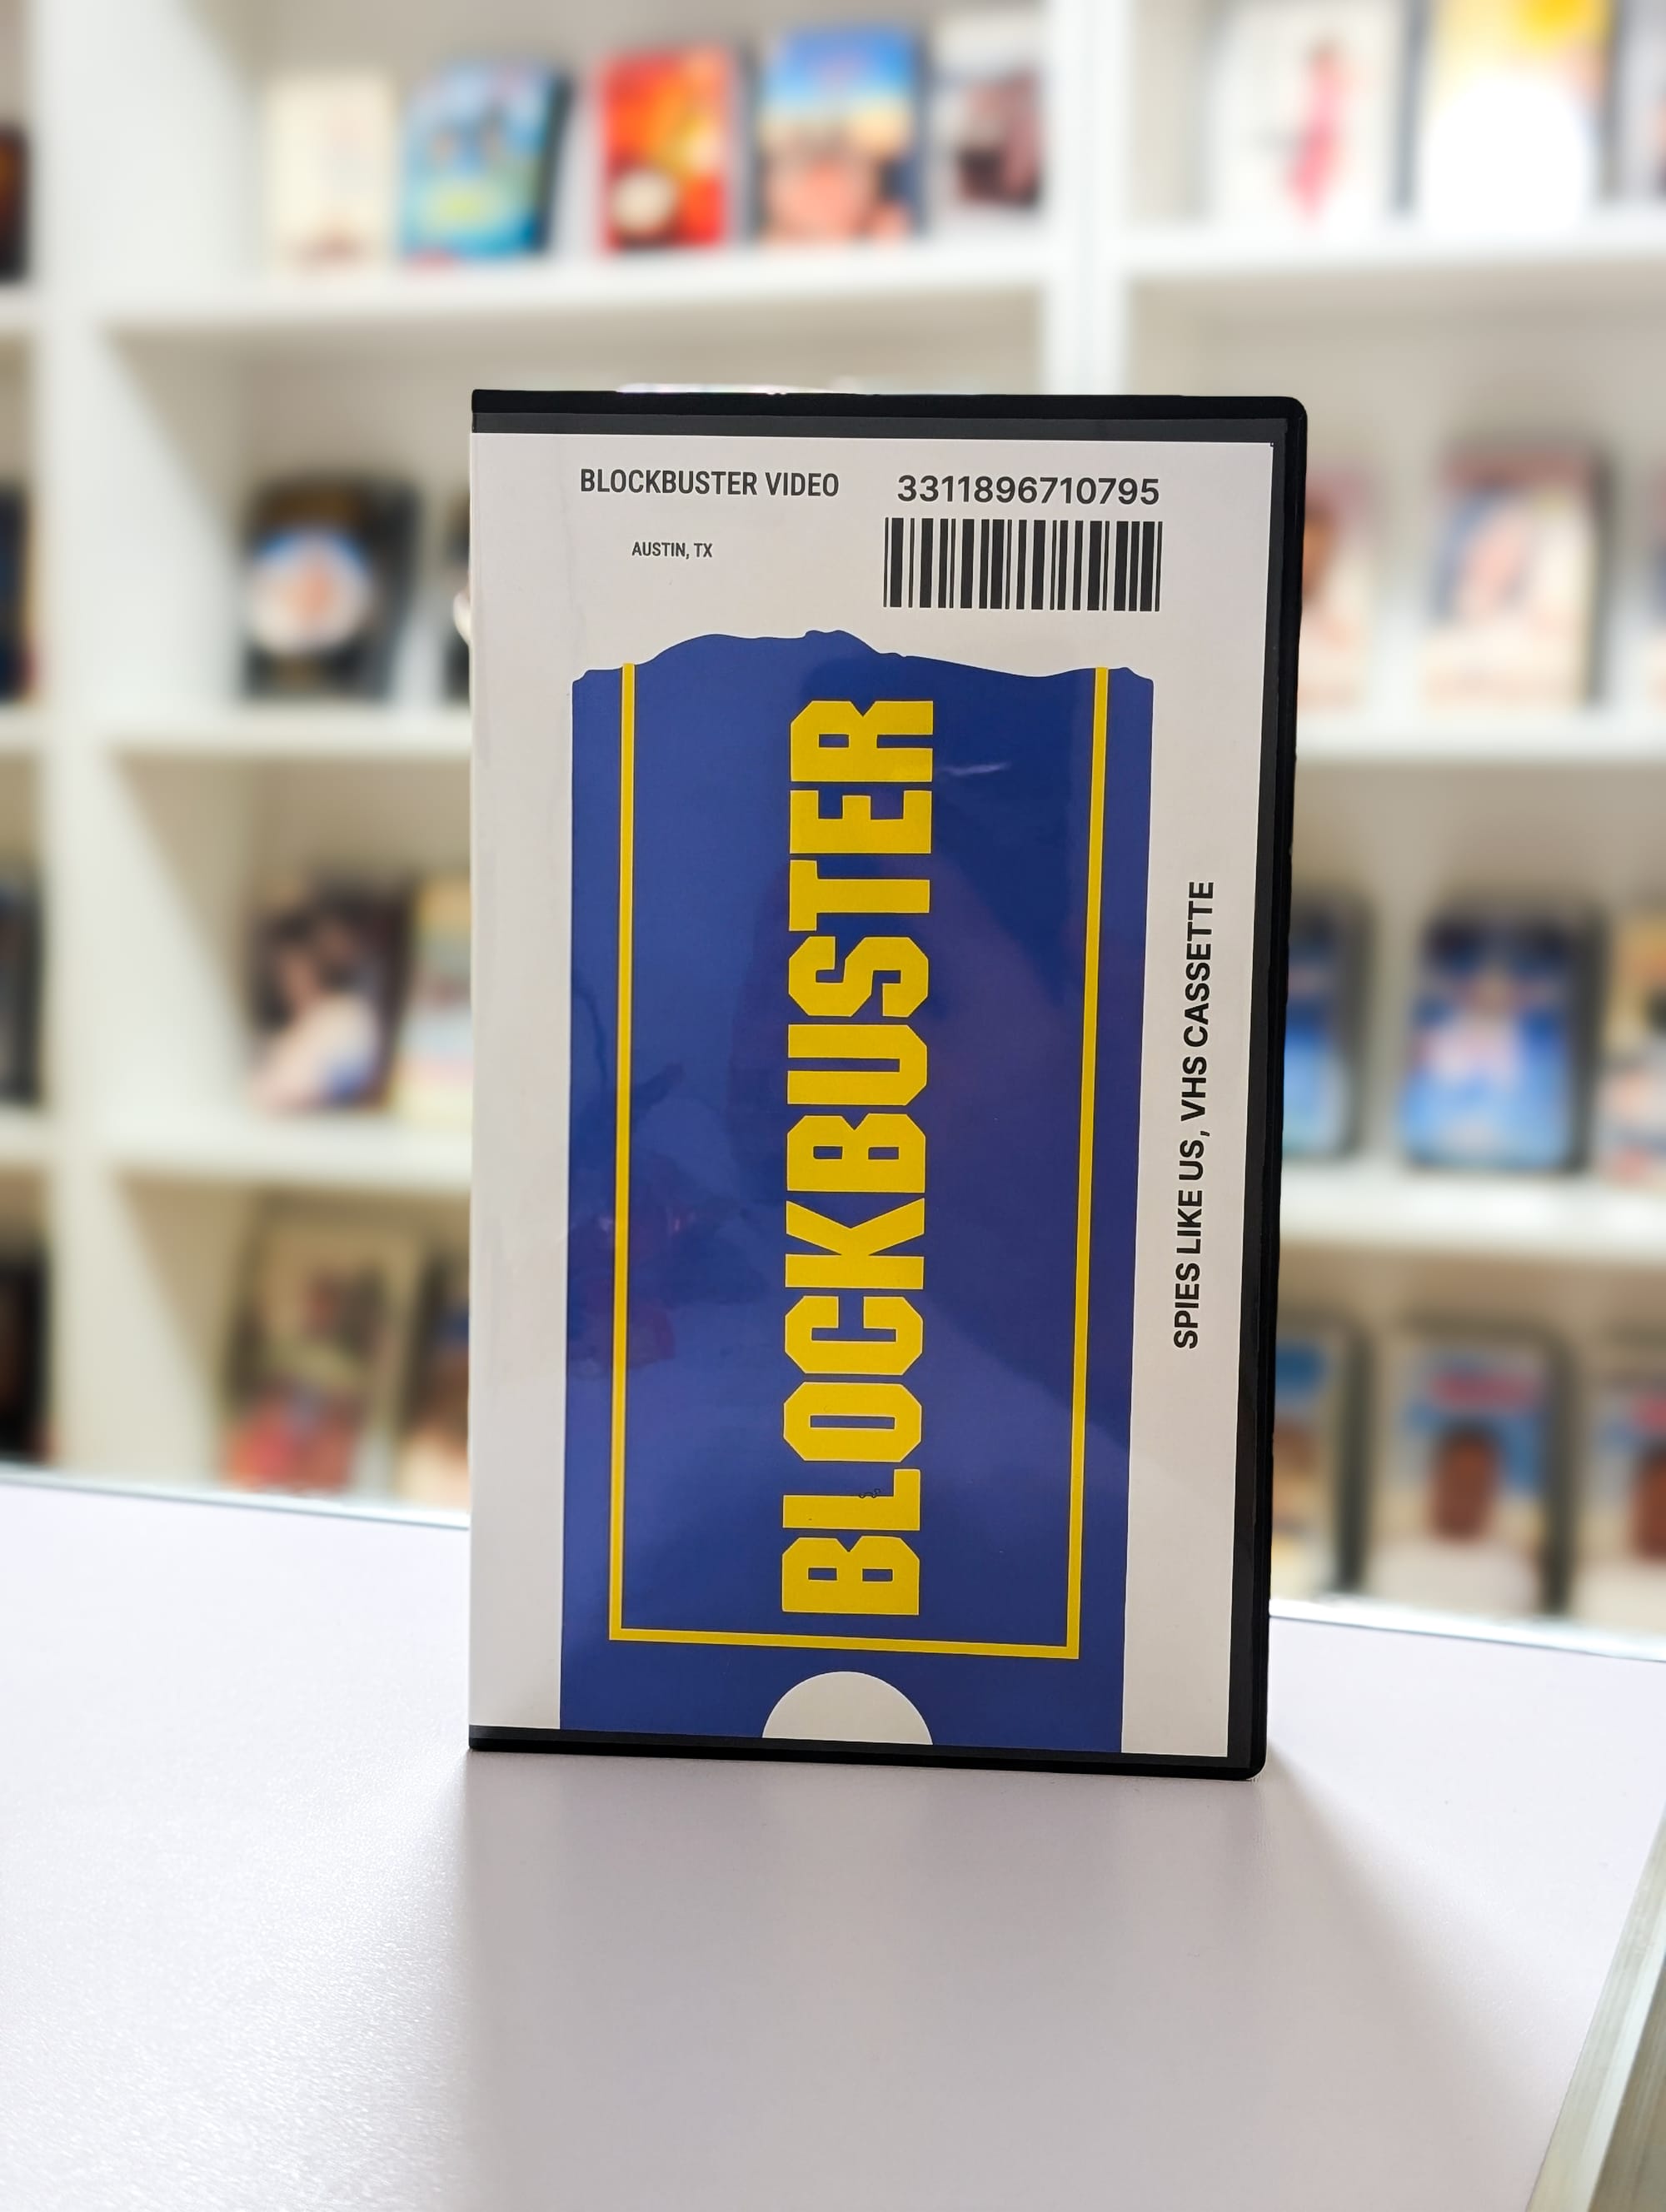
The key thing to notice is the text layer containing our title is labeled #Title, which will let the plugin know which data to put into the slot. We also have named layers for the rest of the data (rating, rental code, etc), and filling in the template takes just a single click.
One more little tidbit is the barcode generator, powered by a UPC Barcode font. Each barcode on each clamshell is unique, and actually resolves to the number displayed above it. Nerdy, I know.
With our template ready, we simply paste in the URL to our spreadsheet, and the plugin does the rest. If you'd like to checkout the Figma template file, I've published it to the Figma Community here.
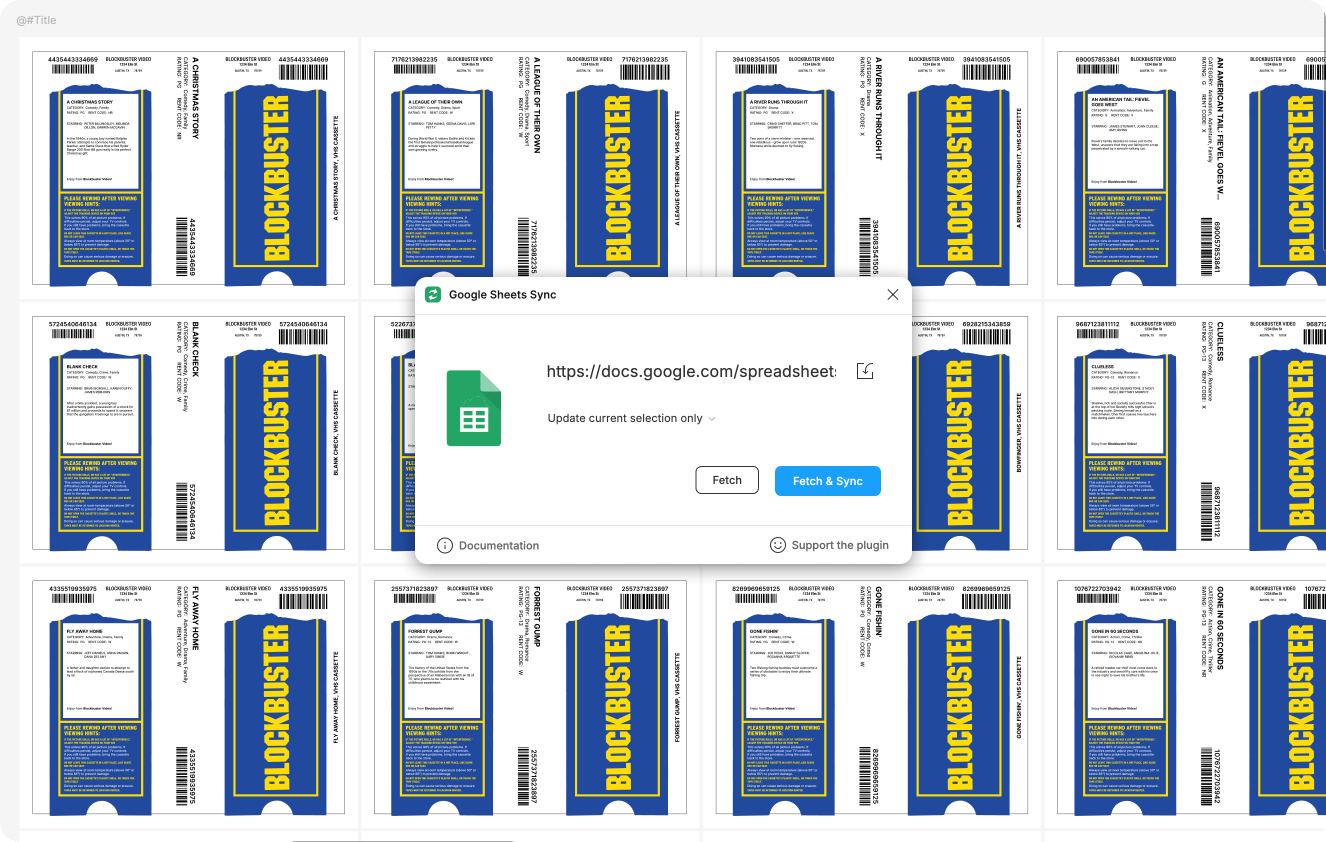
In an instant, we have our complete collection of covers, filled in with real data, ready for print. Now we just need to bake a PDF and...
Part Five: Printing and assembling the VHS clamshells
We have a big, professional printer in our office, and still knew the right move was sending this to a local print shop. Because printers are awful machines sent to make our lives worse.
Our friends at QuikPrint ran the job and cut to size for under $40, which was probably less than the ink alone would've cost us, let alone the headache.
We spent an evening hanging out, watching a movie, and filling the clamshells (ordered from a Walmart dropshipper, just under $1 per, in bulk), and soon our place was looking just like the backroom of a Blockbuster Video.
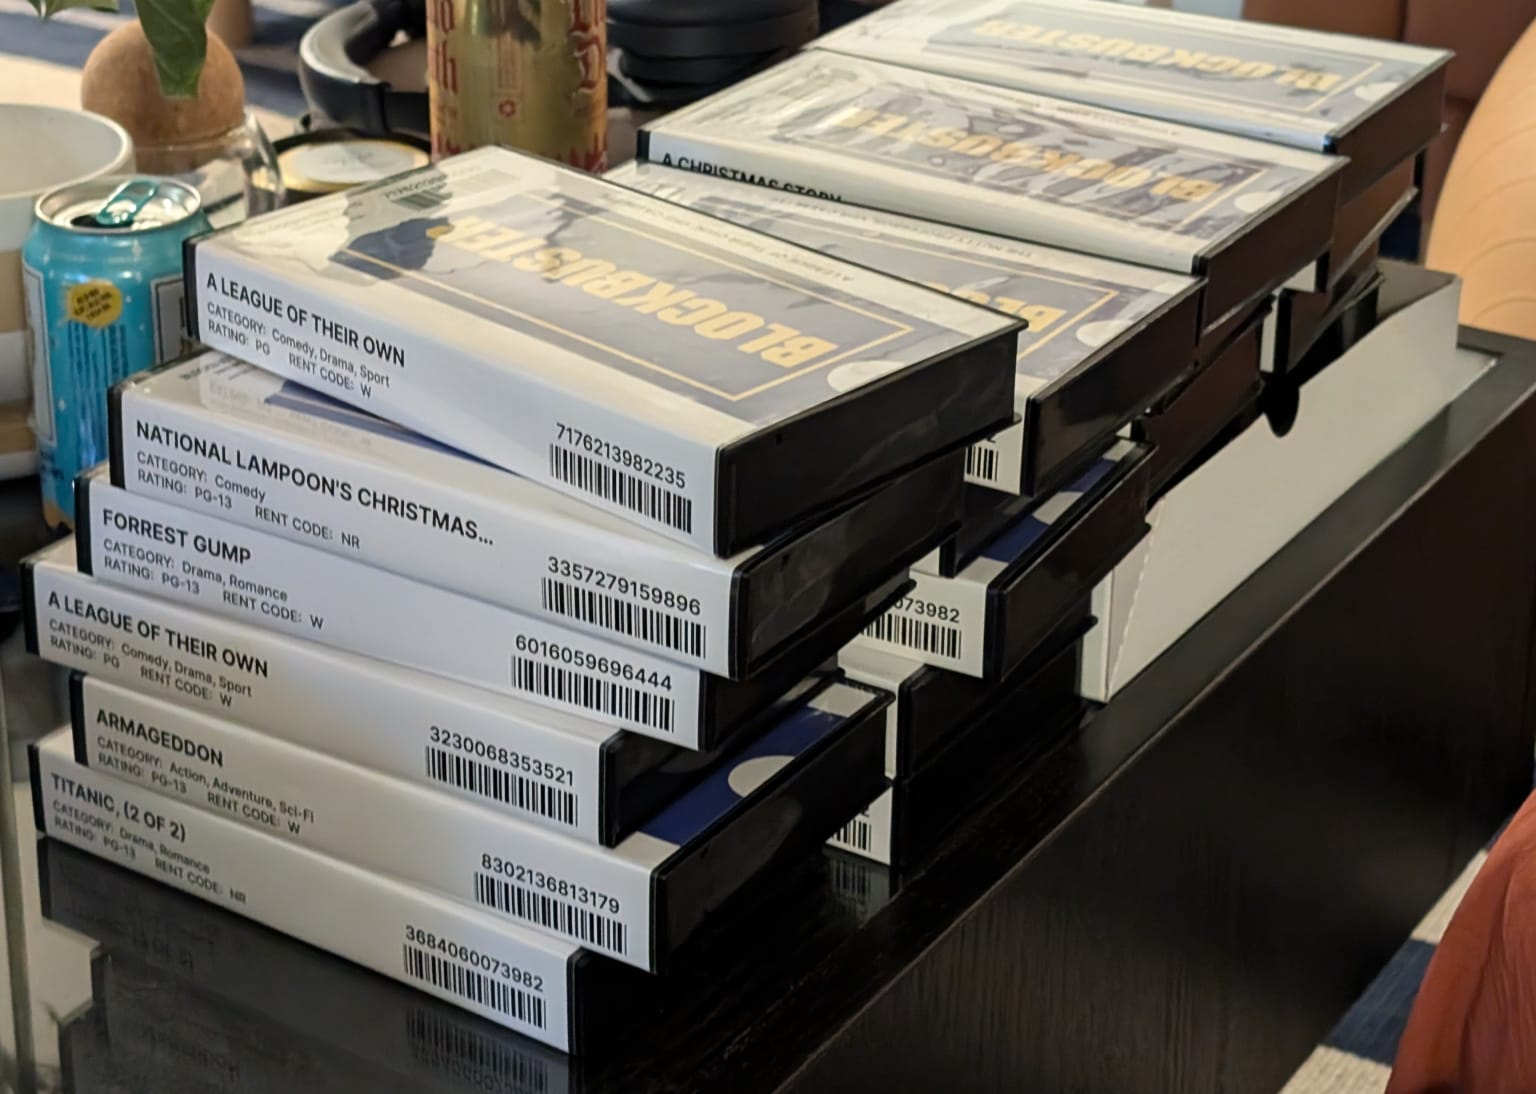
With all our clamshells filled and ready, it was time to start the build out. This thing is eventually going to take over our office, so our plan is to assemble it piece by piece and then move everything into place on the day before the party. We still need to work a day job, after all (ugh).
Part Six: Building out the room
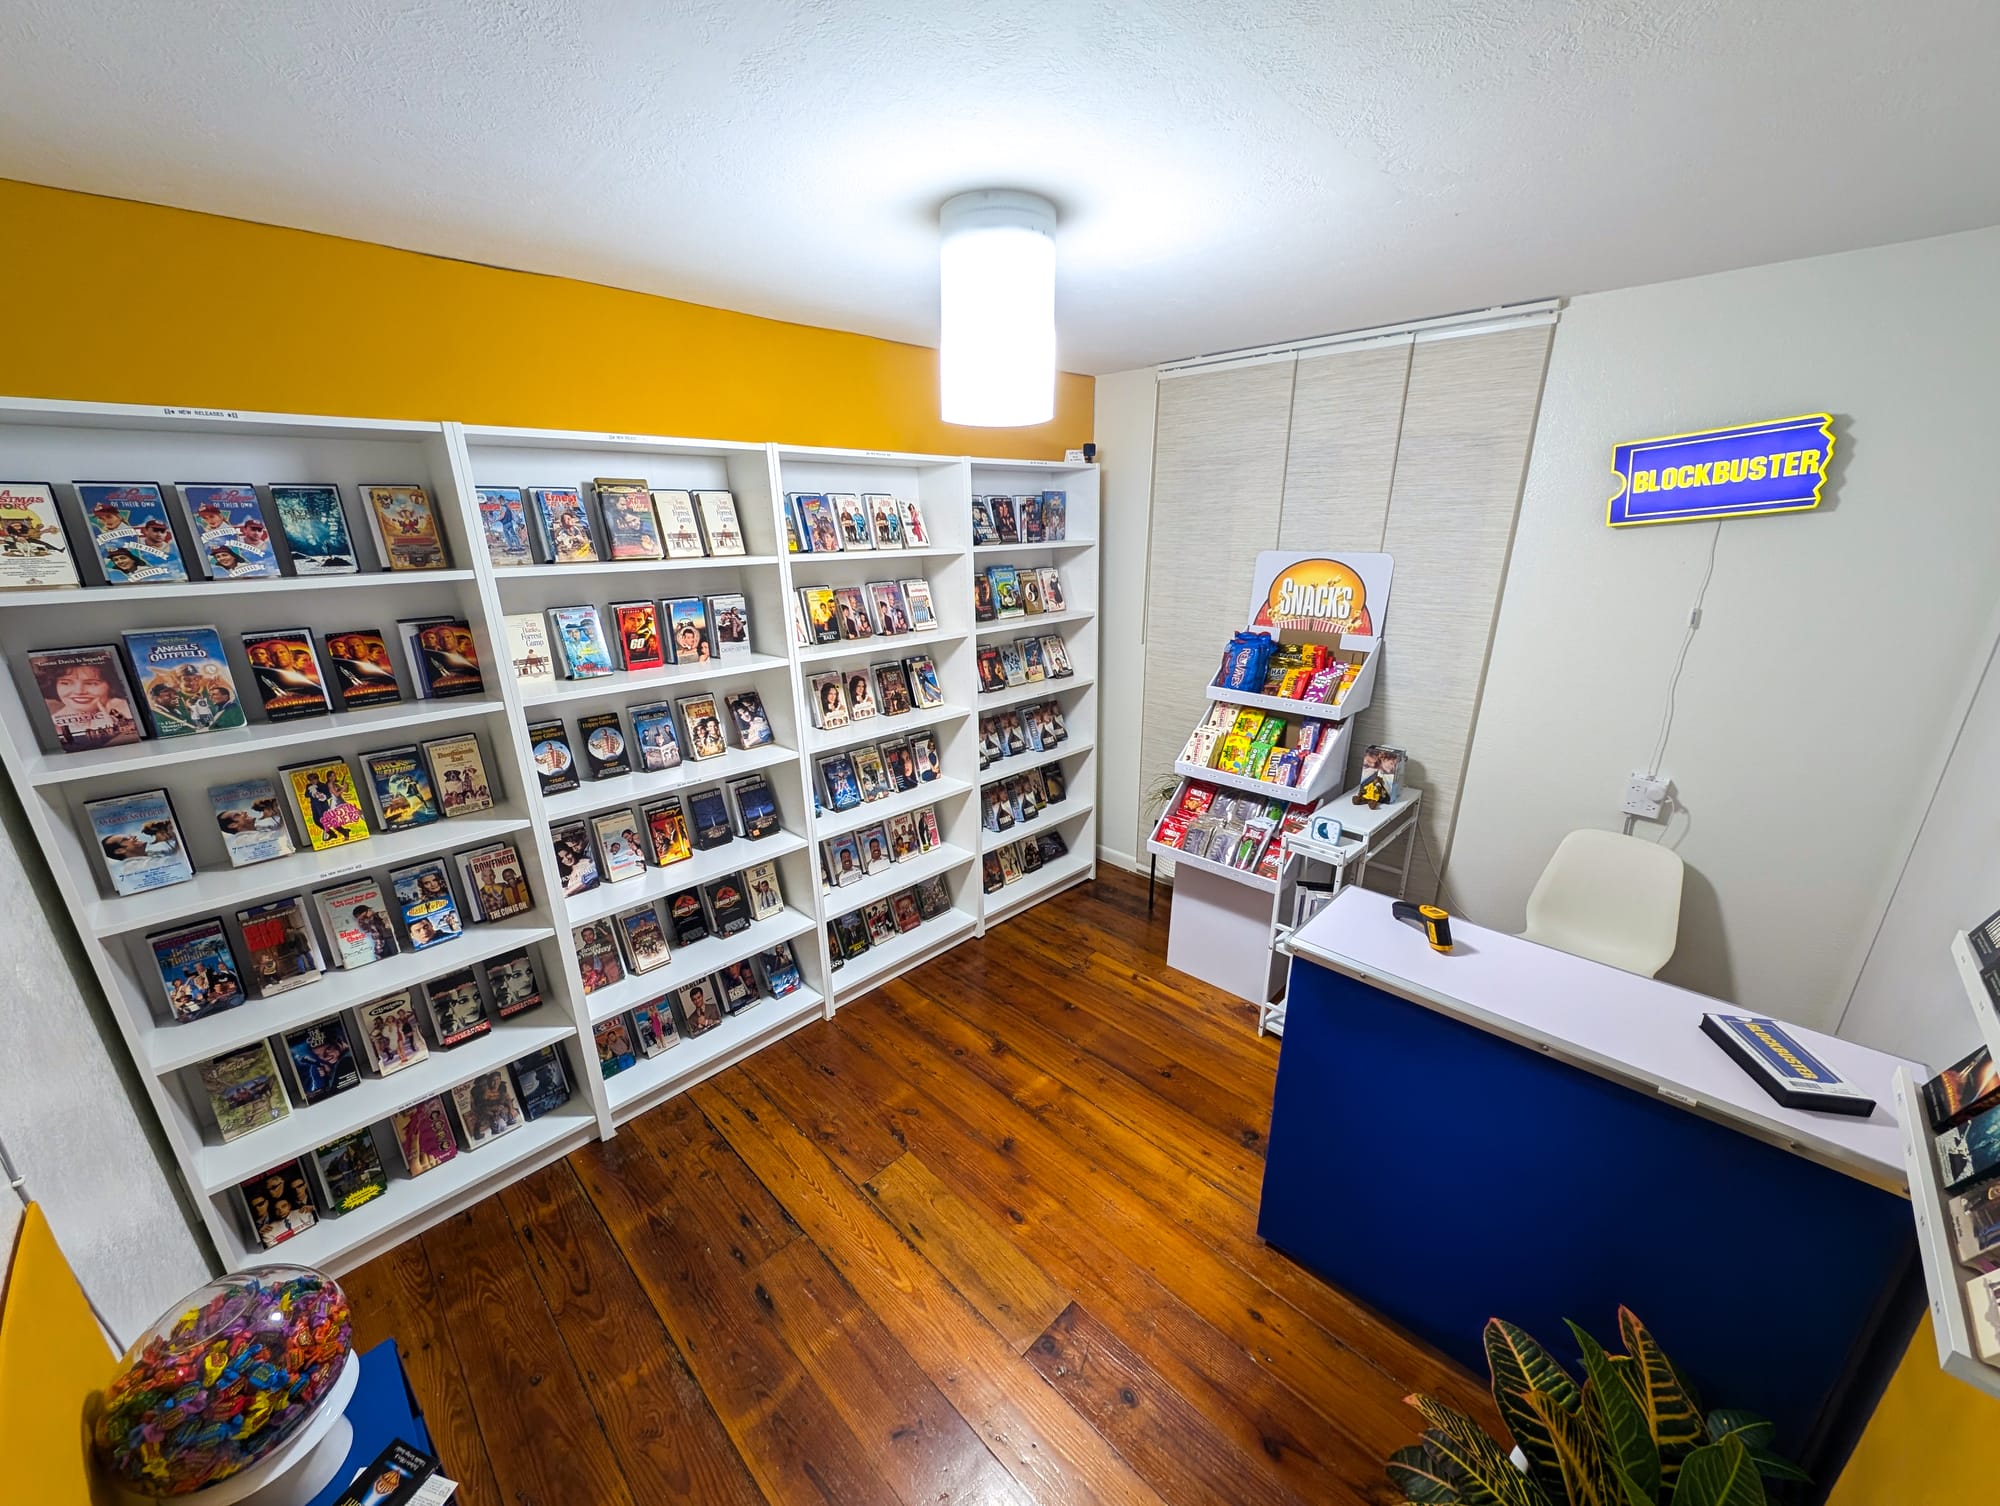
This is probably the most extra step of the whole process, because we knew we wanted "real" shelves to hold the tapes, to really sell the effect. We also wanted to completely clear the office of anything not-Blockbuster. Our solution was a faux-wall of tapes, hiding our desks and office storage behind and out-of-view.
We found the cheapest bookcase at IKEA, the white Billy bookcase, priced at $69. We did the math and would need 4 bookcases to span the room and make our faux wall. We were off to the races.
We had a few chaotic days, but overall were able to easily keep working while we assembled shelves around us. Here are a few in-progress shots:
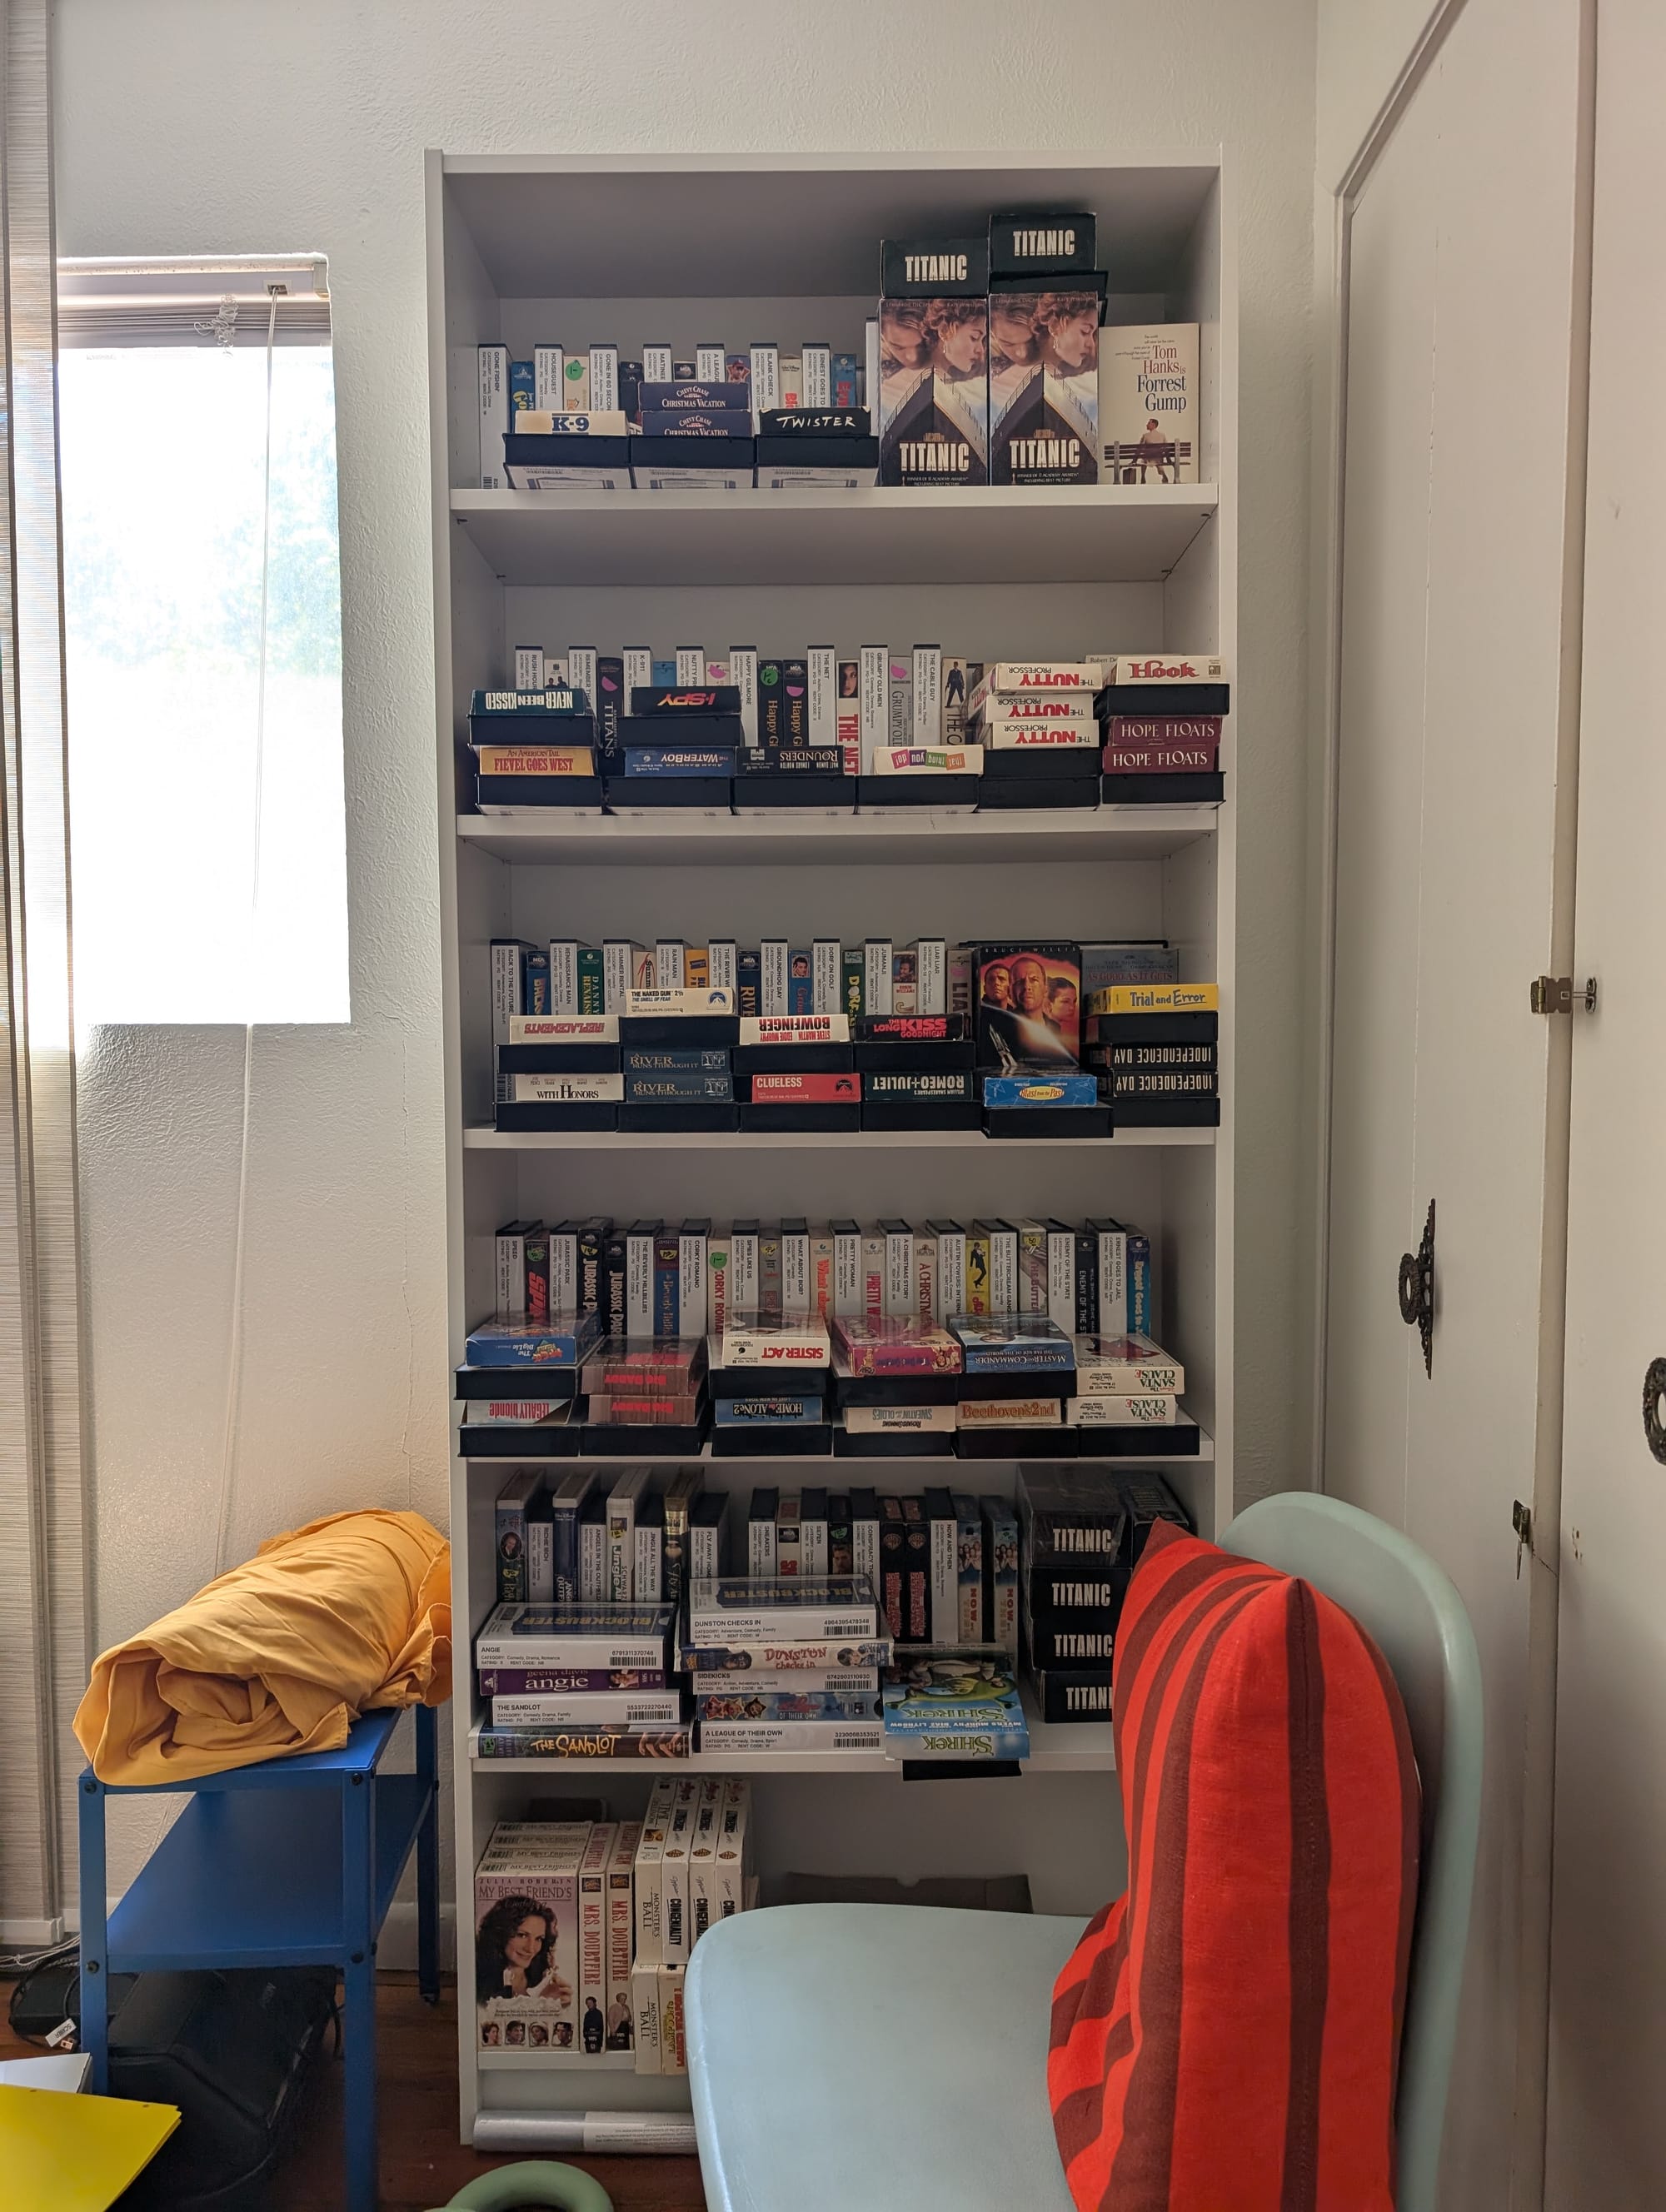
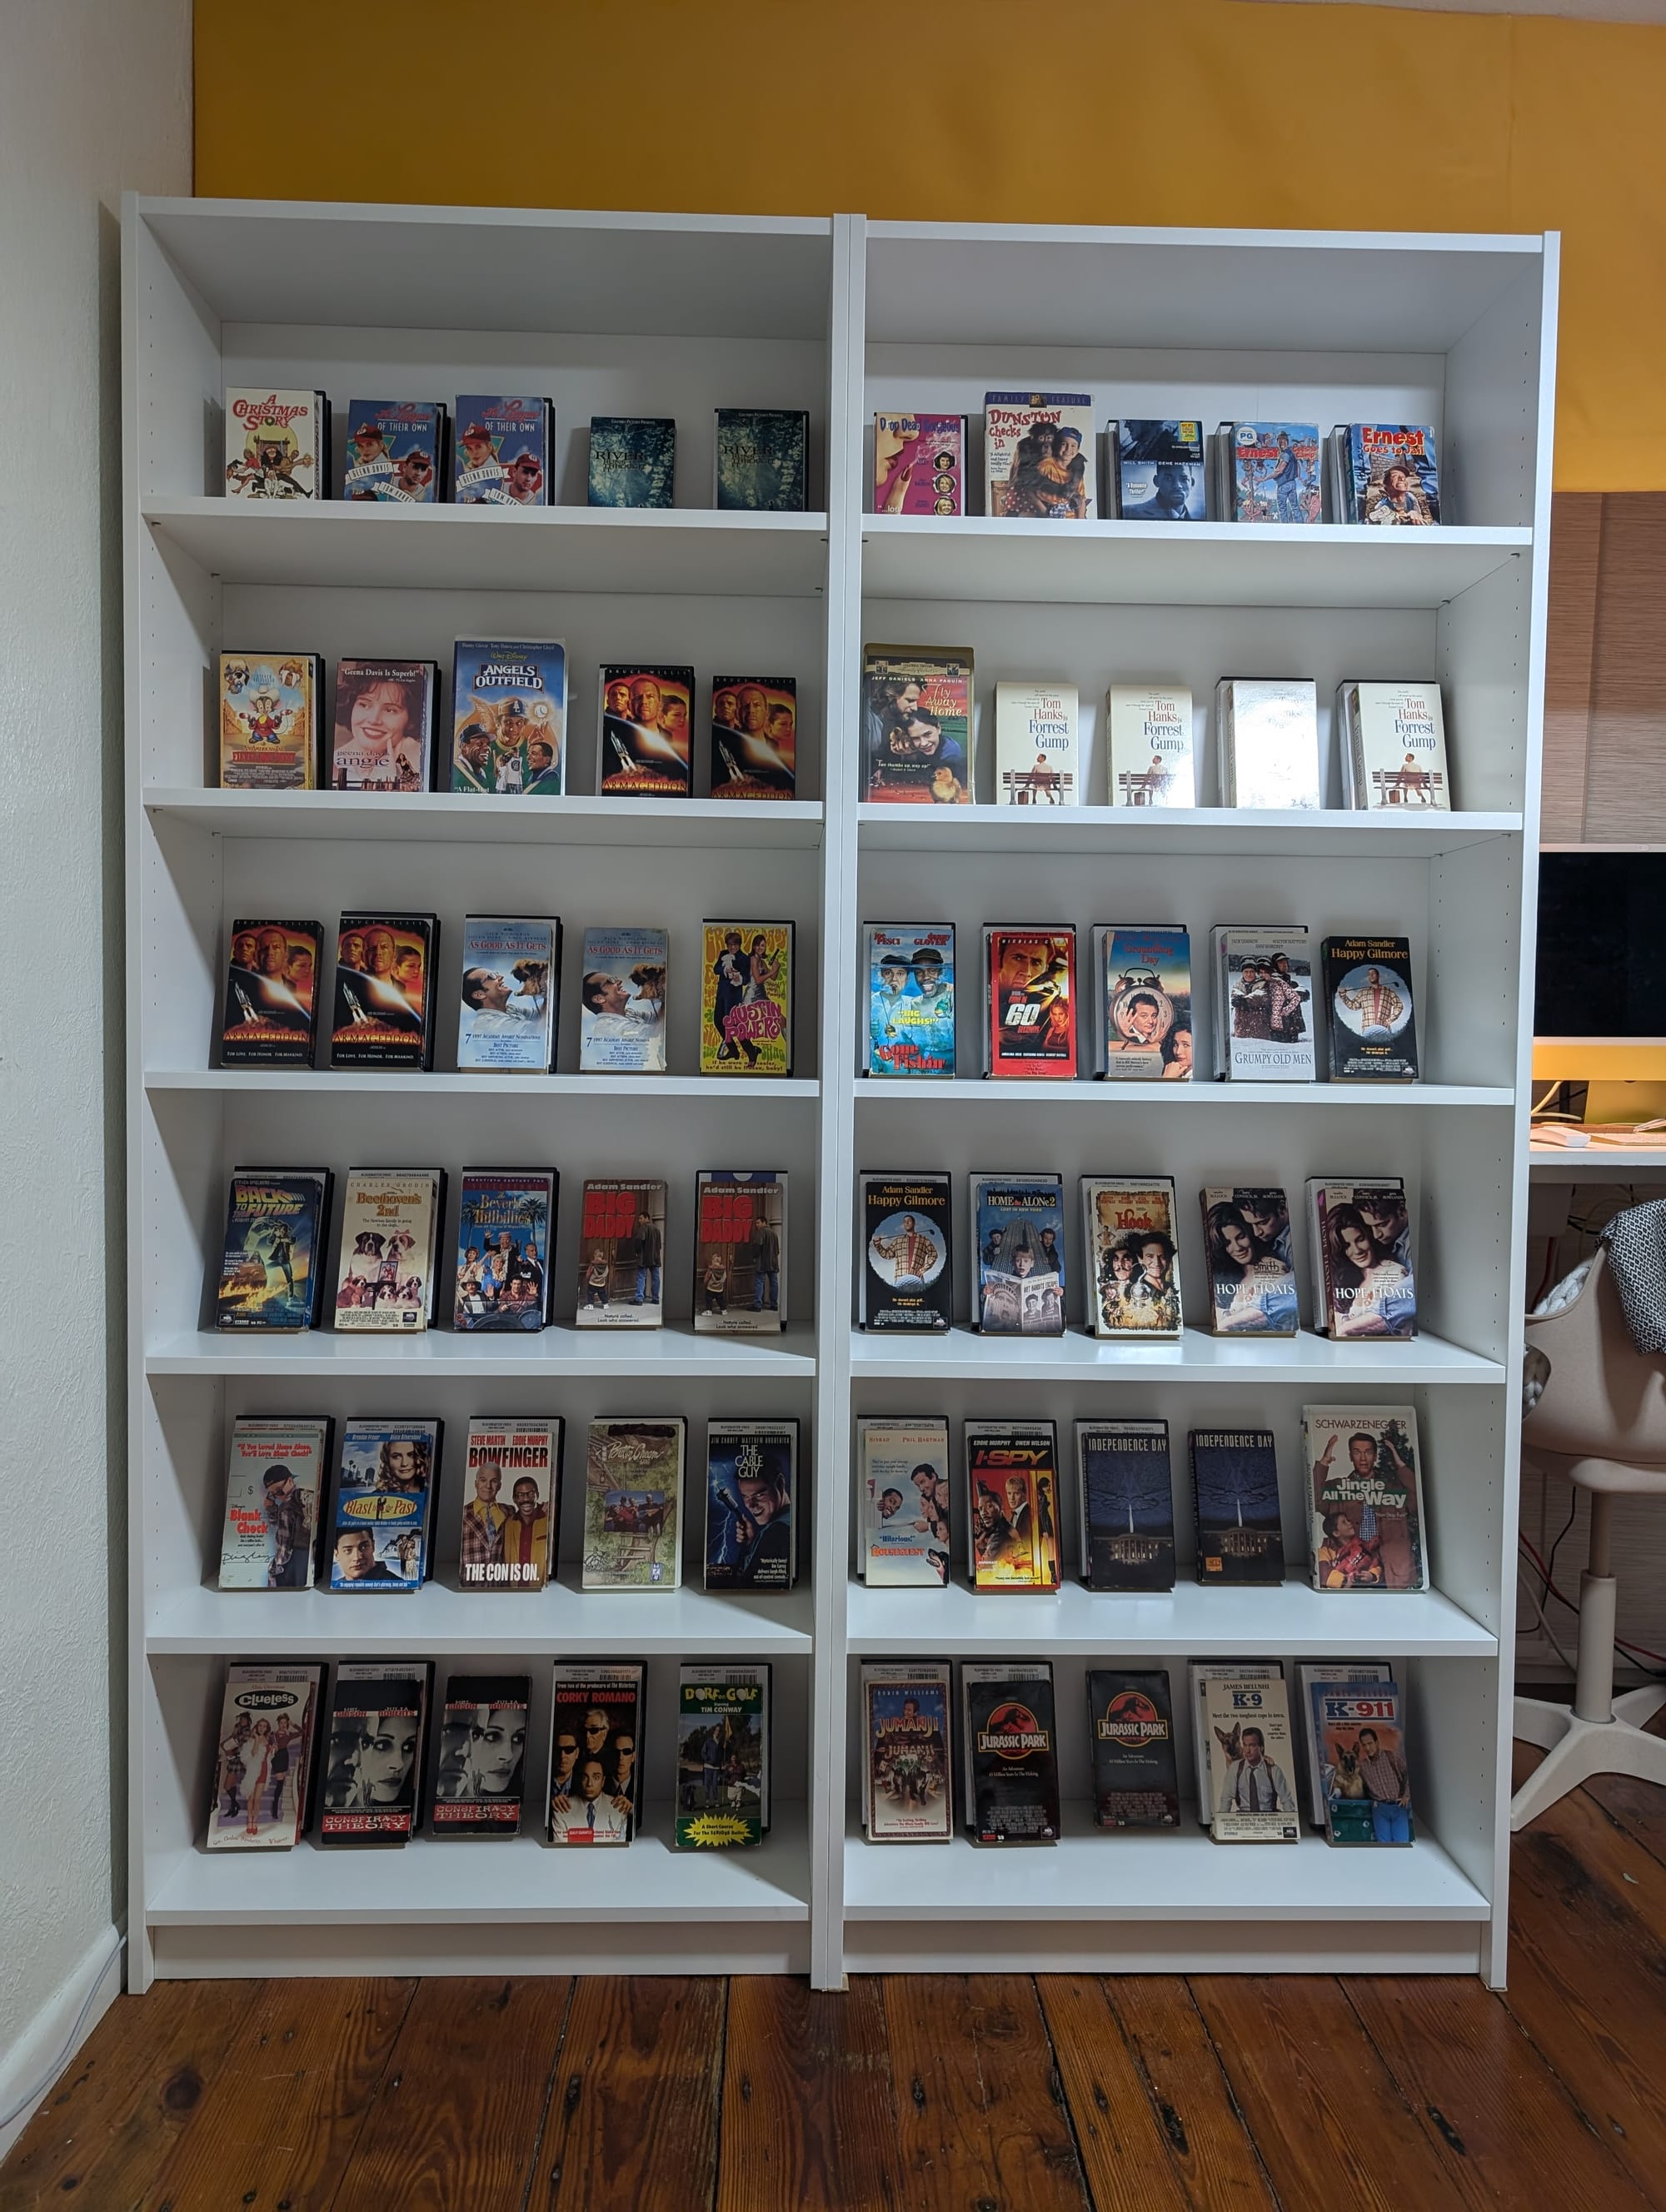
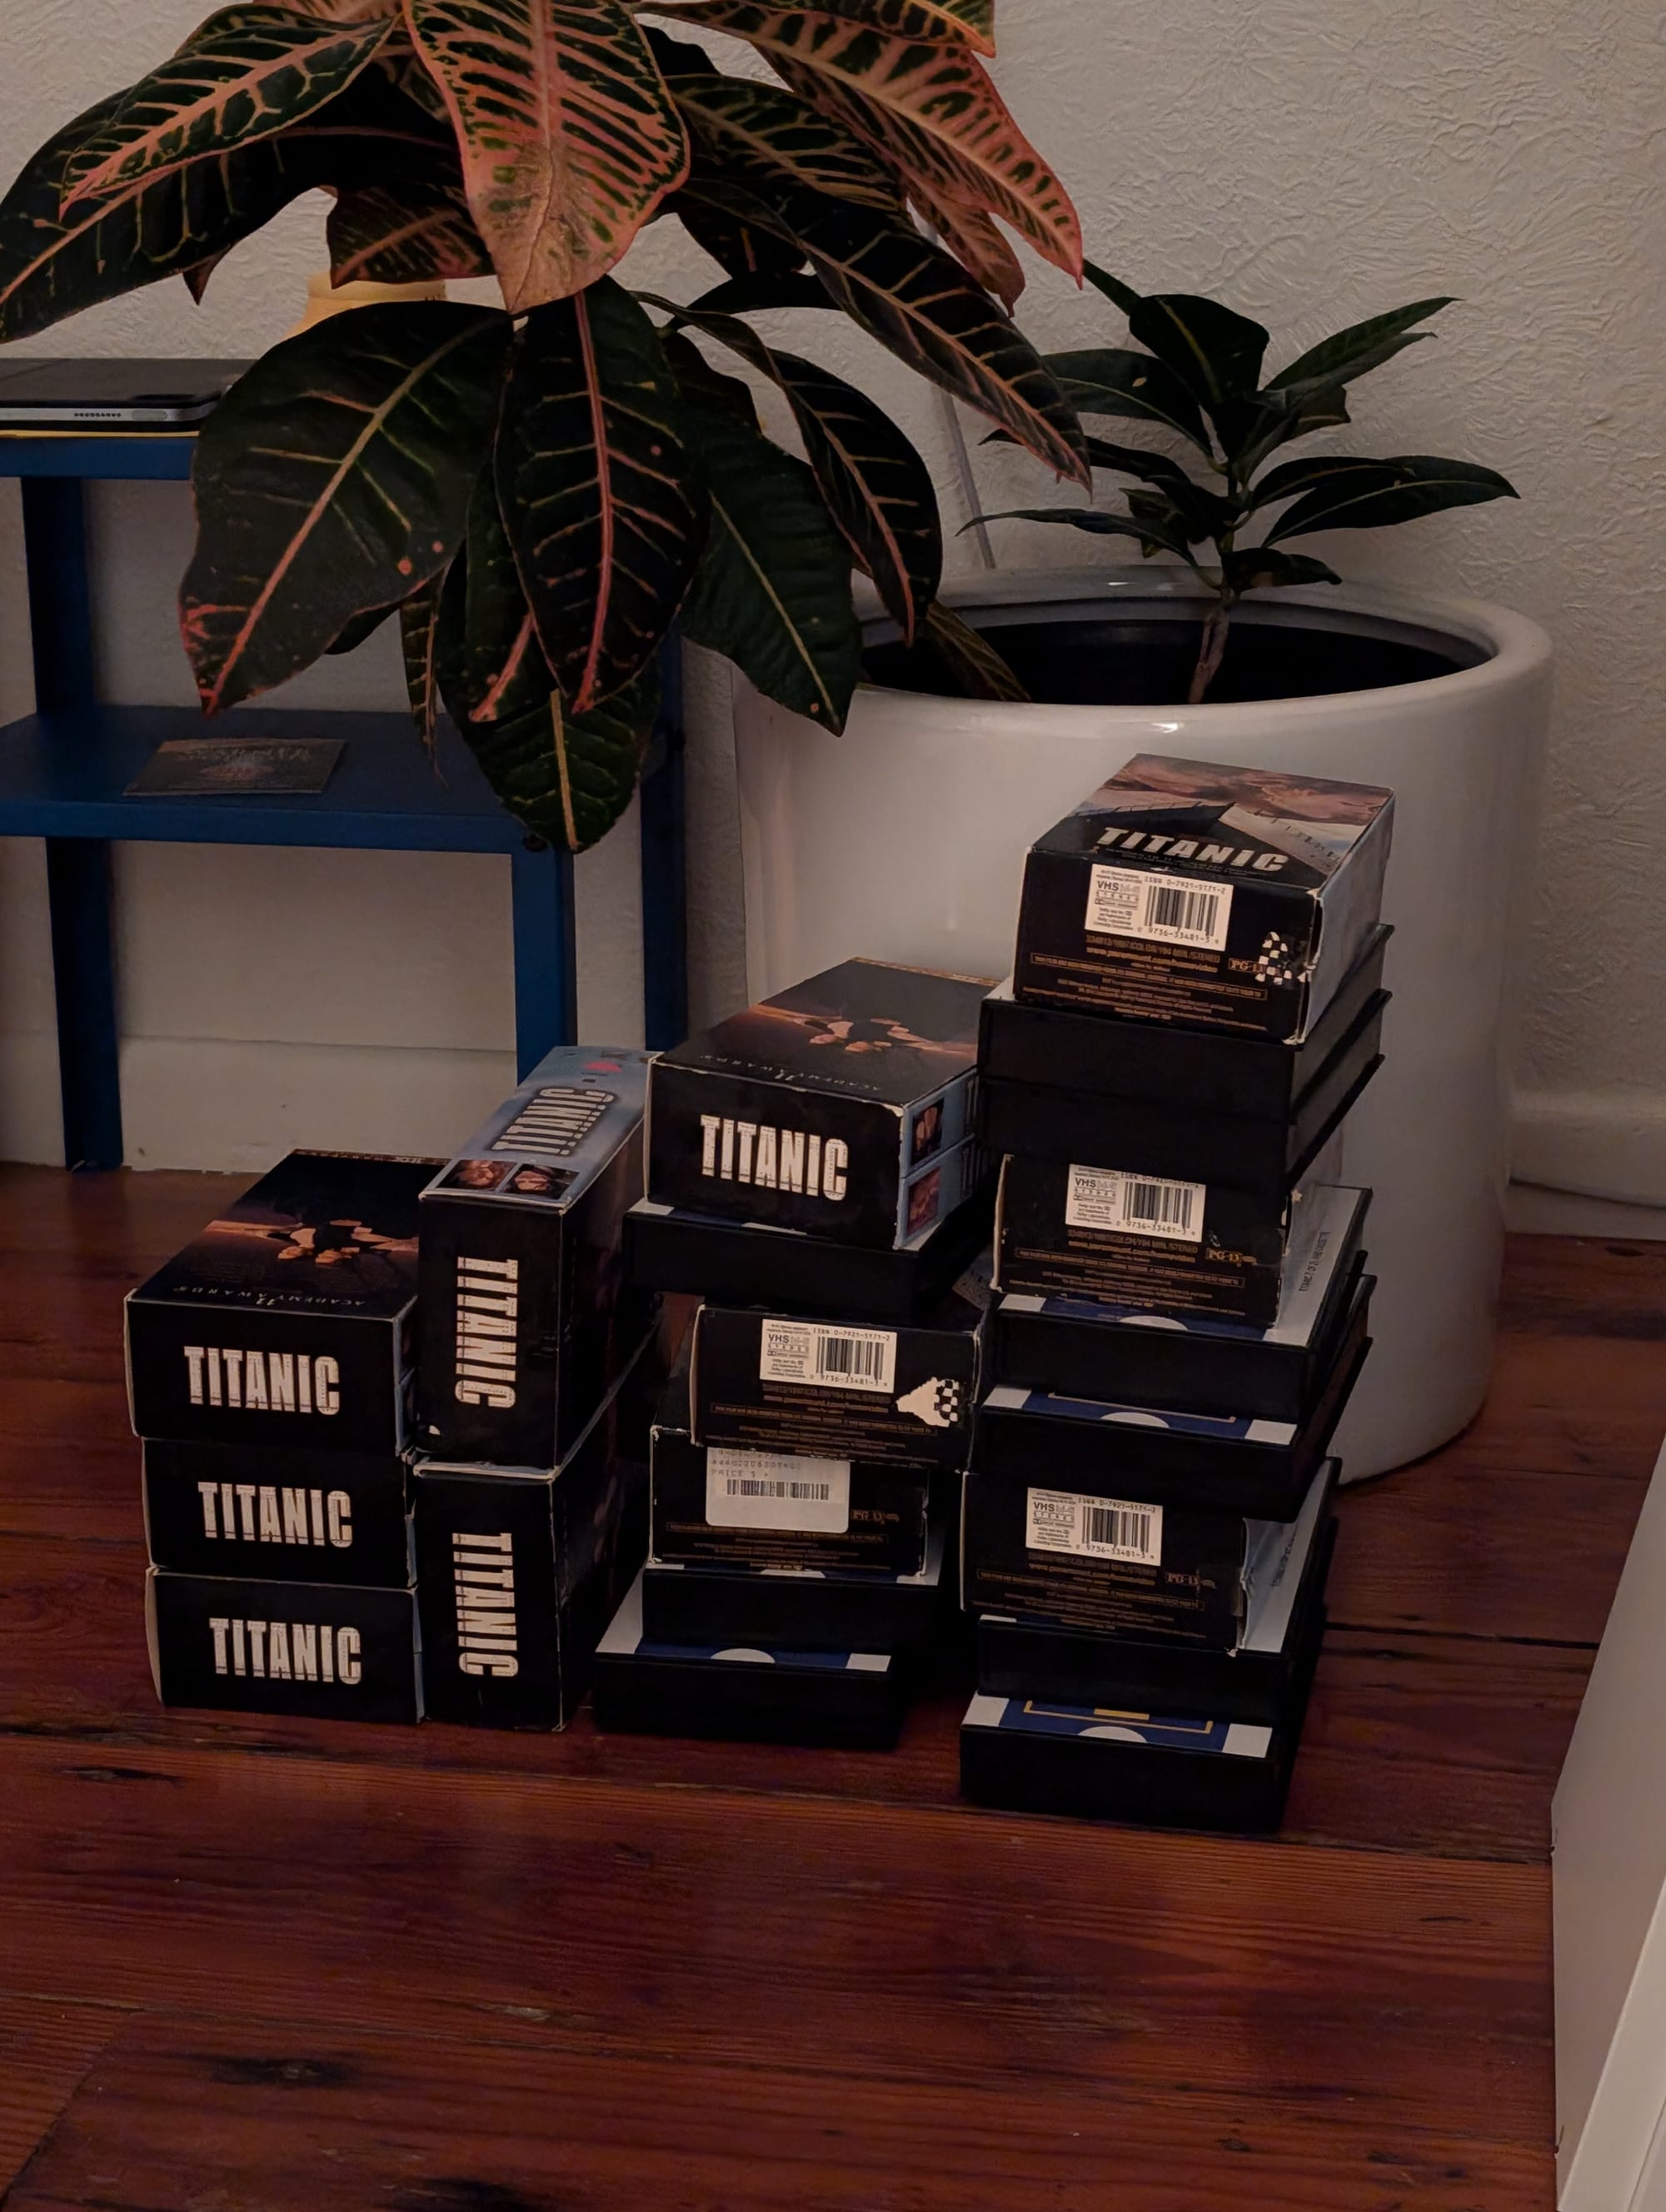
First image: single shelf amid chaos. Second image: two shelves together, peek the desk behind. Third image: who ordered all these copies of Titanic?
The day before my birthday, we started final build prep, and everything started falling into place. We hung some yellow fabric from the ceiling to make the faux-wall, and sealed in our desks, chairs, and other office equipment like a hidden room in a pyramid. Here's a little floorplan to make sense of what we did:
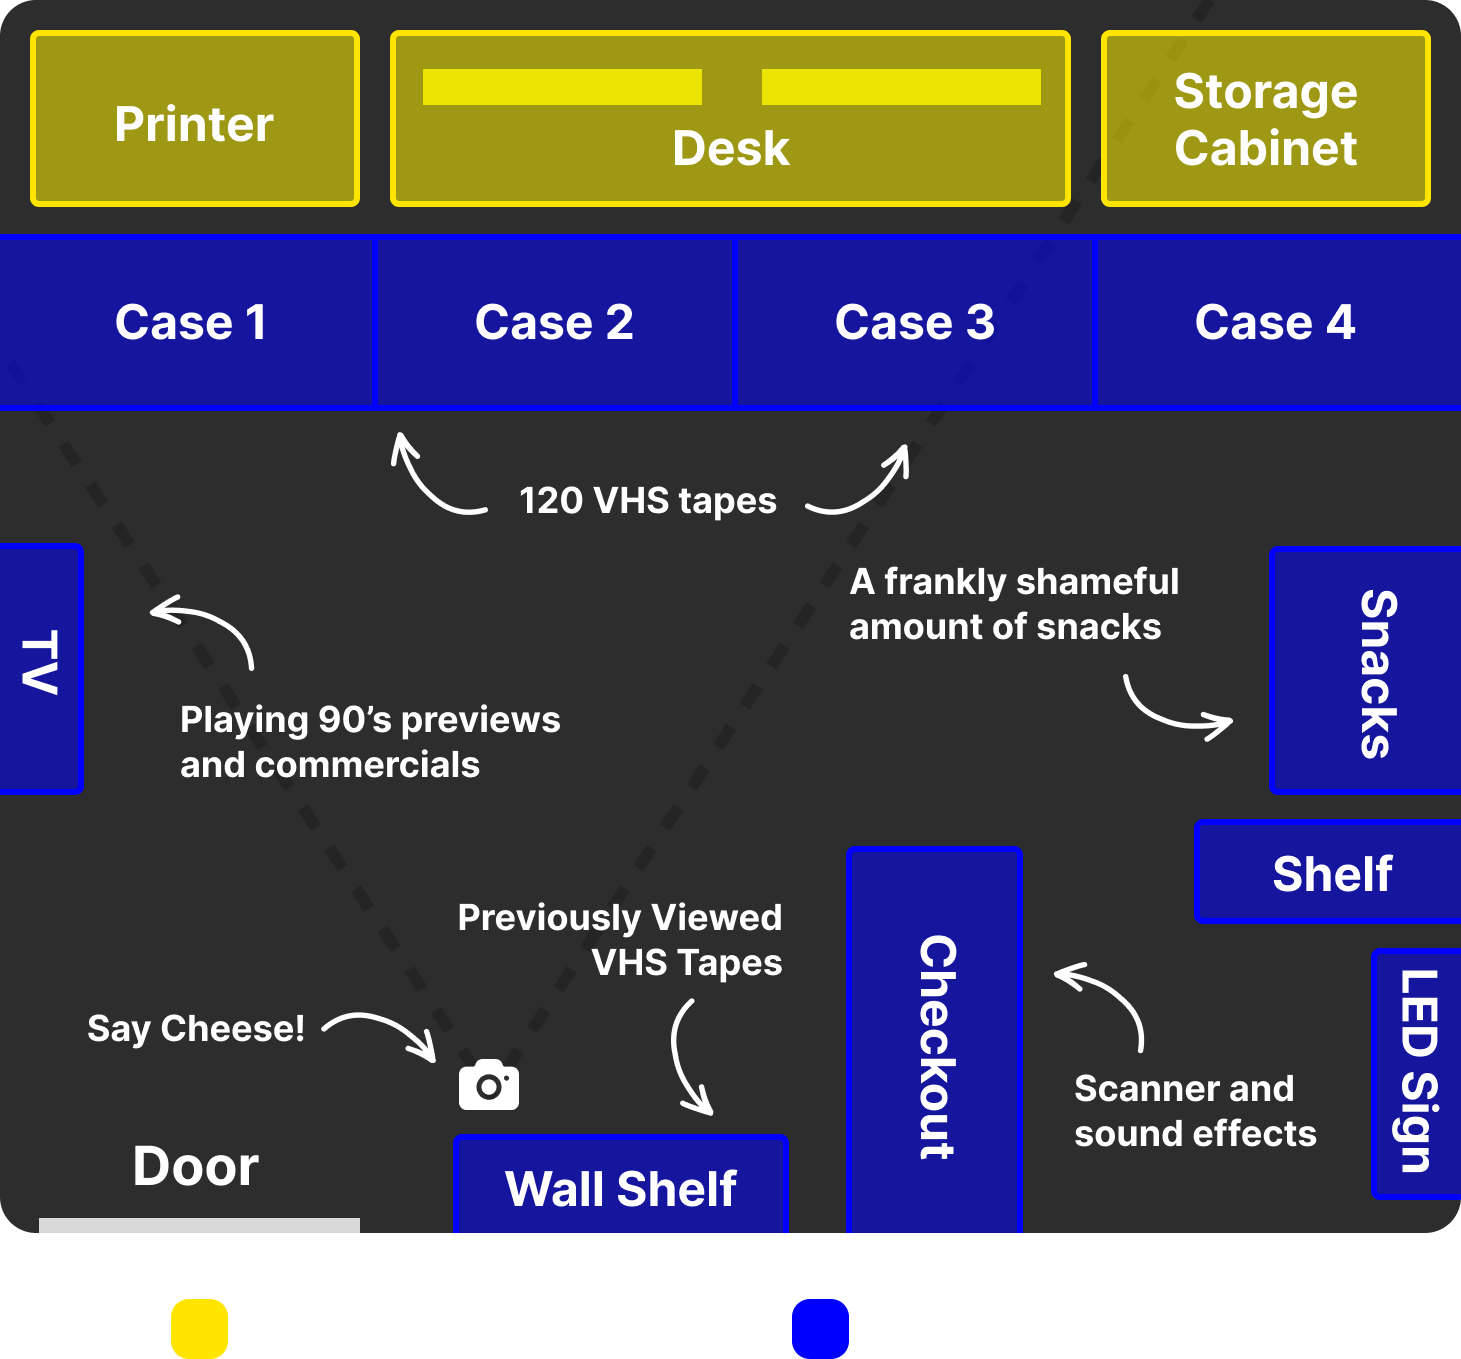
And now we're just about to the final pictures and video, but let's quickly talk about all the fun little things we did with the room...
Part Seven: The Finishing Touches
Ok so we're just about to the final photos, in fact, here's one to hold you over, while I talk about some little finishing touches that made this build so fun.
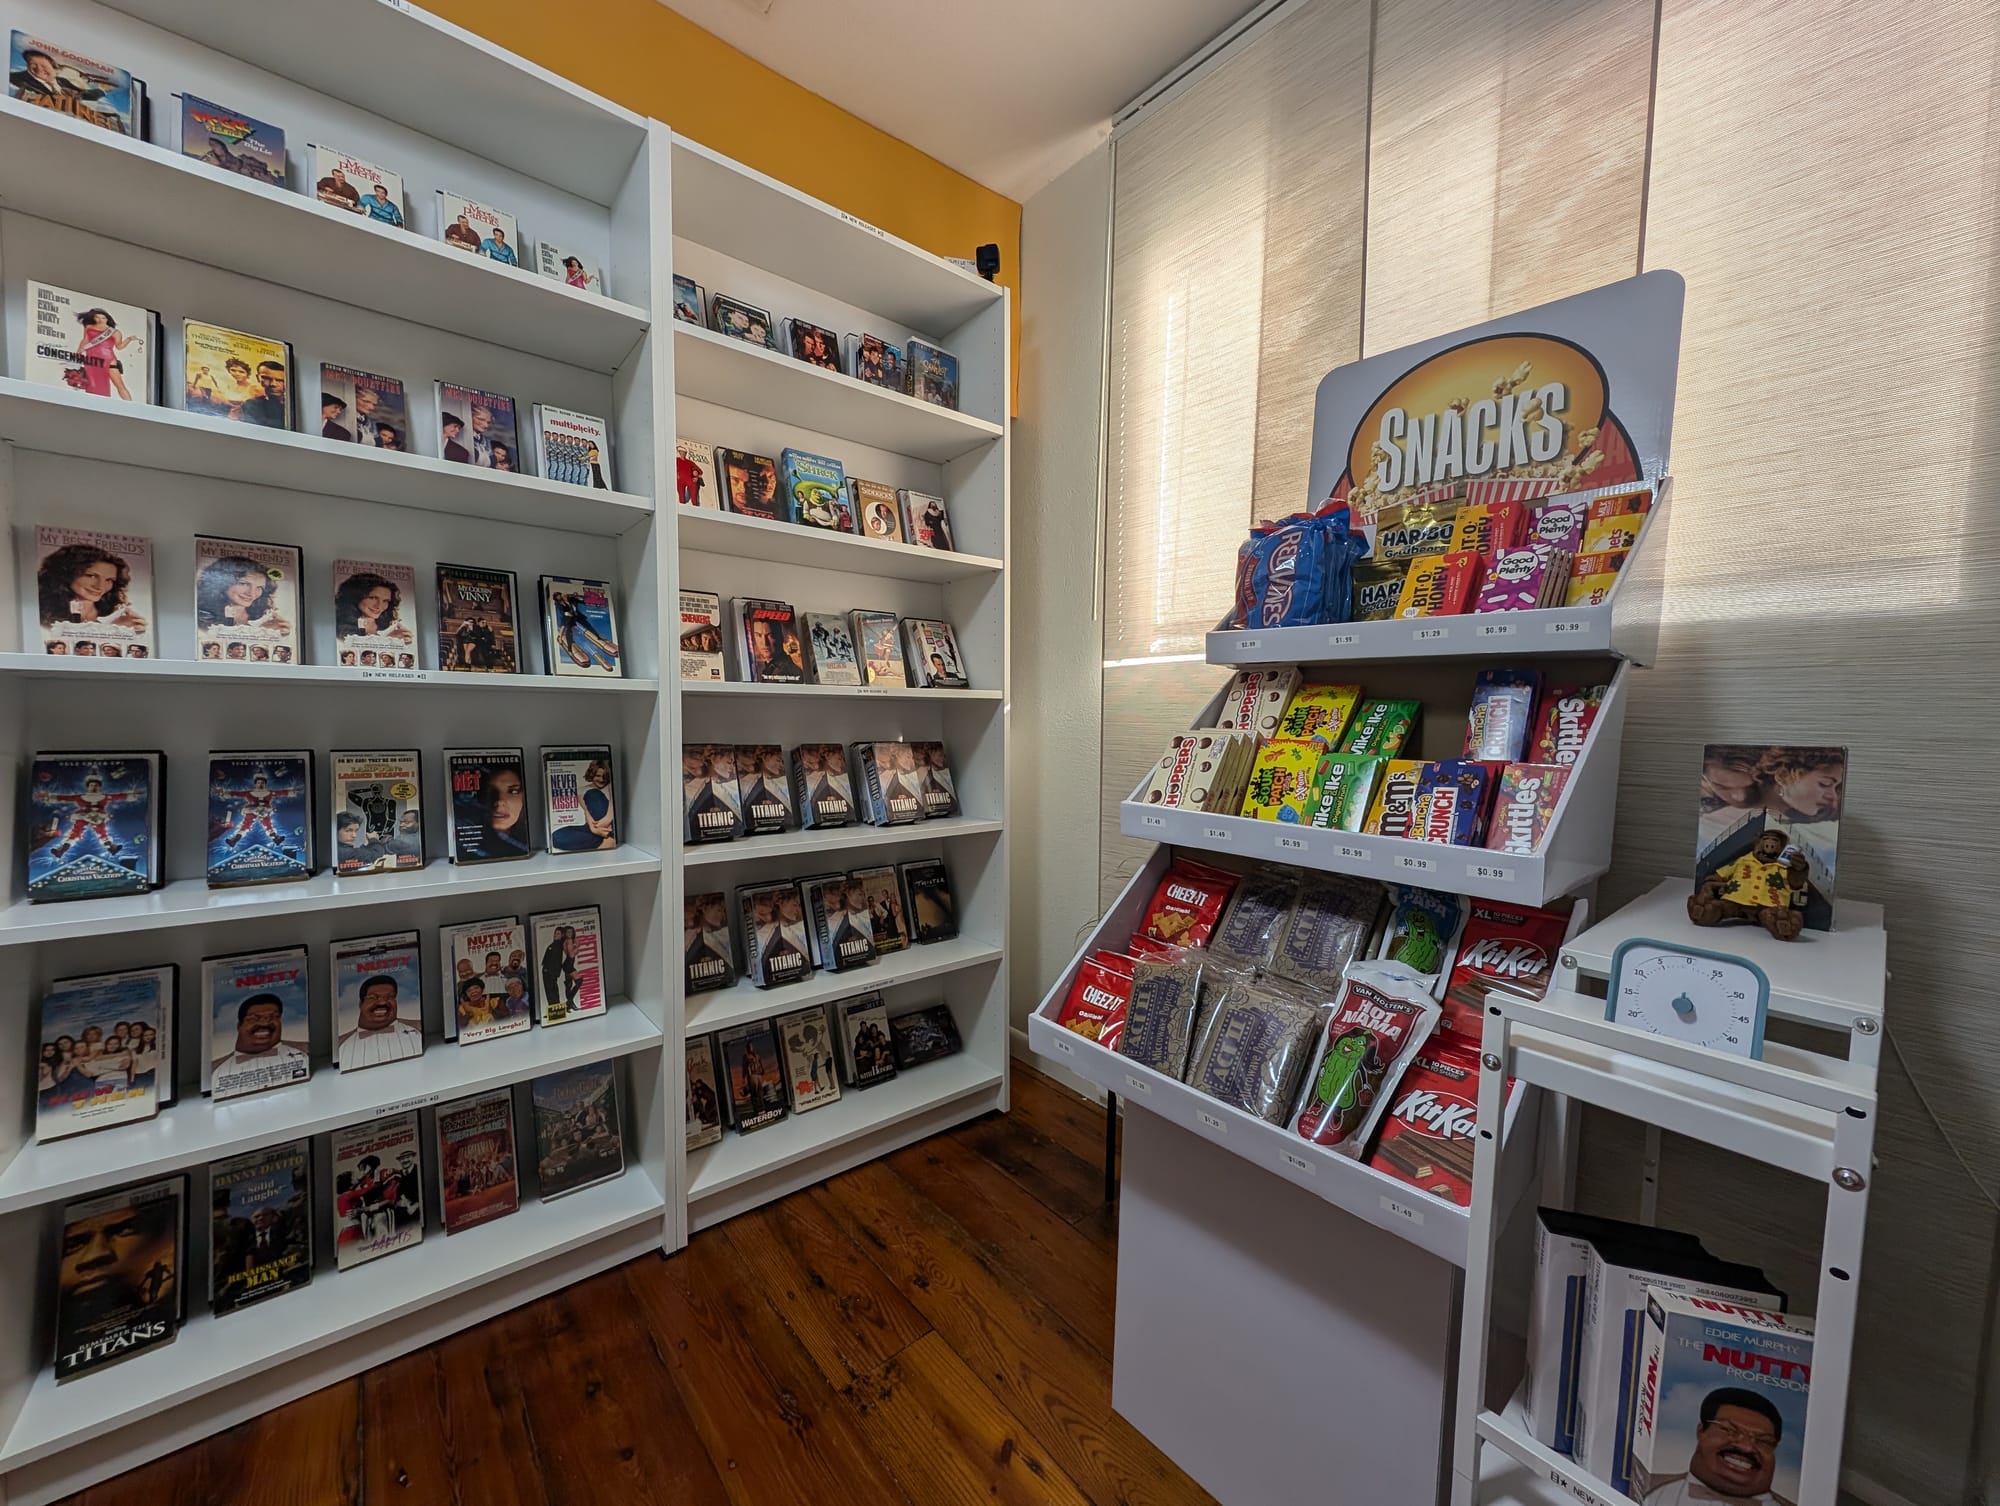
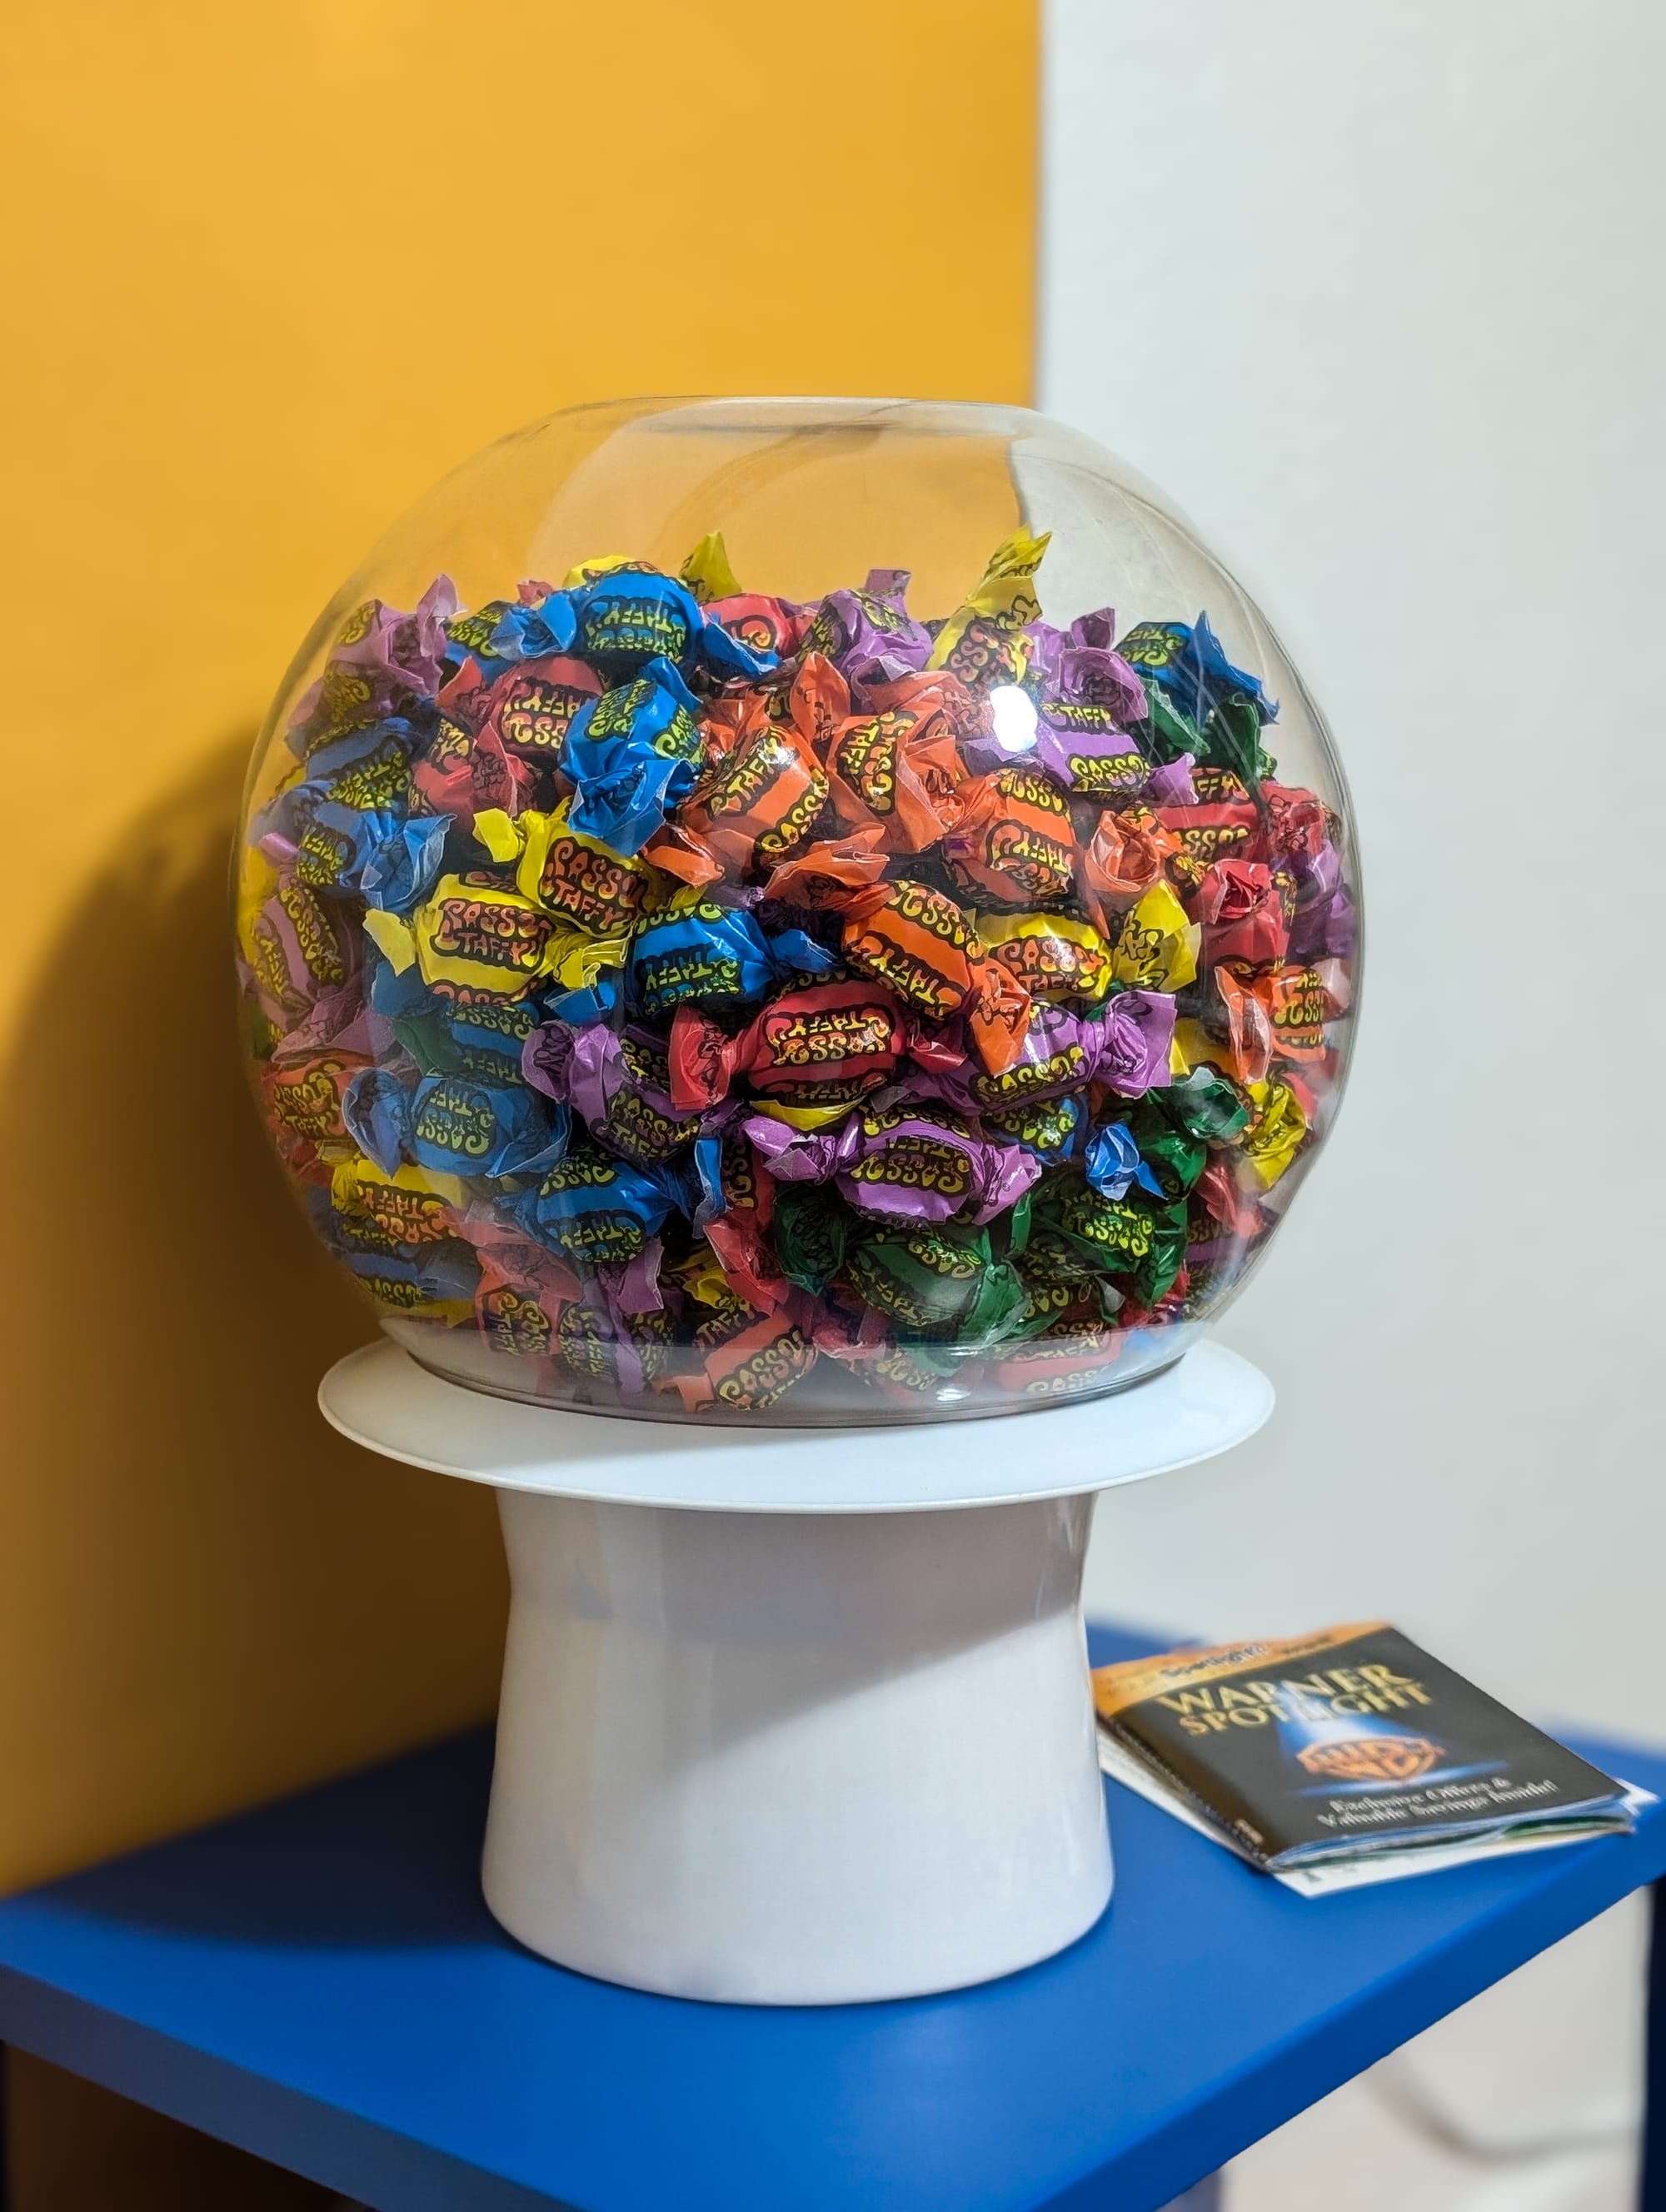
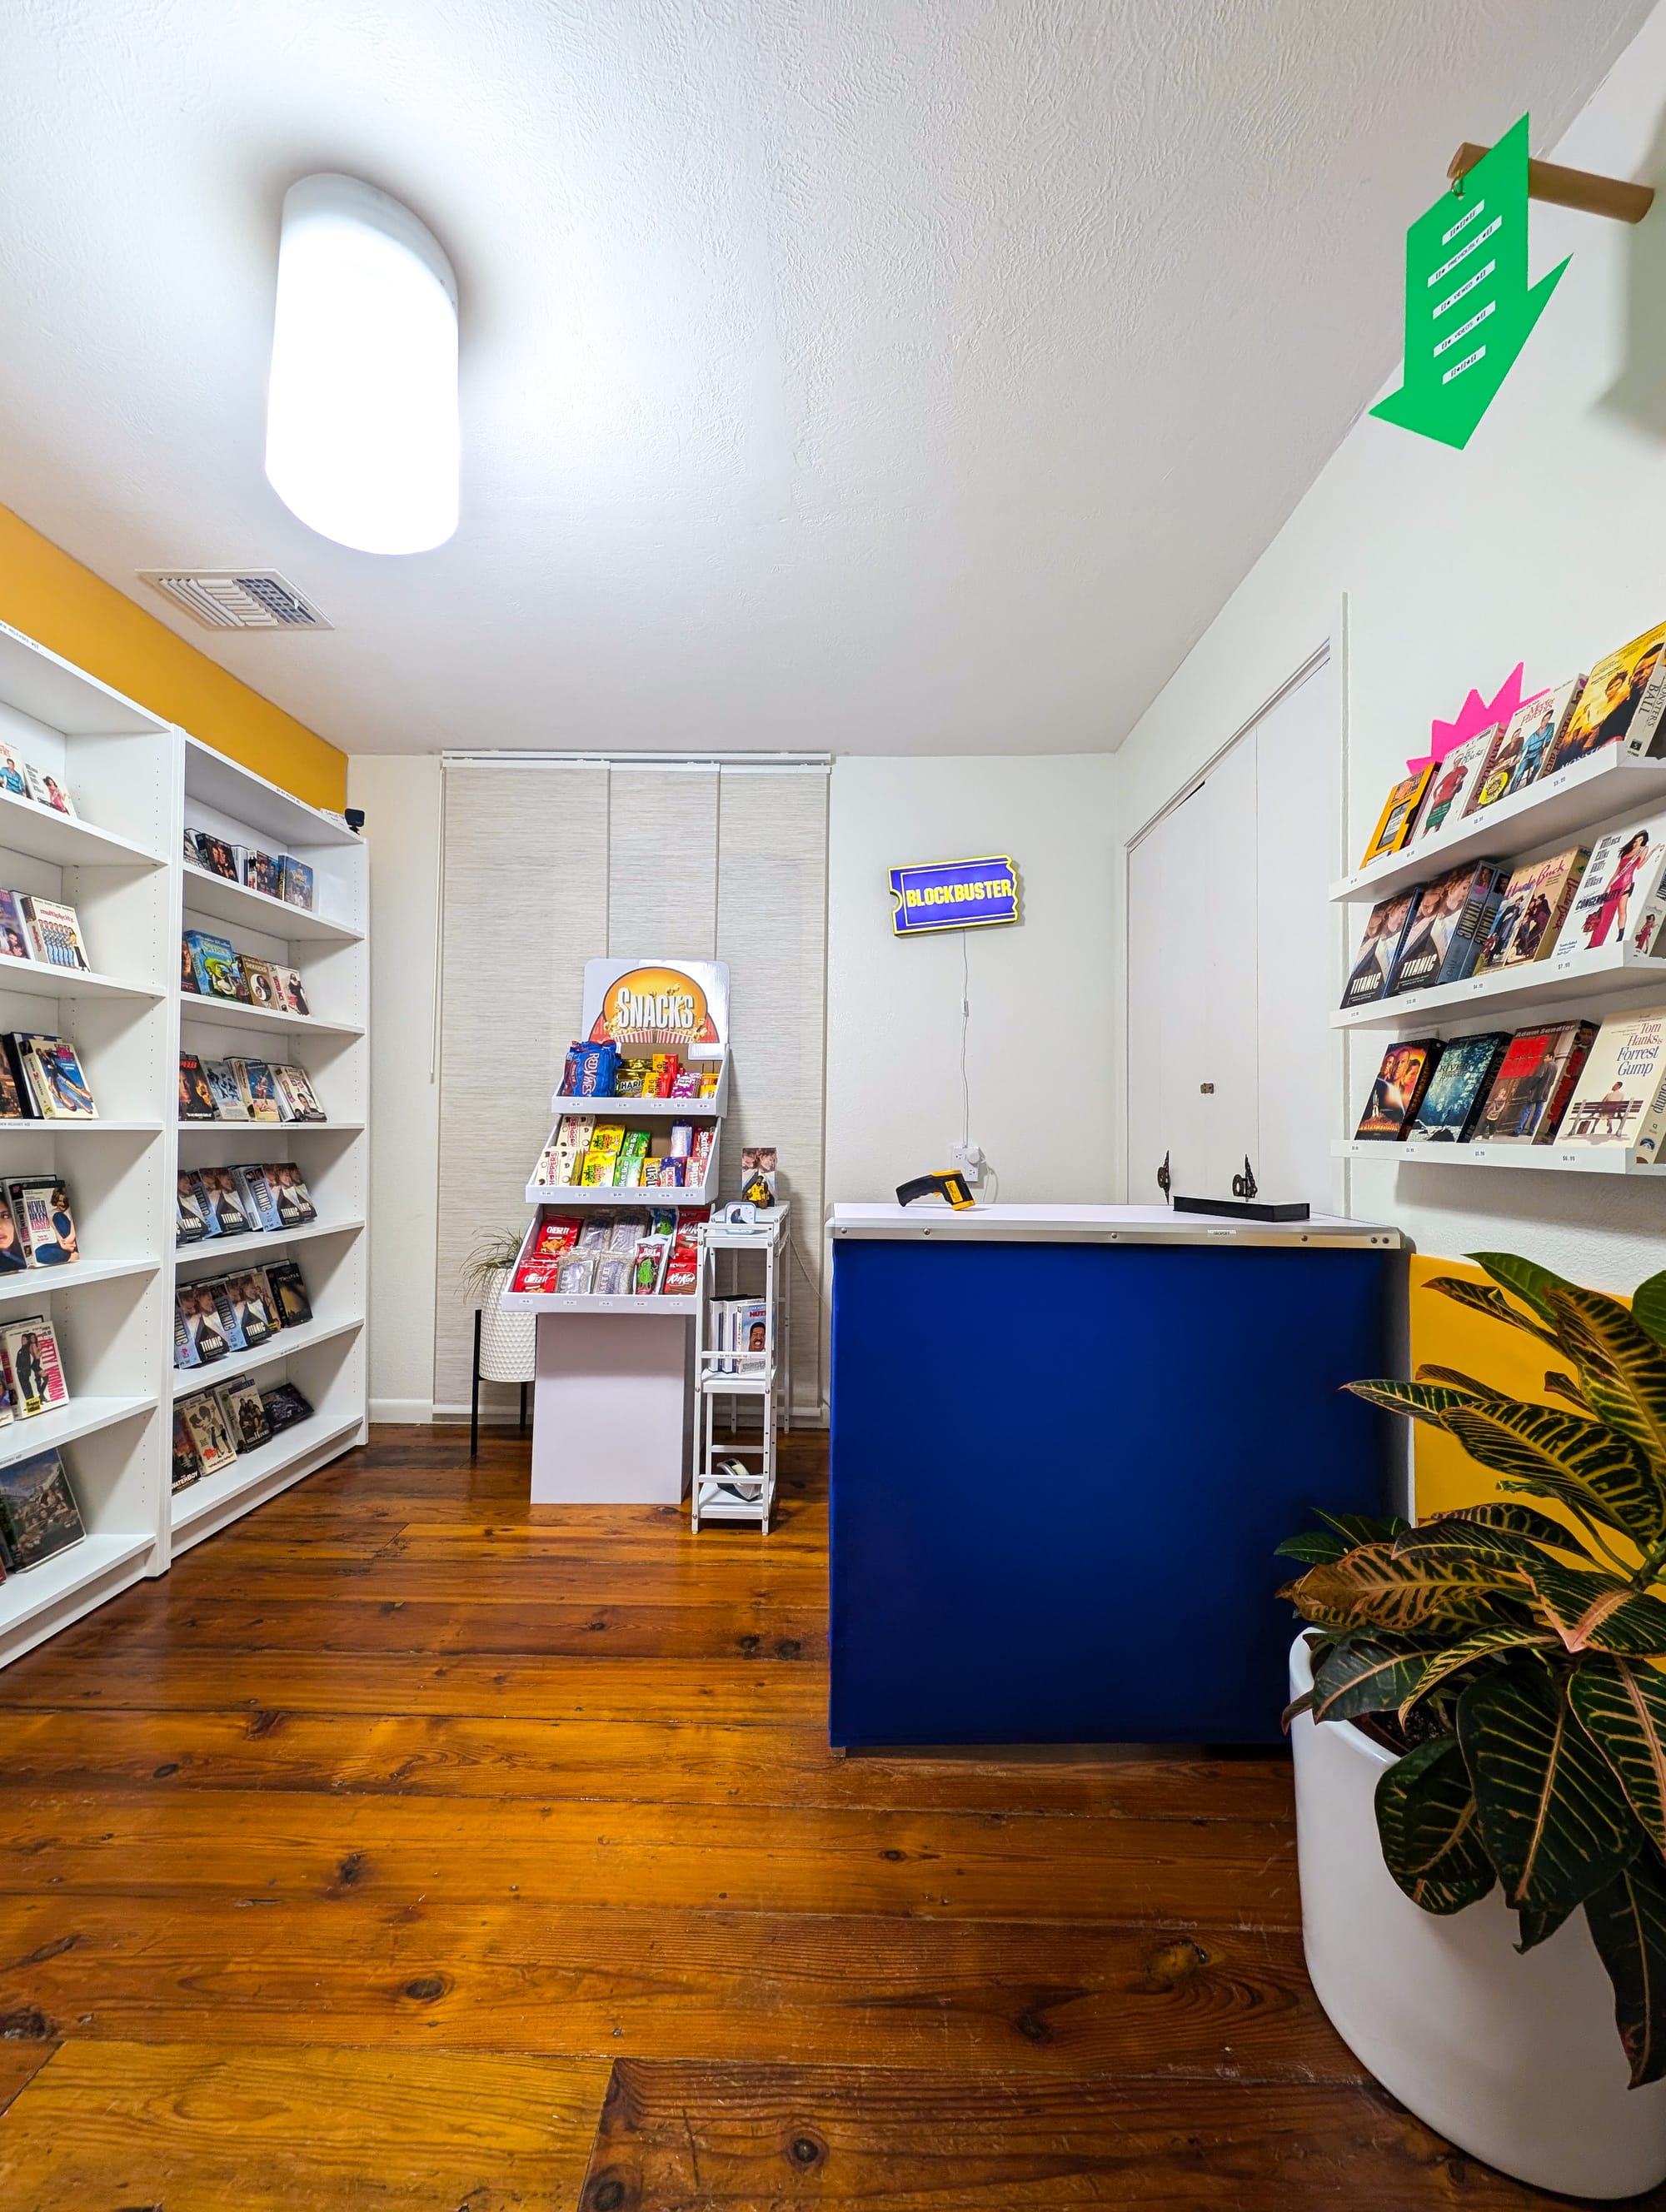
The snack shelf: we ordered a three-tier snack tower, and filled it with way, way too many snacks. We had Red Vines, Act II Popcorn, Buncha Crunch, Whoppers, big pickles (Hot Mamas and Big Daddies), just to name a few.
Classic previews on the TV: I collected a bunch of movie previews, video game commercials, and general VHS stuff and combined it all into a loop. The background noise of trailers on repeat really hit the mark. I even used ChatGPT for the "editing" the video, something I normally do by hand. I collected a buncha choice clips in one folder, and a buncha transitions in another (VHS text, weird glitches, color patterns, etc), then had GPT write a command line script that used FFmpeg to shuffle/join the clips with transitions between each, into one long final clip. Rad!
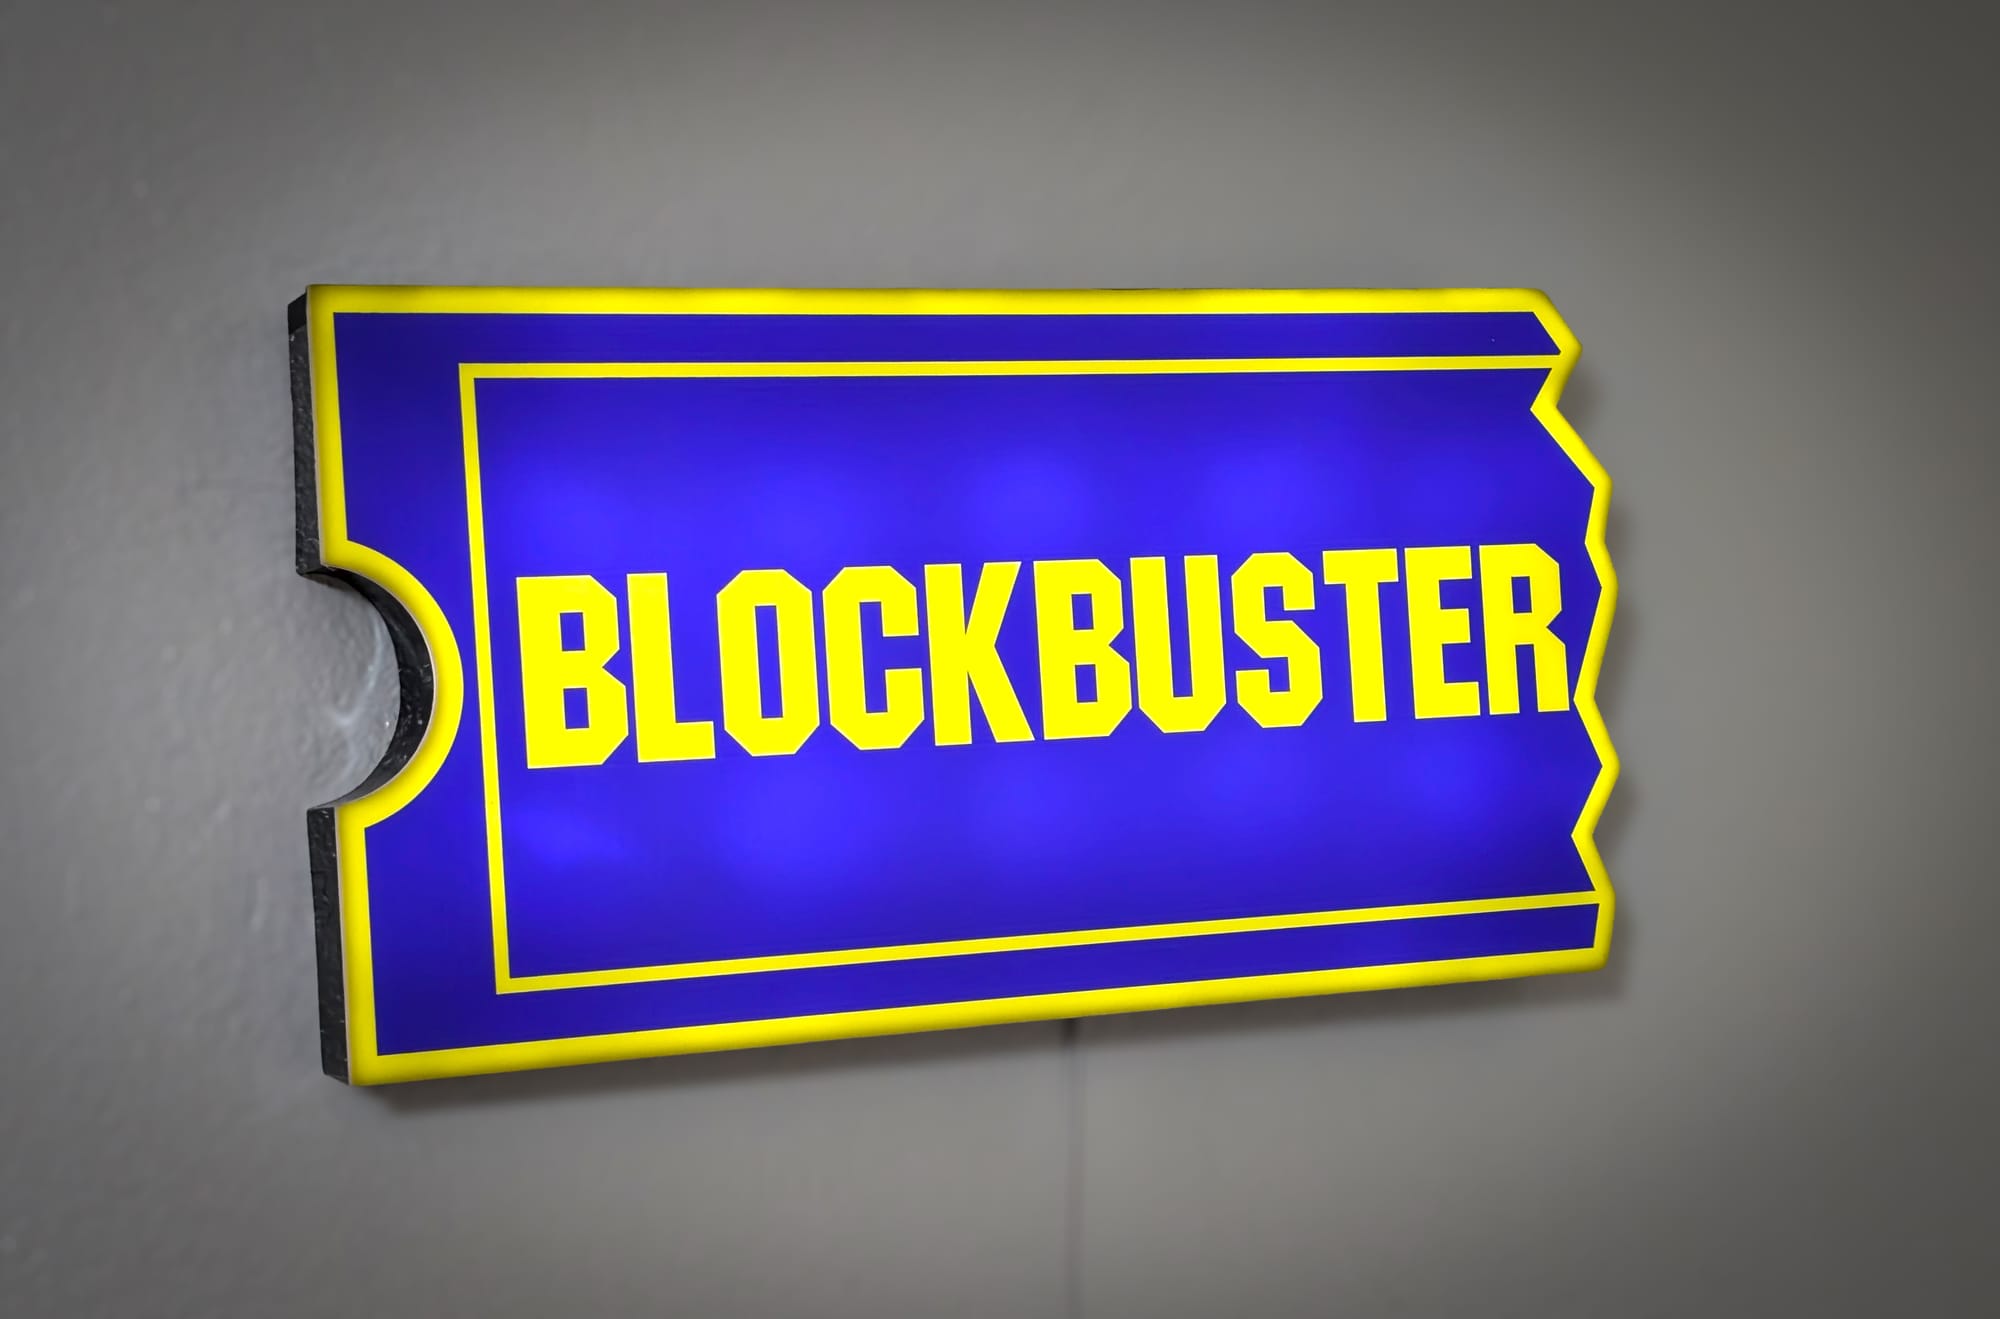
LED Blockbuster sign: we grabbed a lit LED logo sign from Amazon, which we put behind my "counter". Honestly, it's art and we will definitely keep this thing up somewhere.
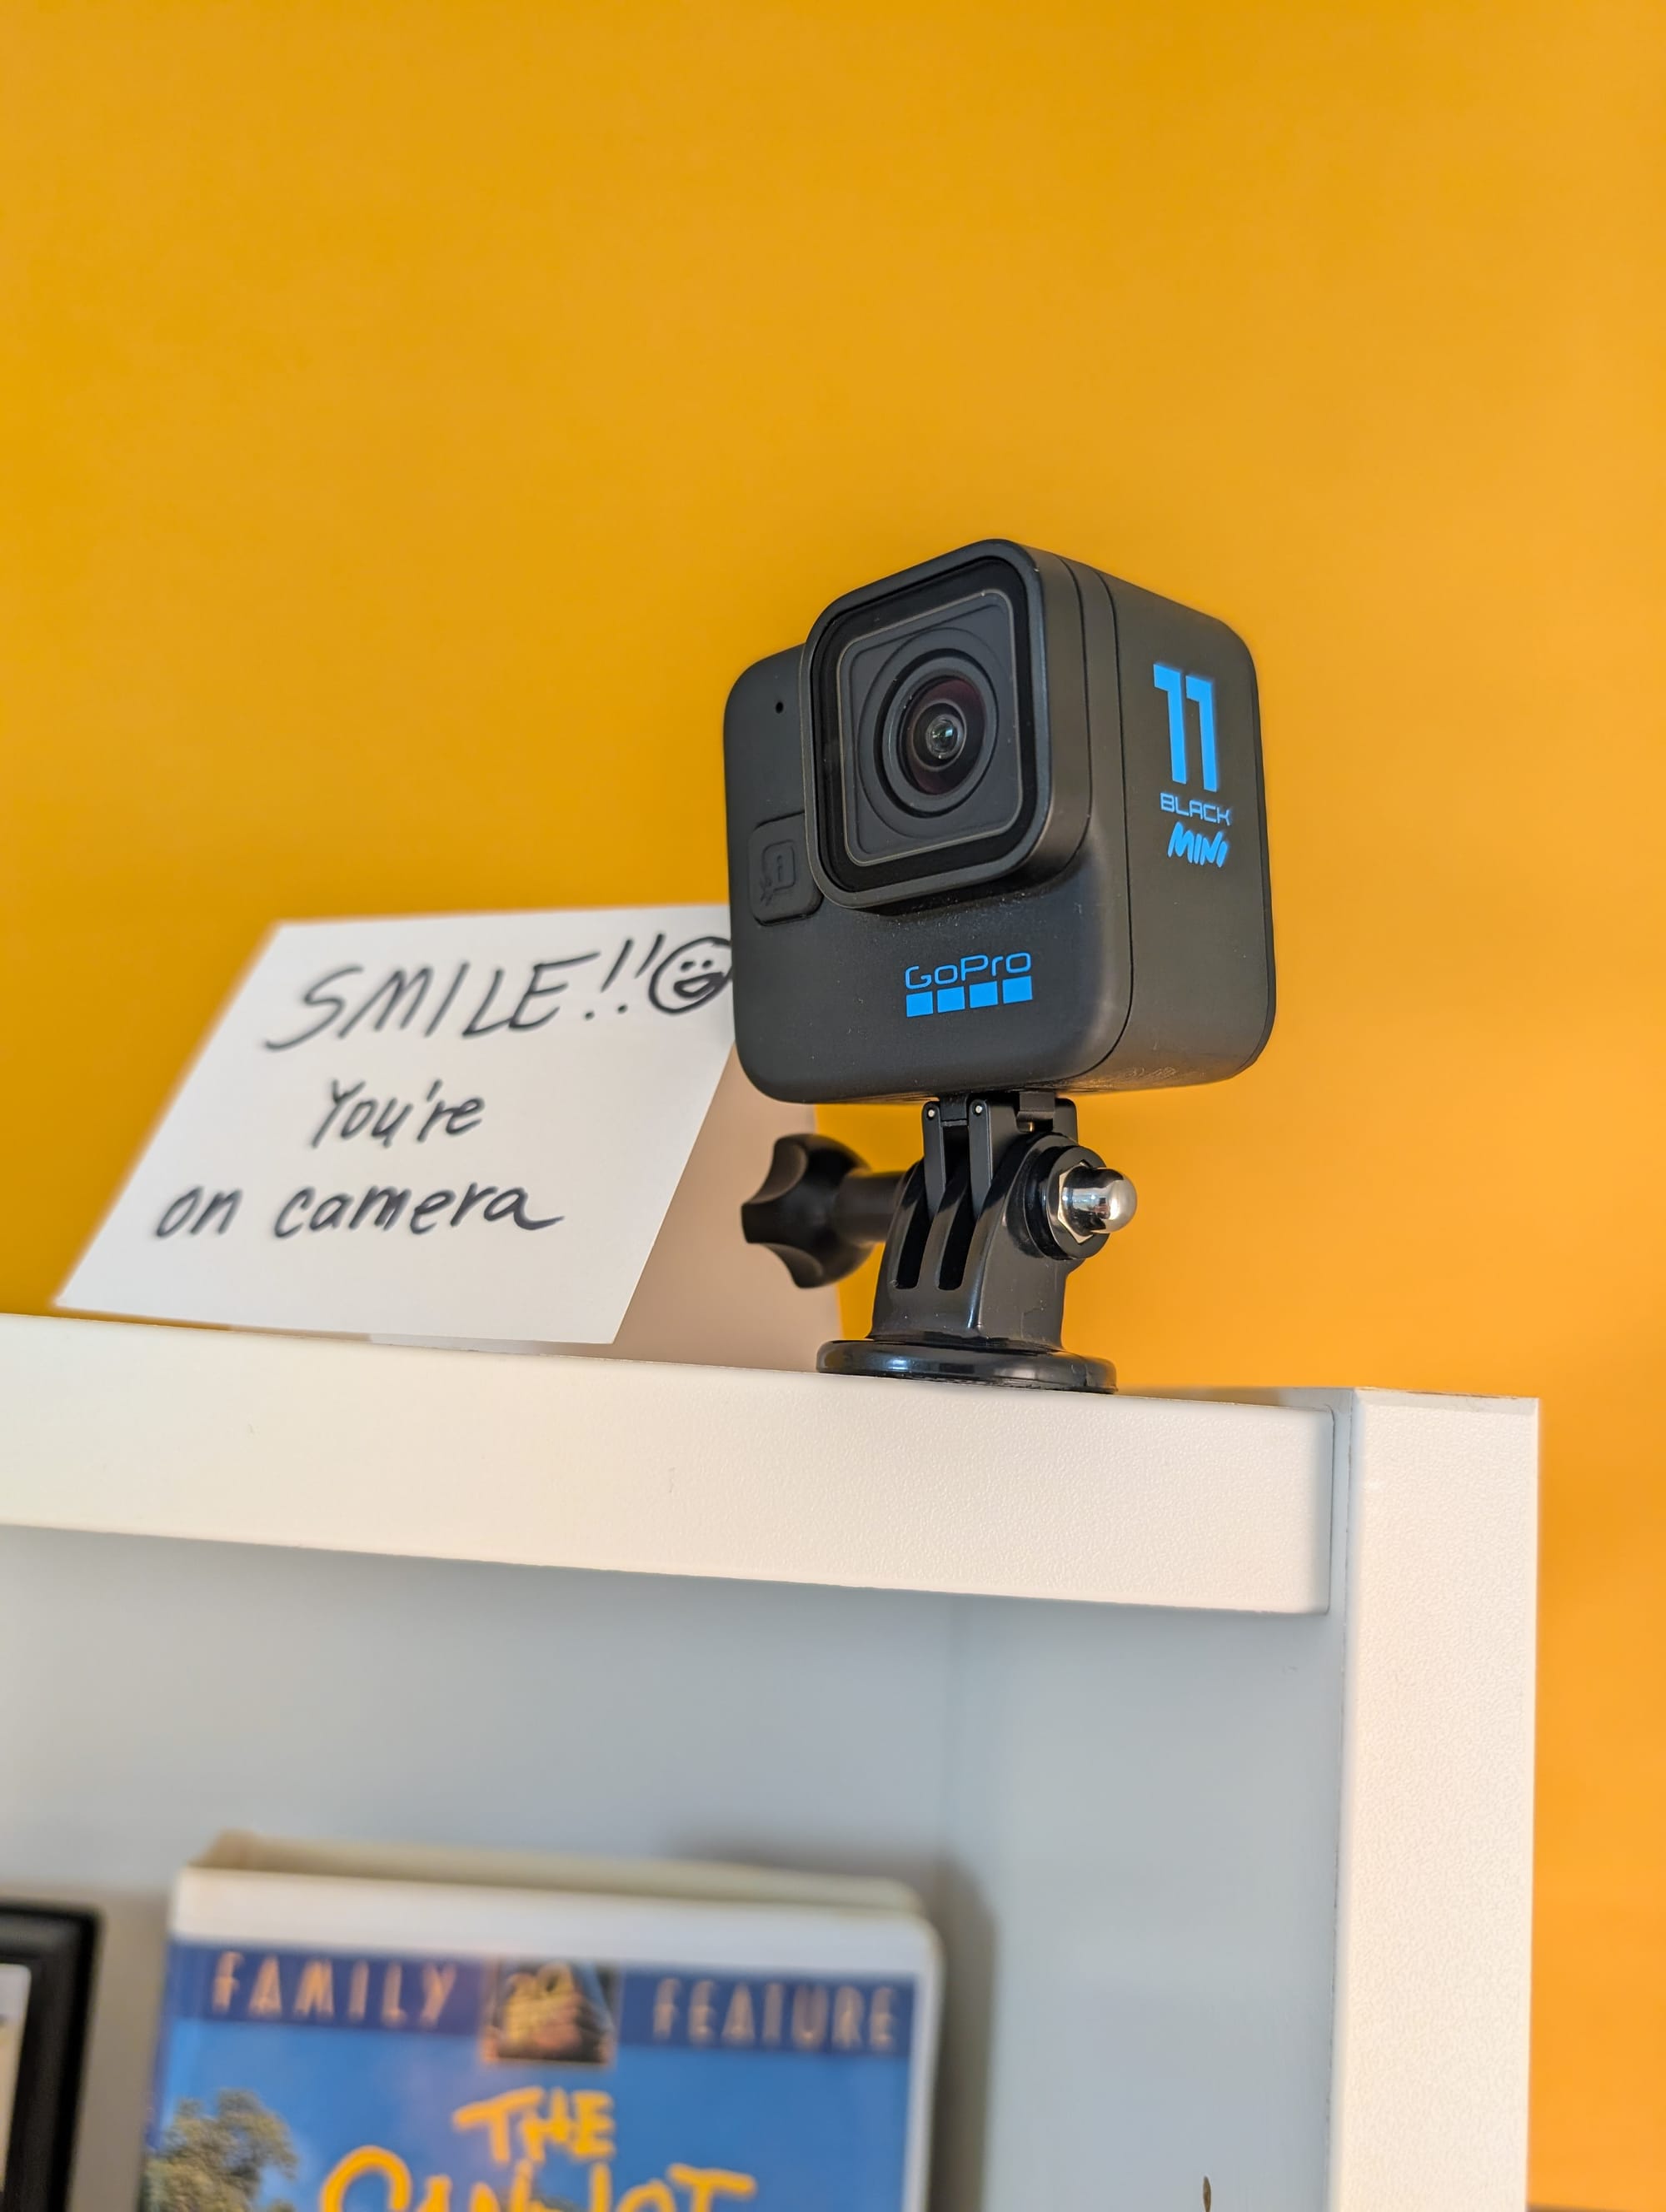
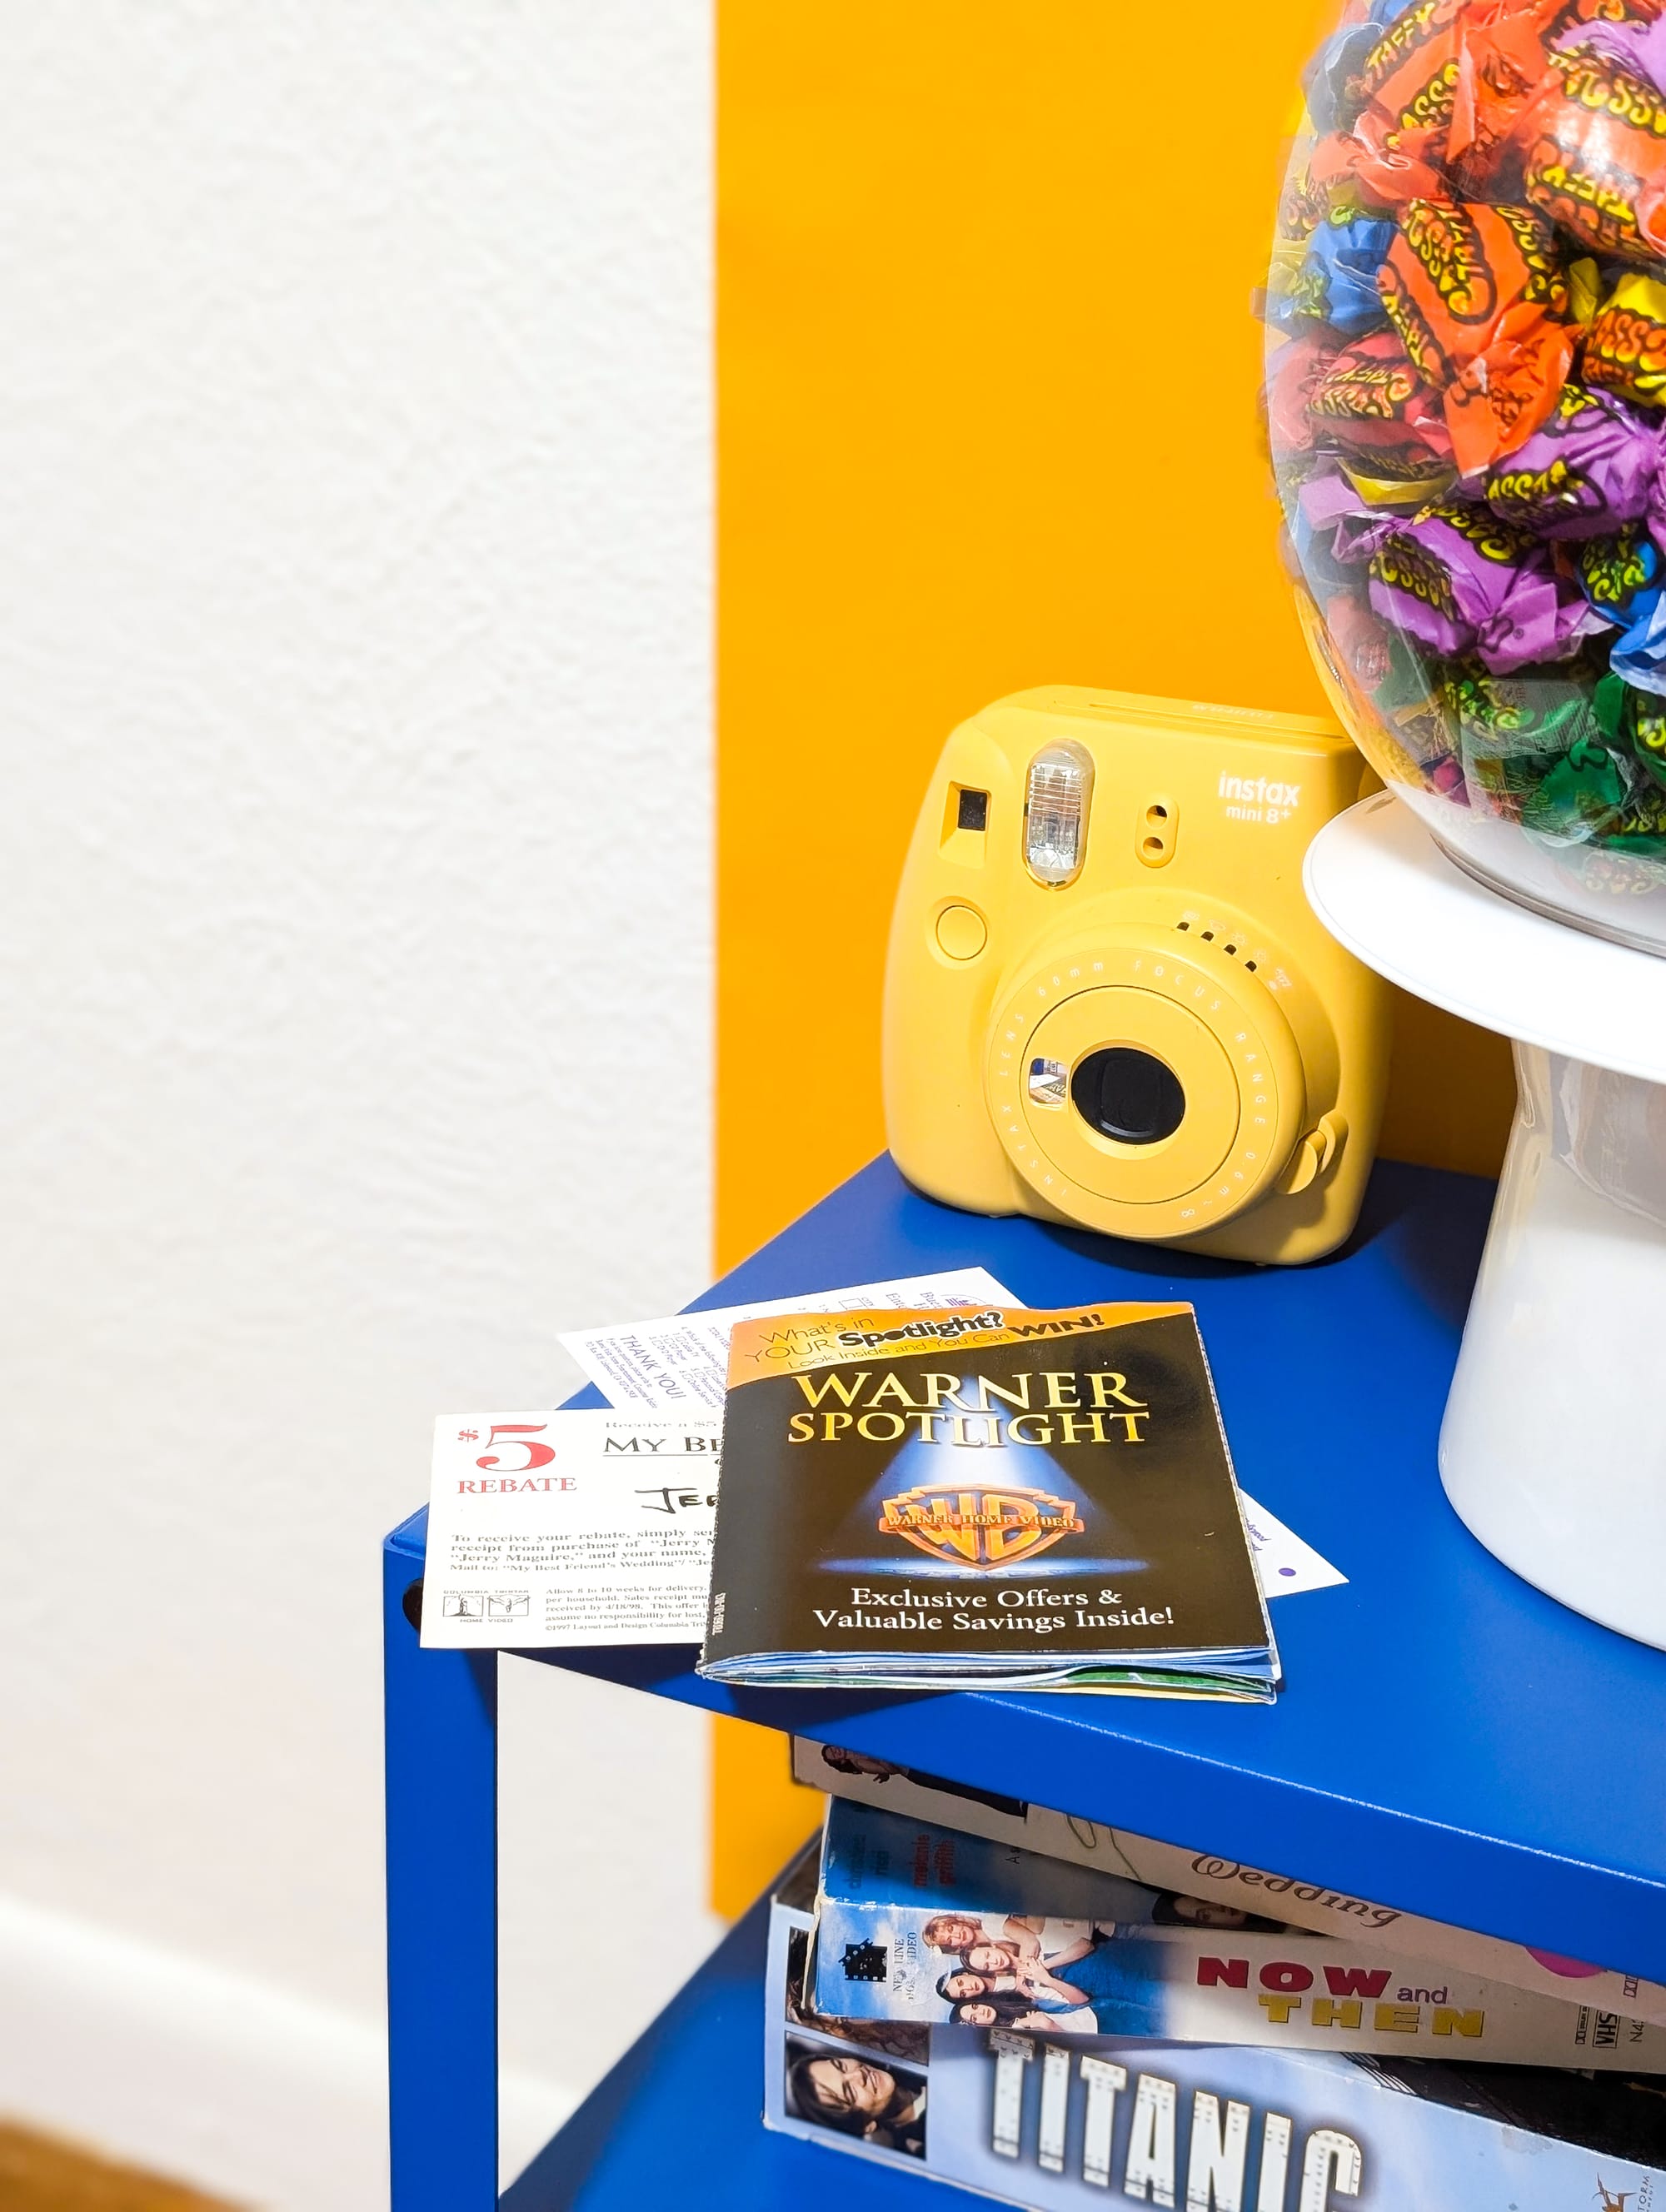
Photo station: we had a camera on a tripod to catch a group shot as everyone came thru, and we had an instant camera in the room for some classic 90's selfies (or whatever we called a selfie in the 90's).
The checkout: at checkout, I used an infrared thermometer to "scan" each movie and snack, and used a soundboard app on the iPad "checkout register" to make beeps and bloops. The most fun was targeting one guest in each group for a loud buzzer, after which I'd annoyingly tell them they had a late fee and their account.
A bit of trivia: we had guests come thru in groups of 4, and made a bit of a game of things. "Customers" had 5 minutes to pick a movie and snack, as well as study the room for some trivia coming later in the night. The trivia was pretty simple (oldest movie in the room, newest movie, number of copies of Titanic, and so on) and we had a blast.
And that's it! You've made it to the end of a very long (and very nerdy) post, so here's a bunch of our home office Blockbuster Video build for your troubles. We hope you enjoyed reading about it as much as we did building it.
If you're into this sort of thing, consider subscribing to our blog, we've got lots more nerdy and nerd-adjacent content coming. Mostly we post about board, table, and card games, but I've always had a focus problem. On that note, Blockbuster!
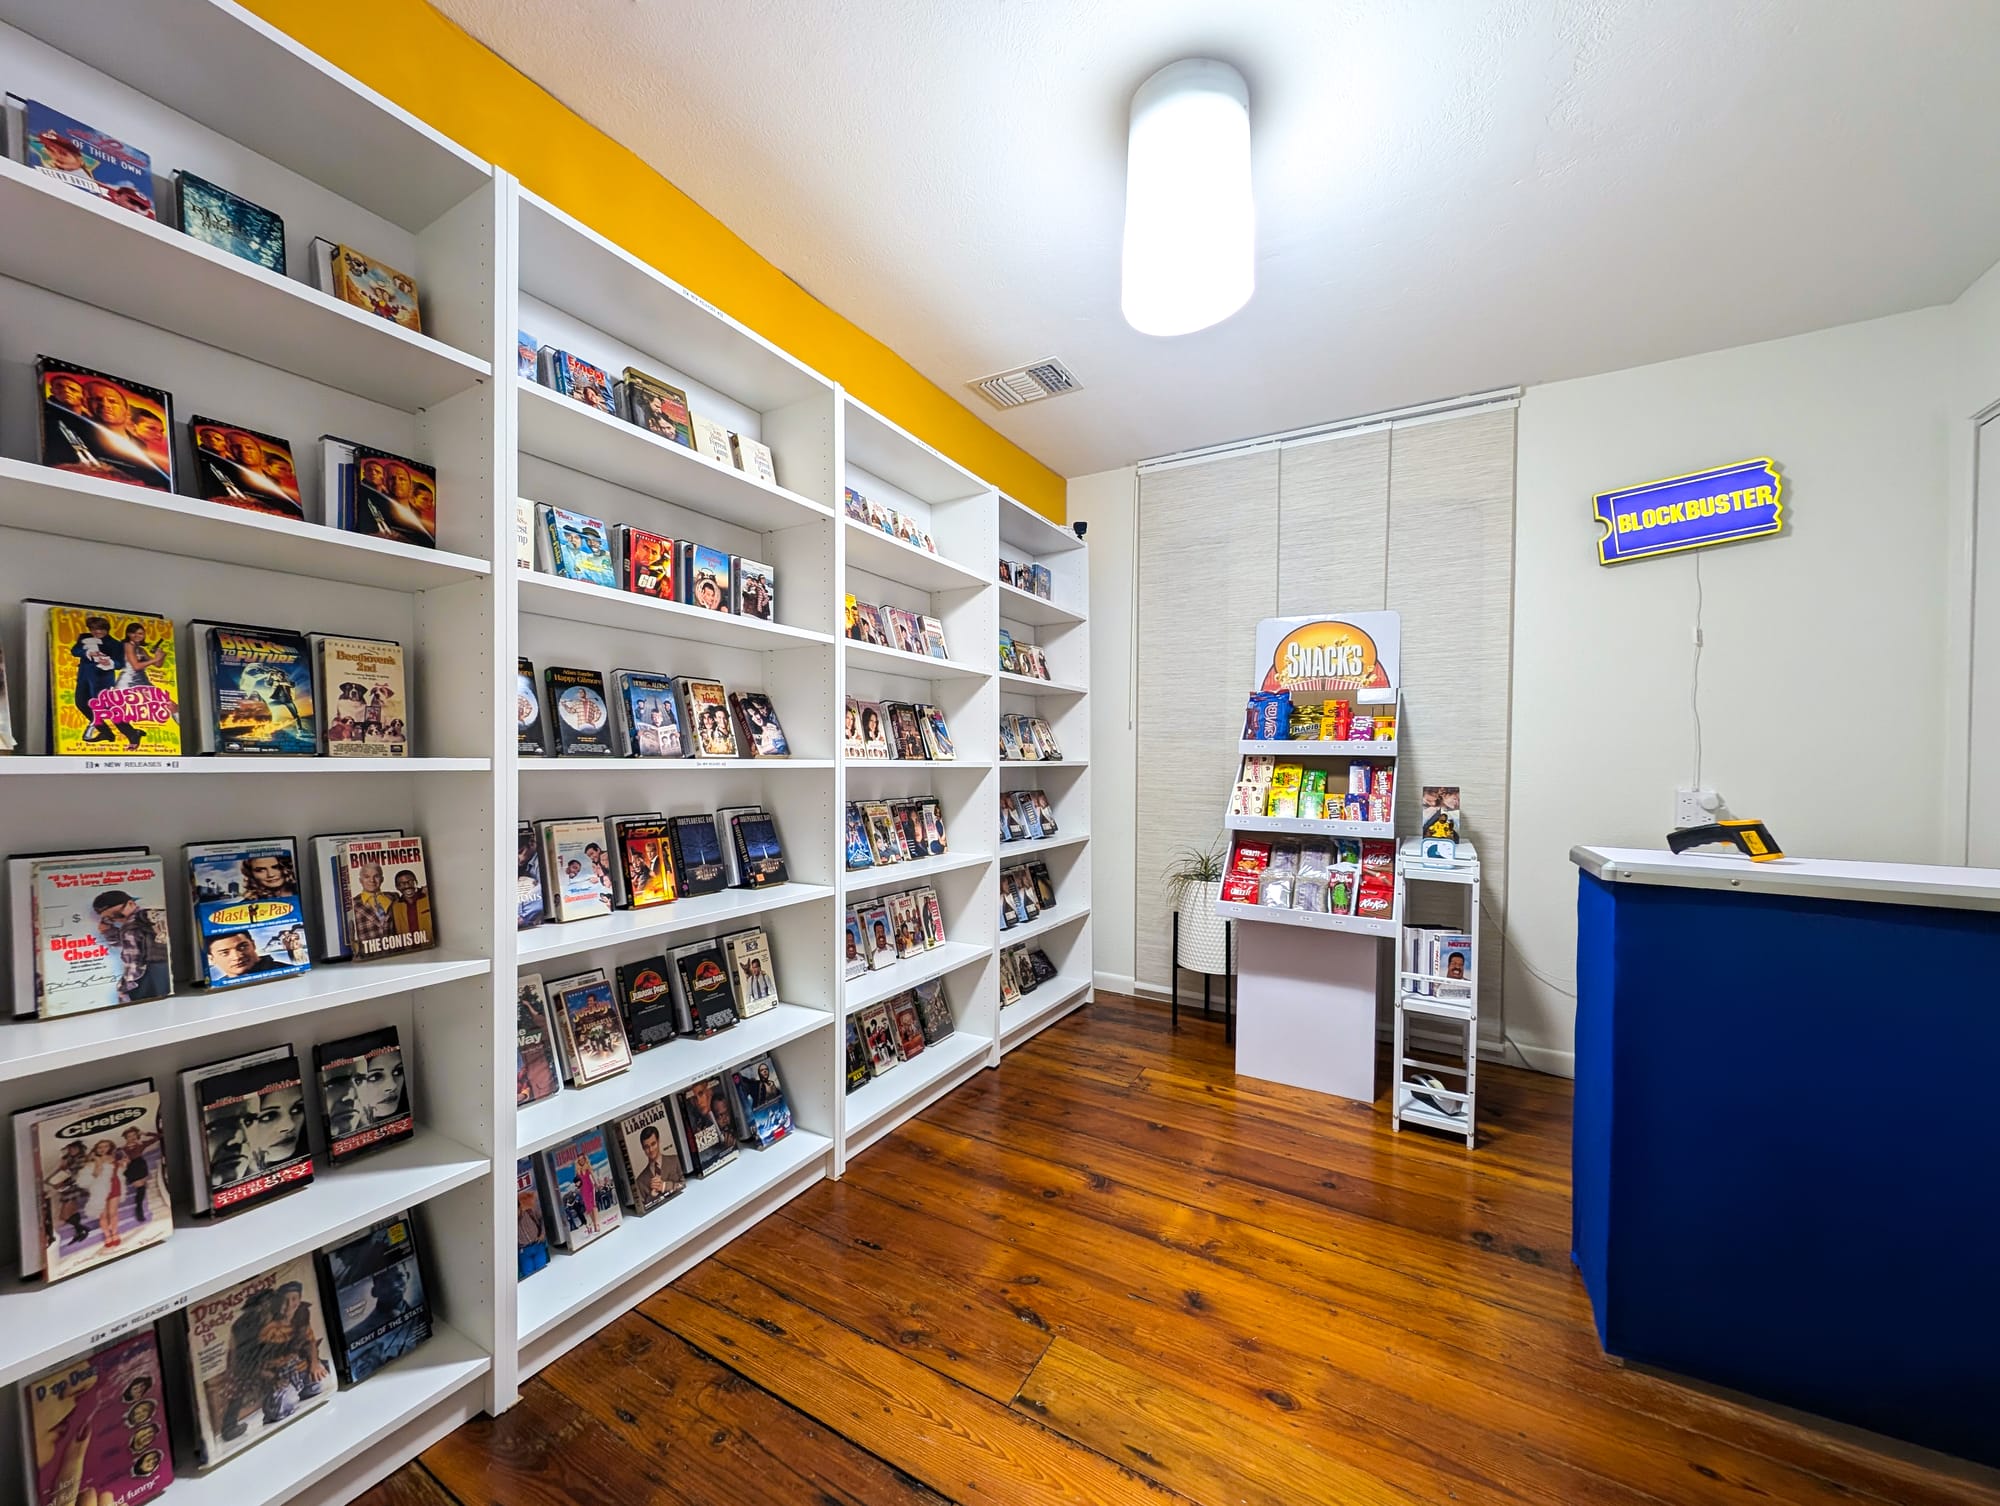
Part Eight: After hours and behind the scenes
After everyone had "rented" a video, we swapped out the lighting fixture and turned the Blockbuster into a dance floor.
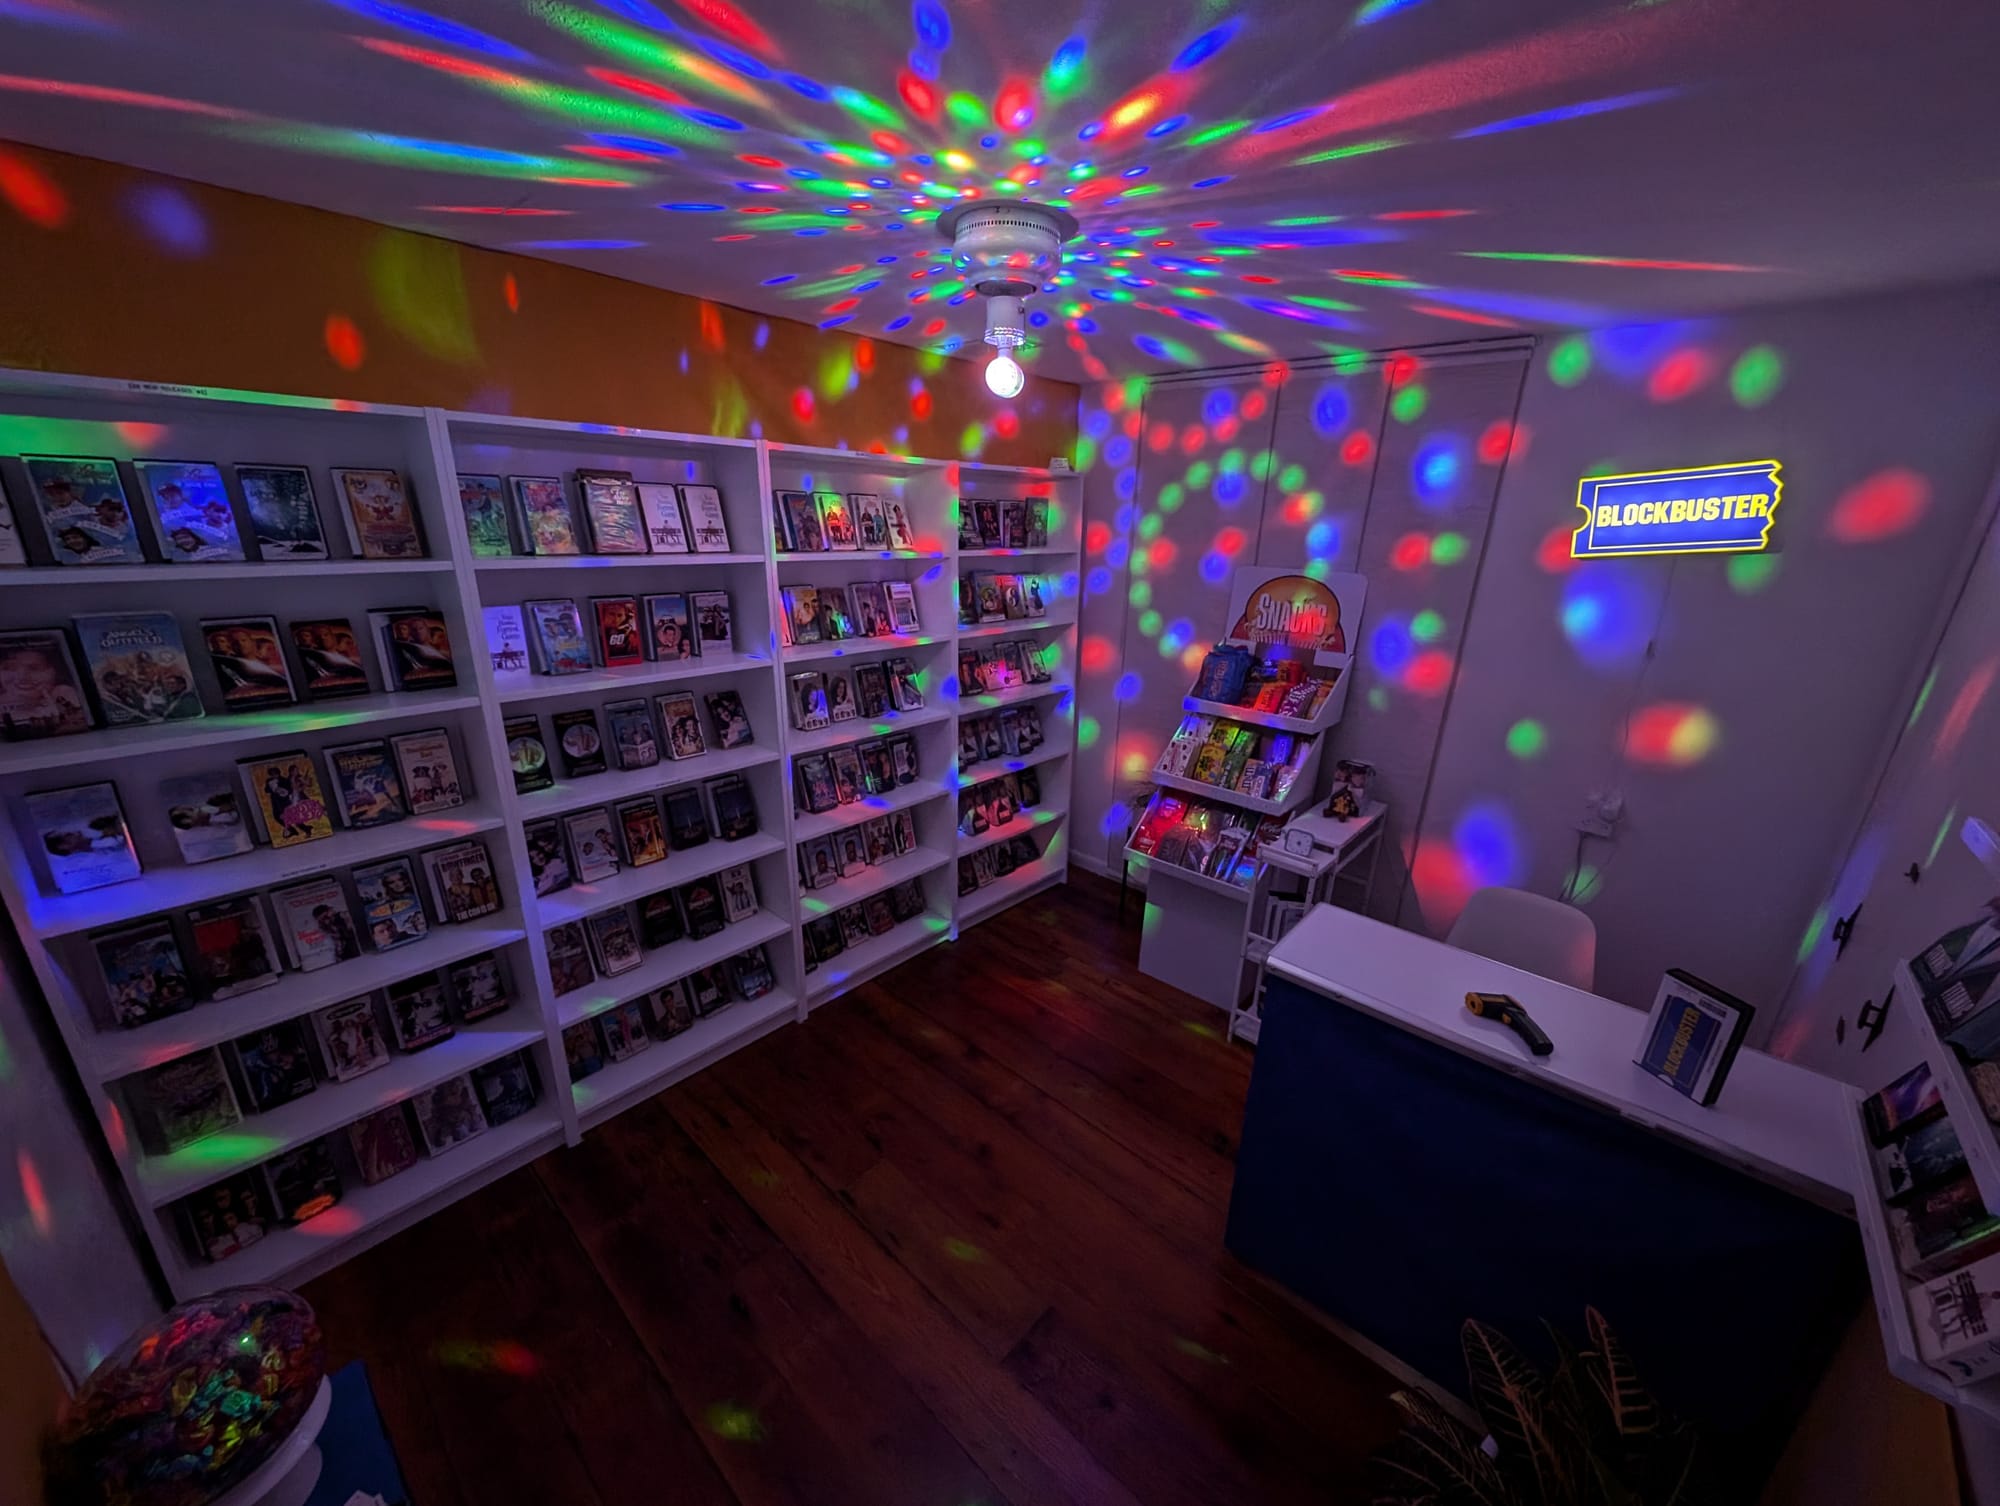
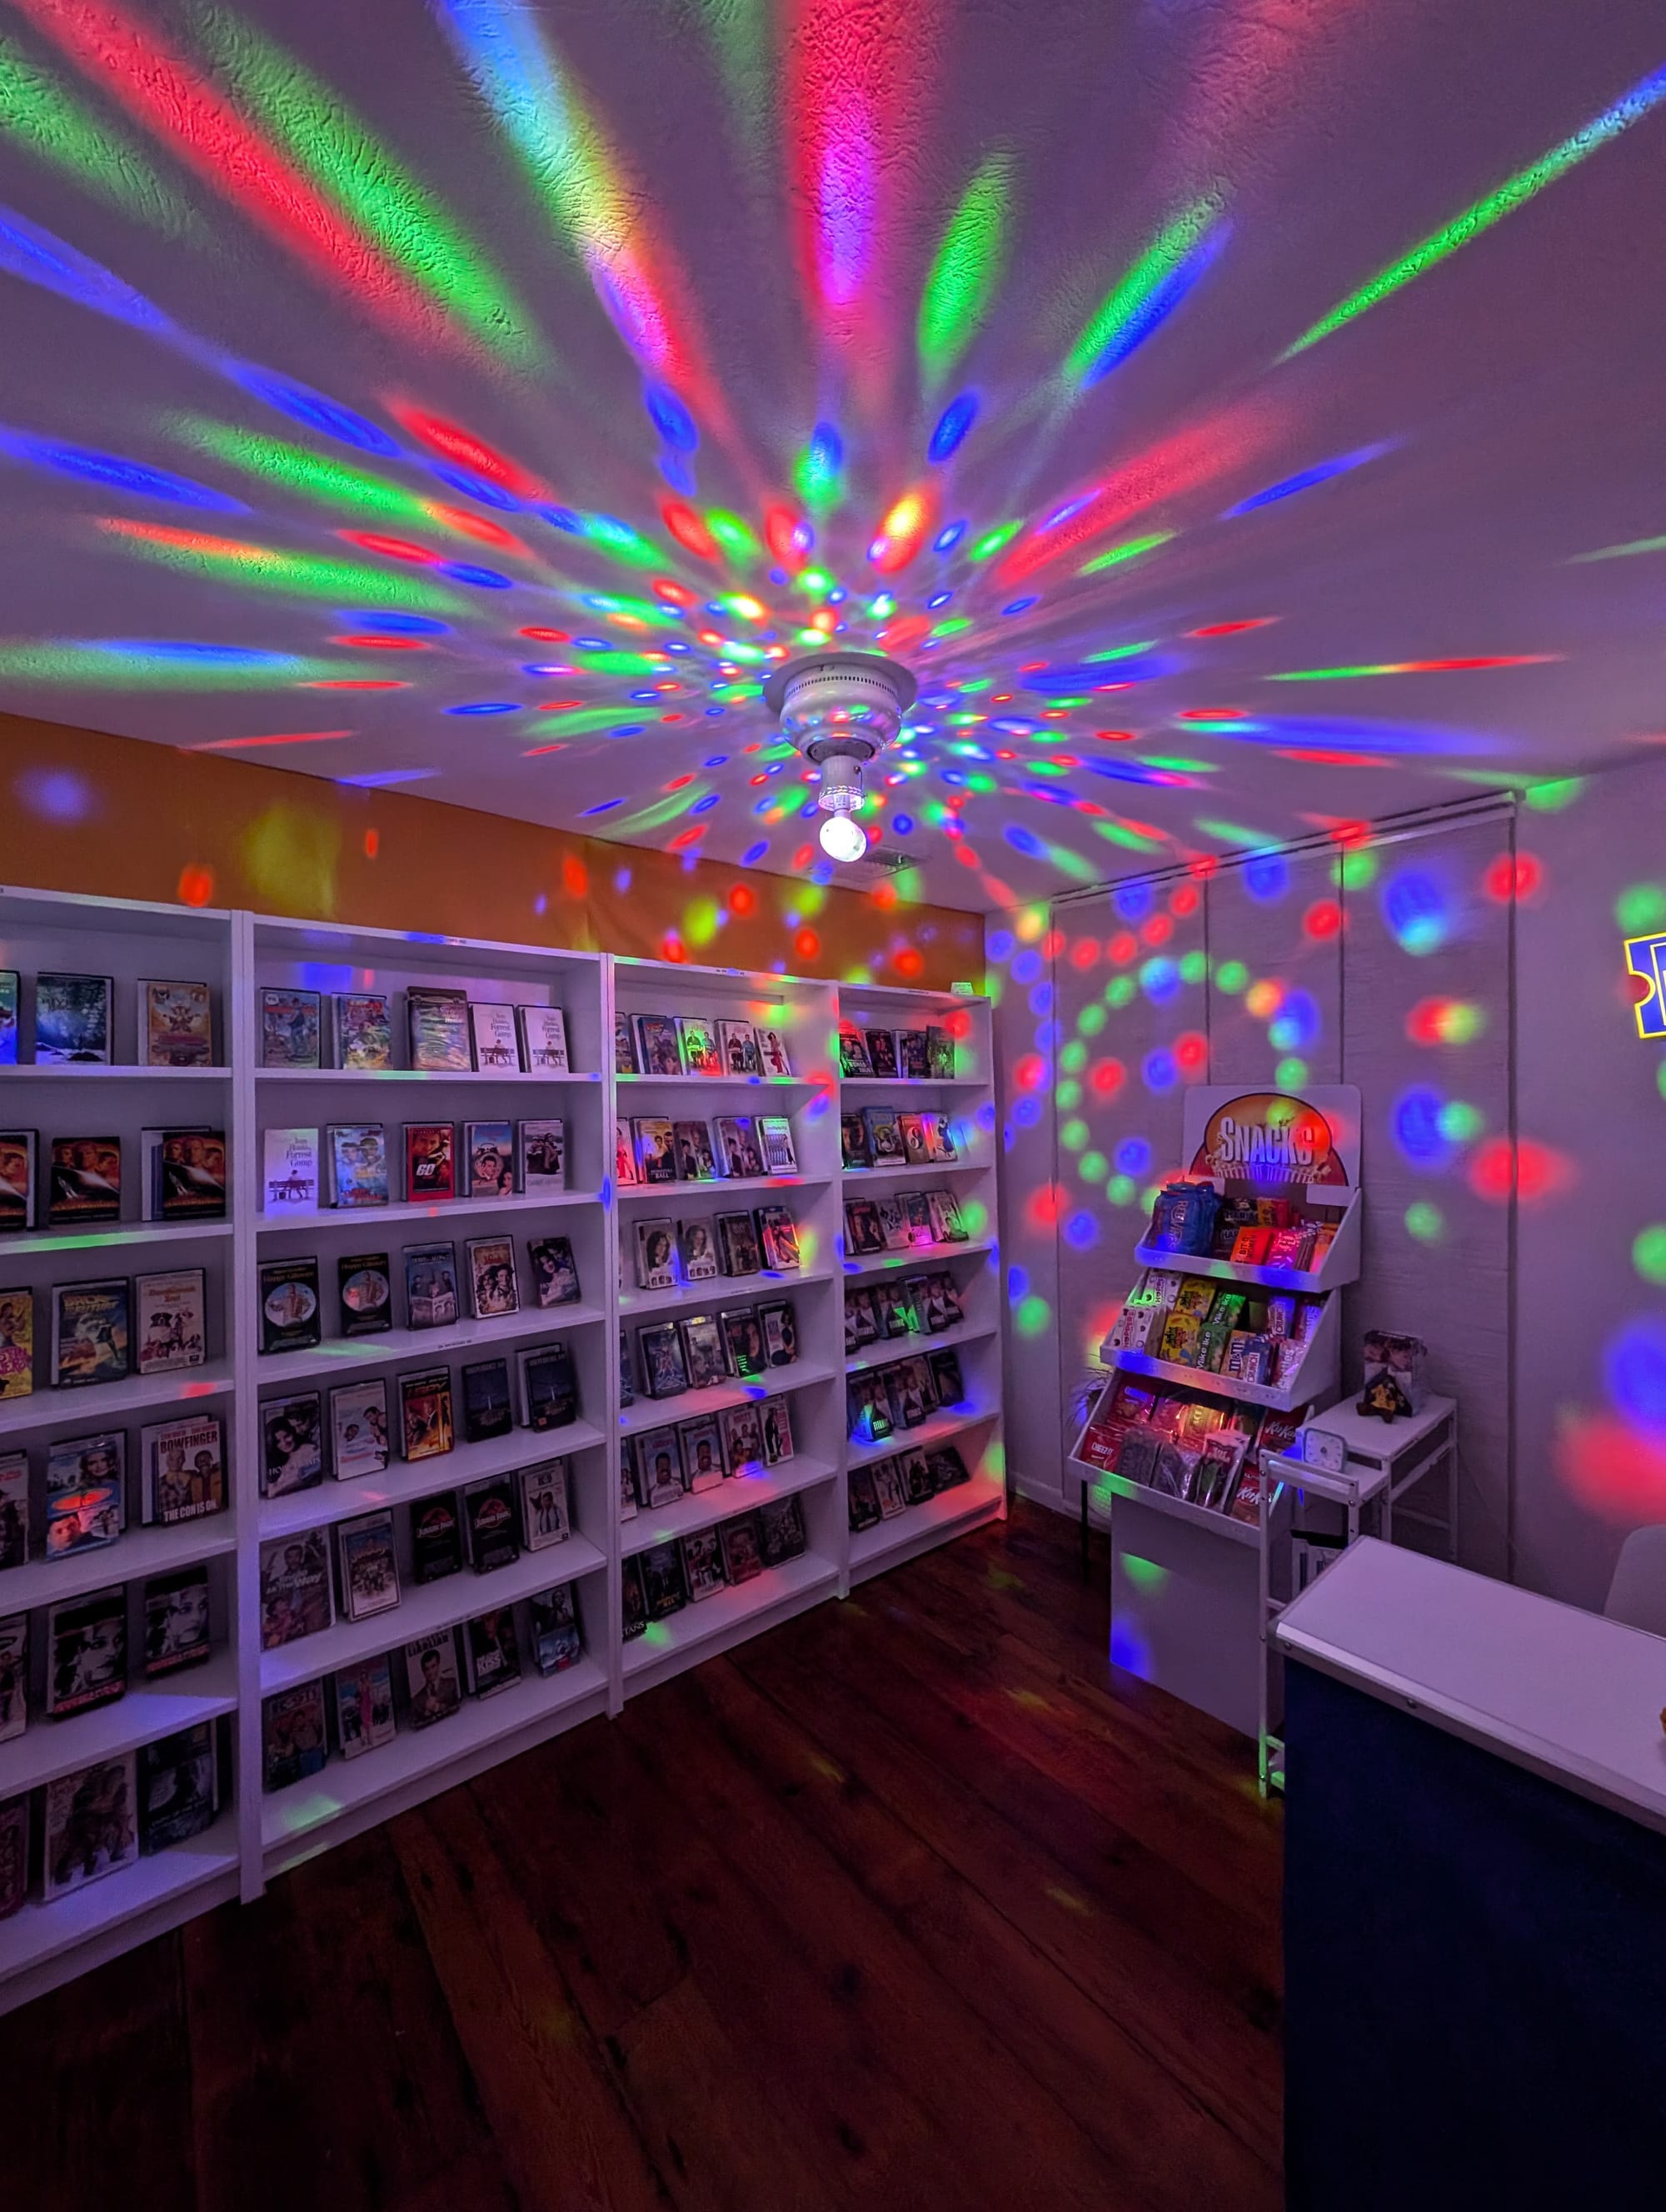
Eventually karaoke took over upstairs, so we didn't exactly boogie in the Blockbuster, but it made for some fun photos.
Another funny look was the hidden desk behind the movie wall. To access the desk, we'd move a shelf in and out like a secret passageway in a movie.
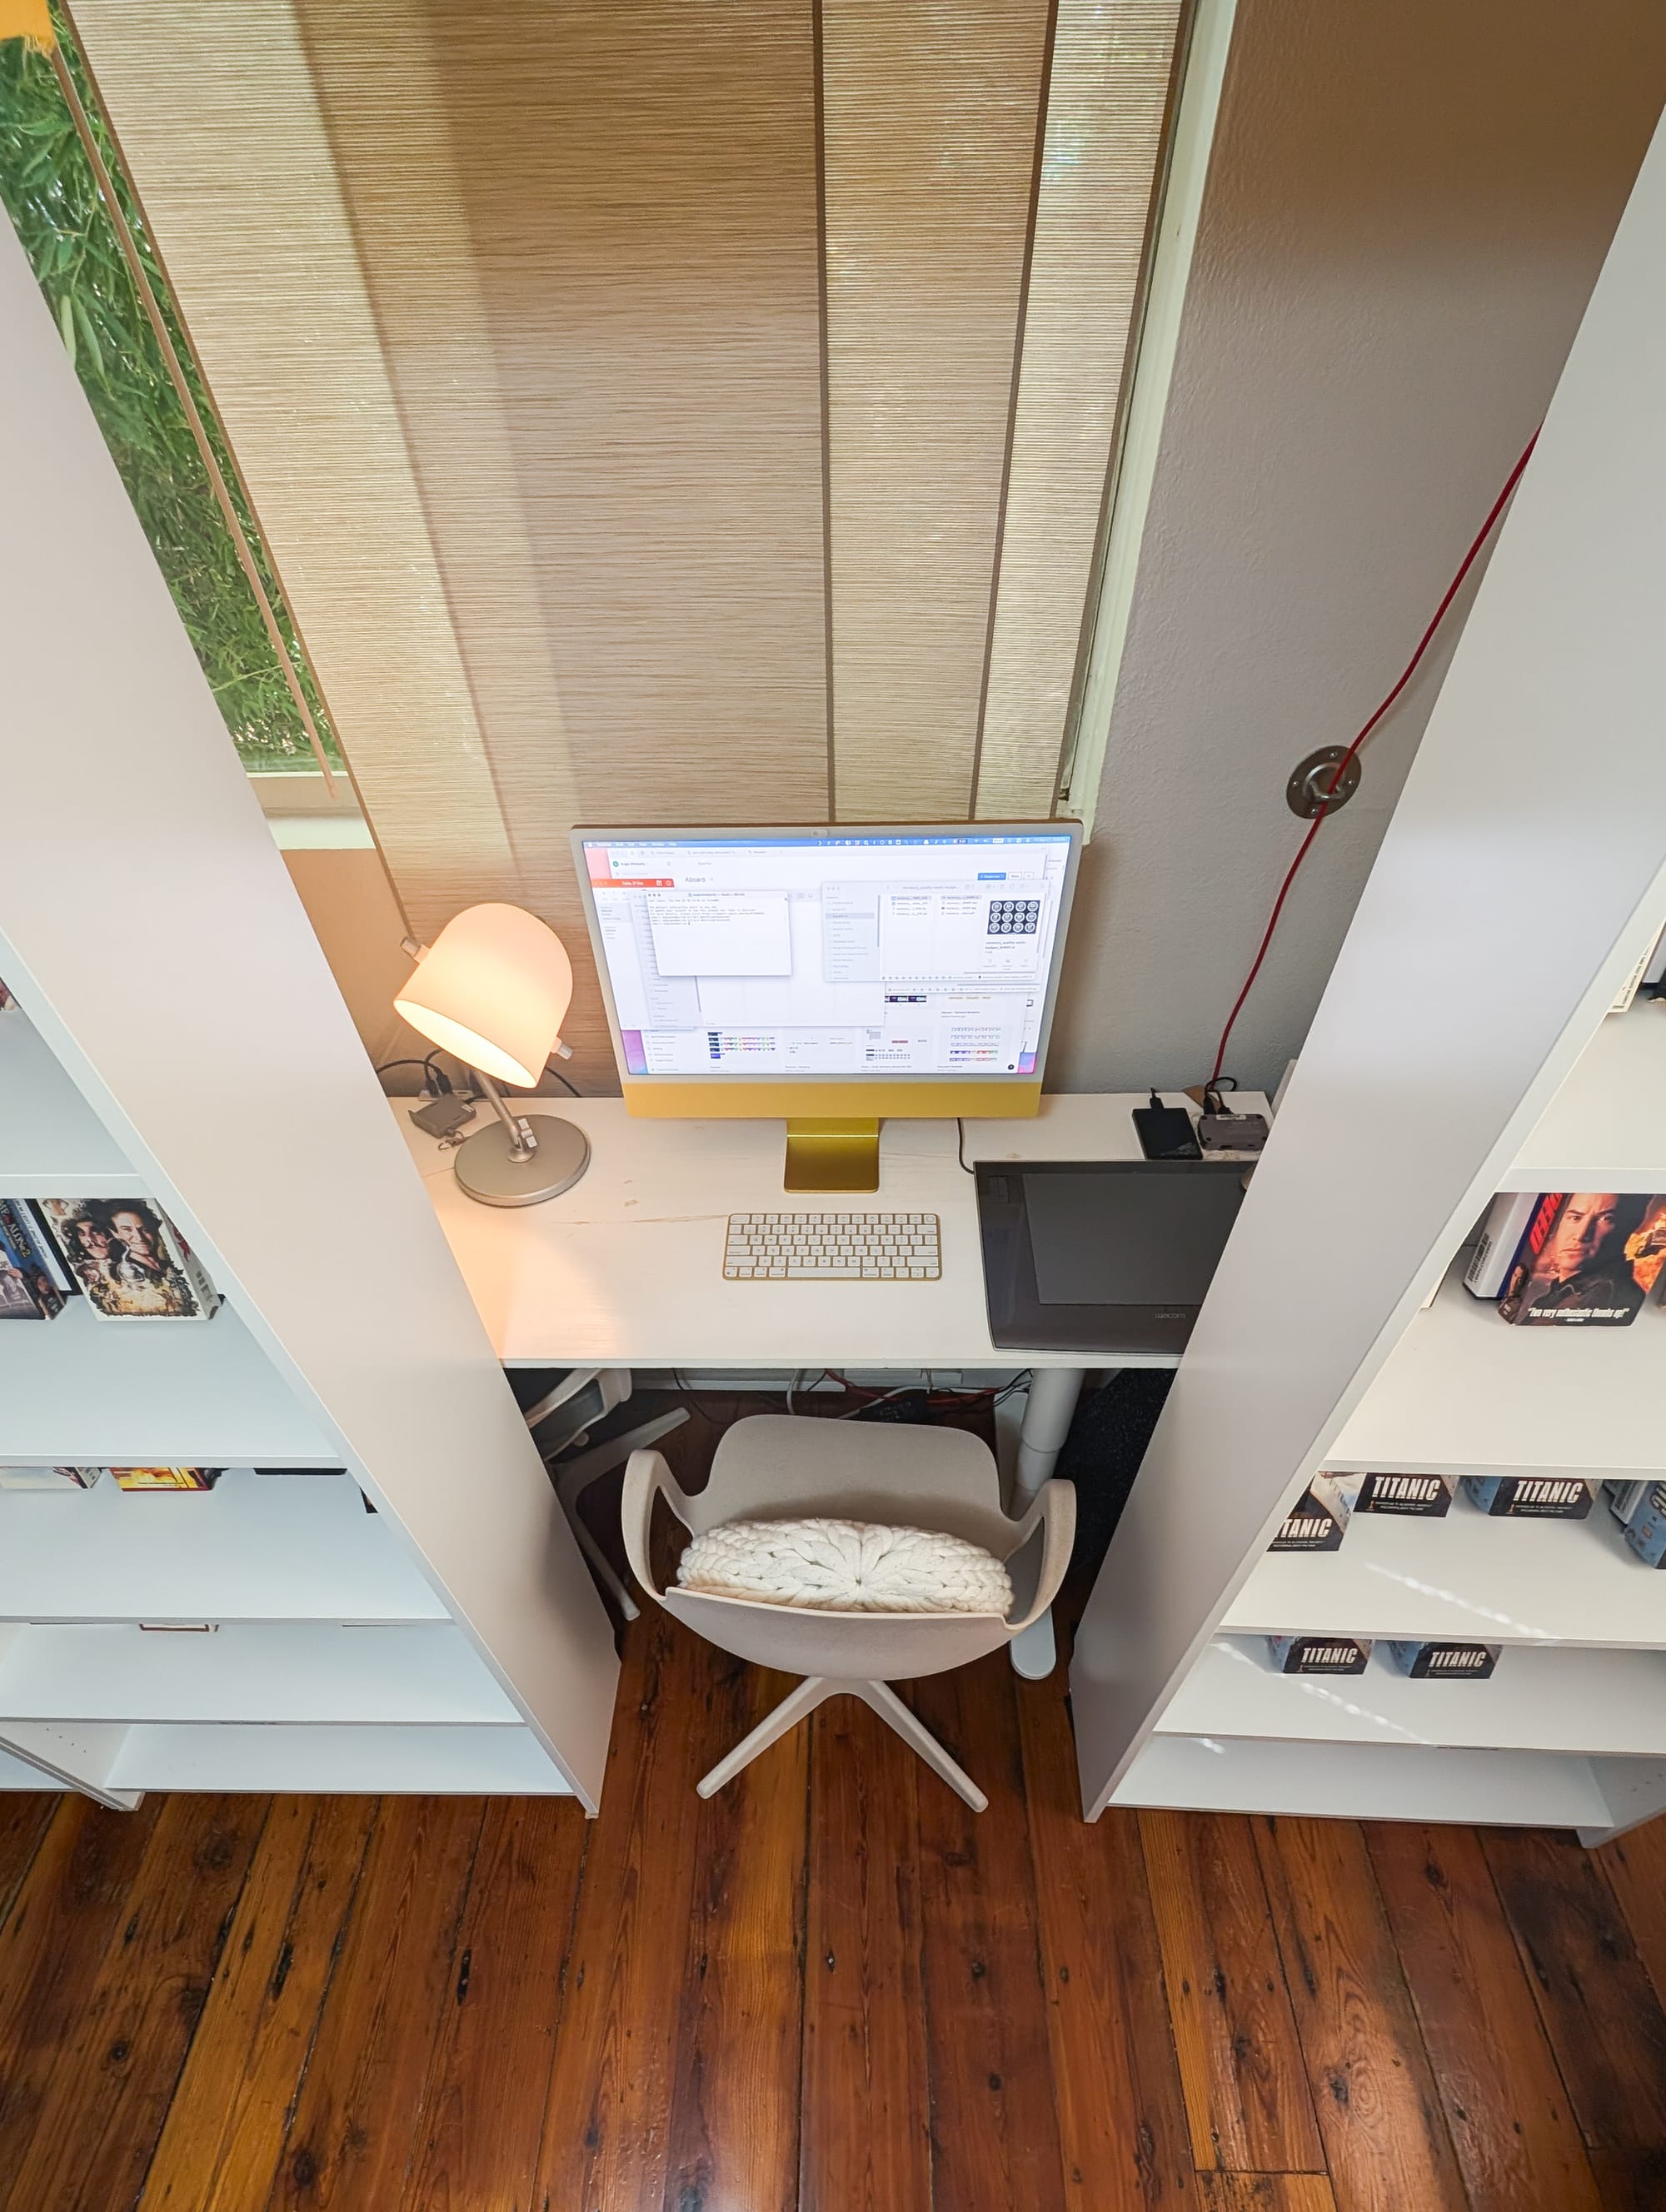
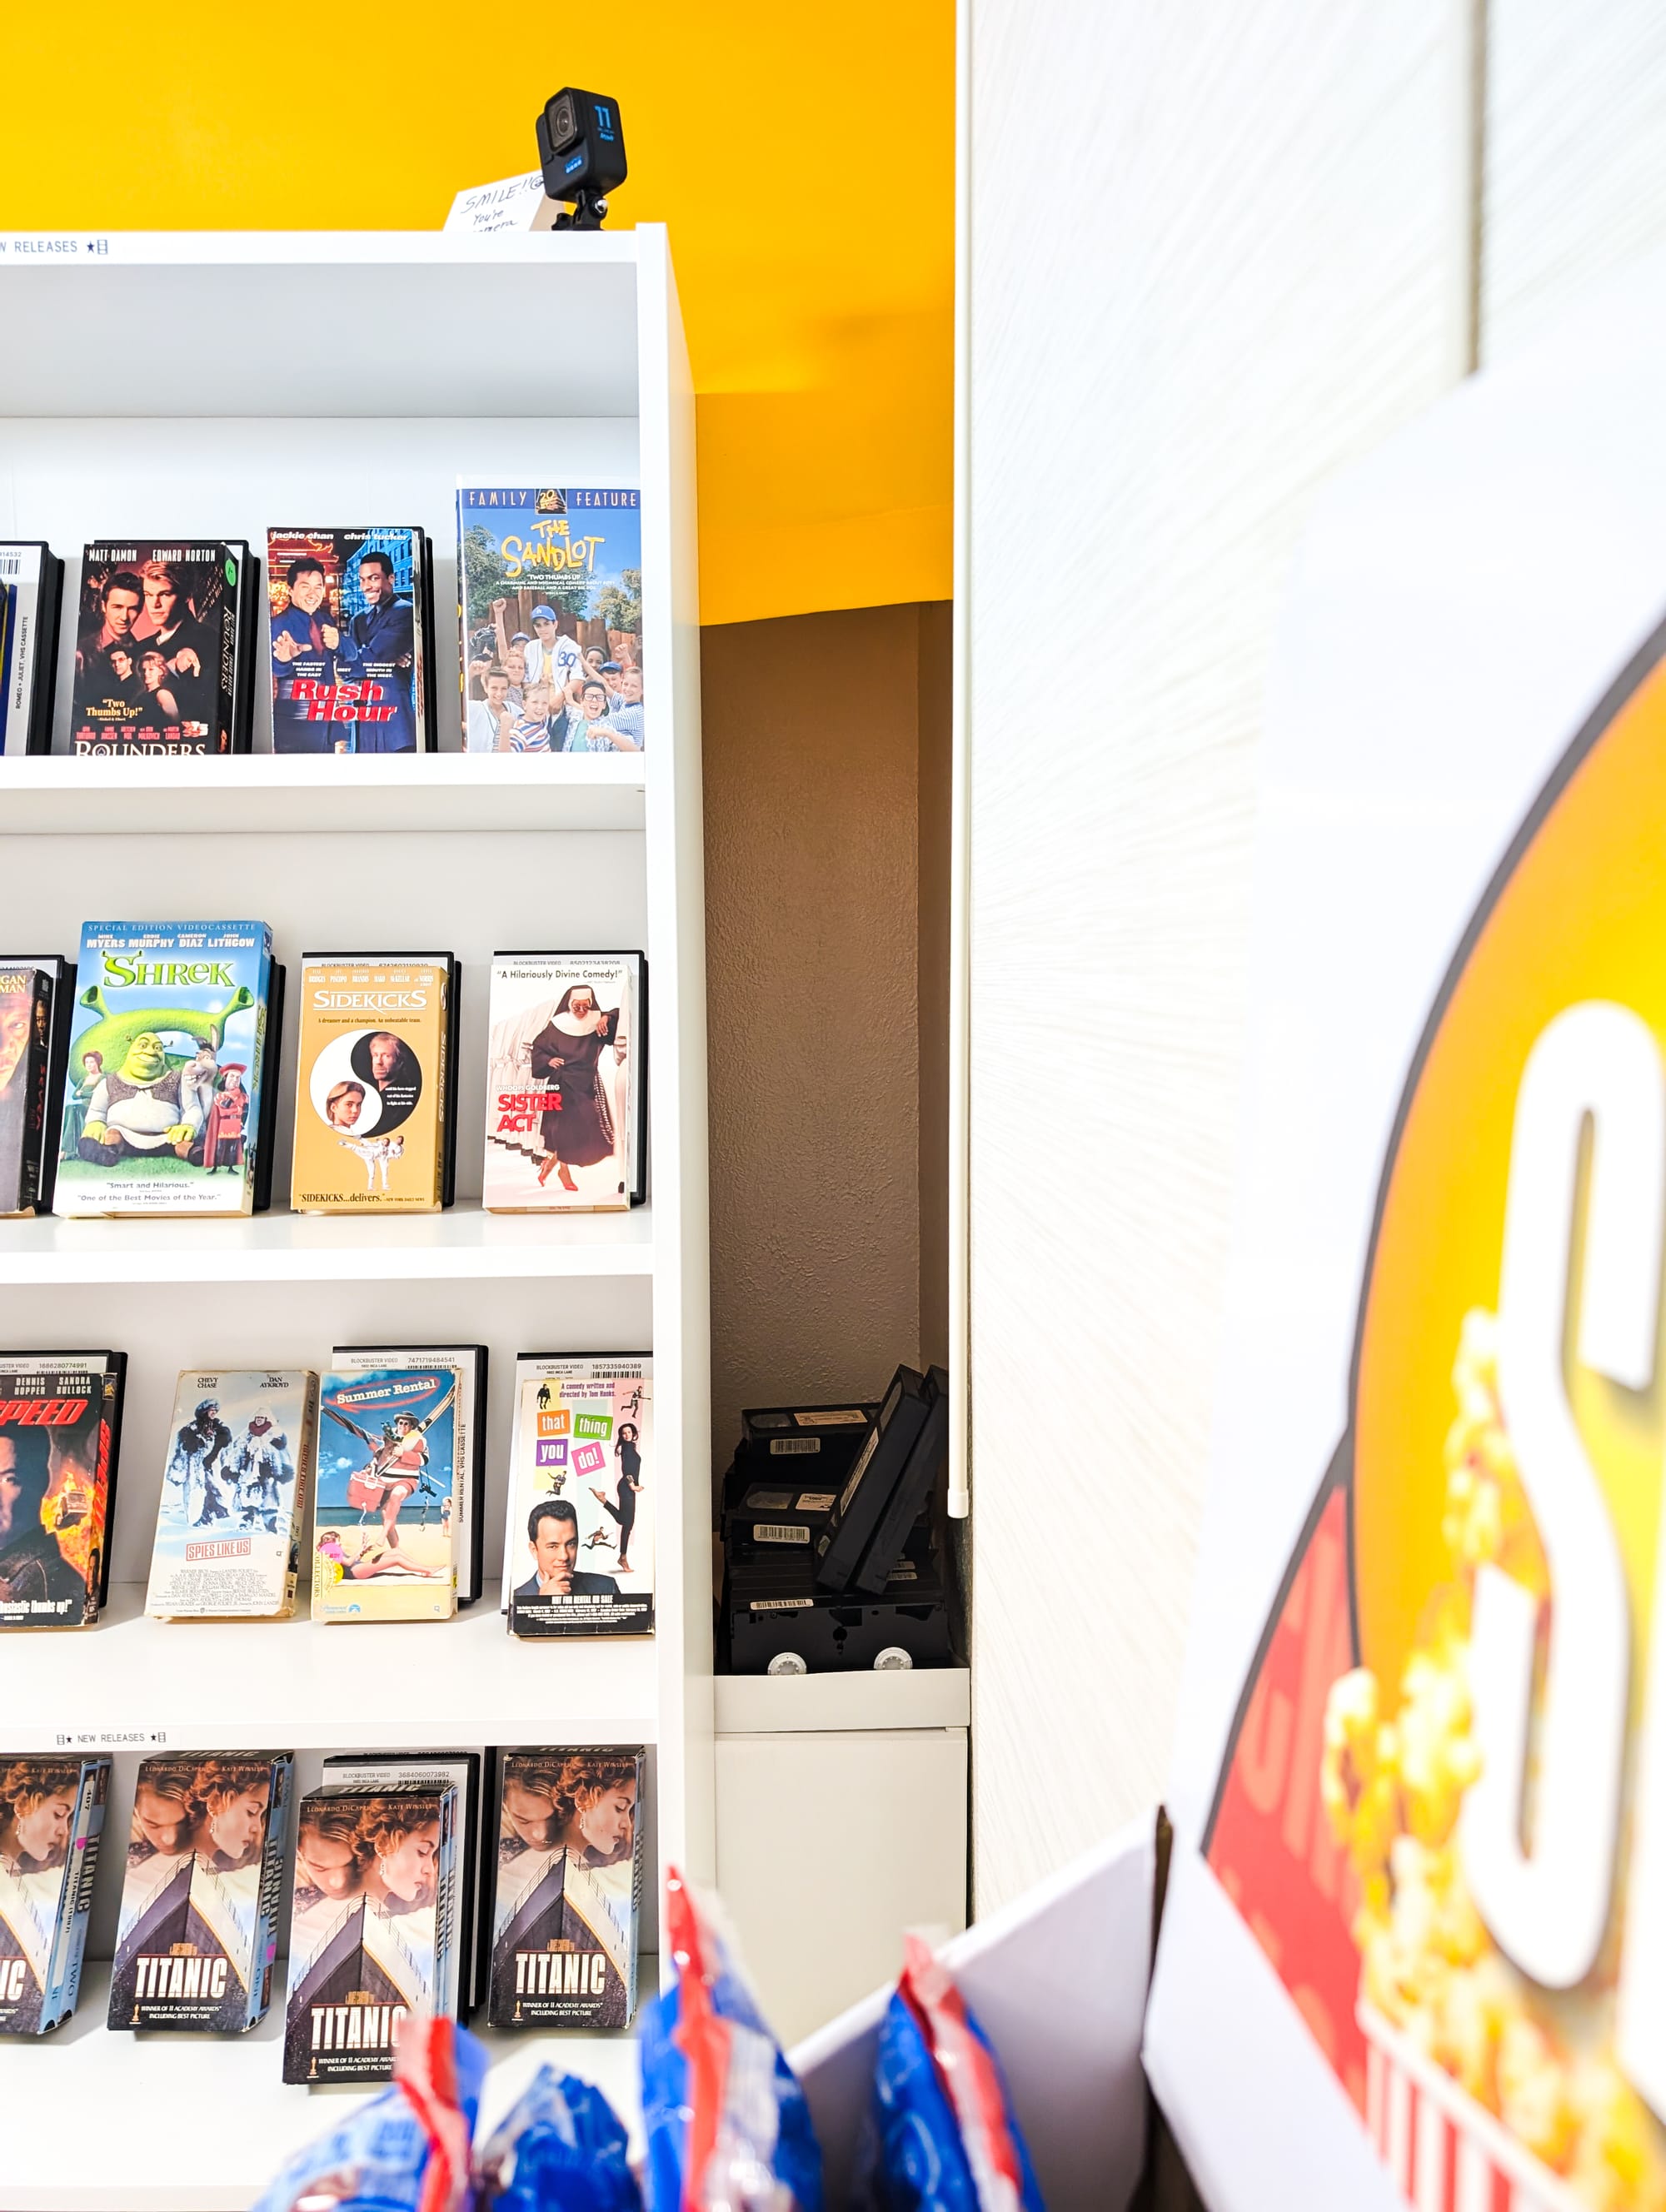
There was a six-inch gap near the far wall, so we filled it in with spare VHS tapes and called it the back room (pictured above).
We definitely made it a Blockbuster night.
